Are you new to the world of illustration or an aspiring illustrator searching for your unique illustration style? Then you are in the right place. Today we will highlight six key steps to help you define your illustration style.
Find out how upcoming illustrator George Tonks found his illustration style. Available as a Podcast and Video tutorial!
Step 1. Choose a theme
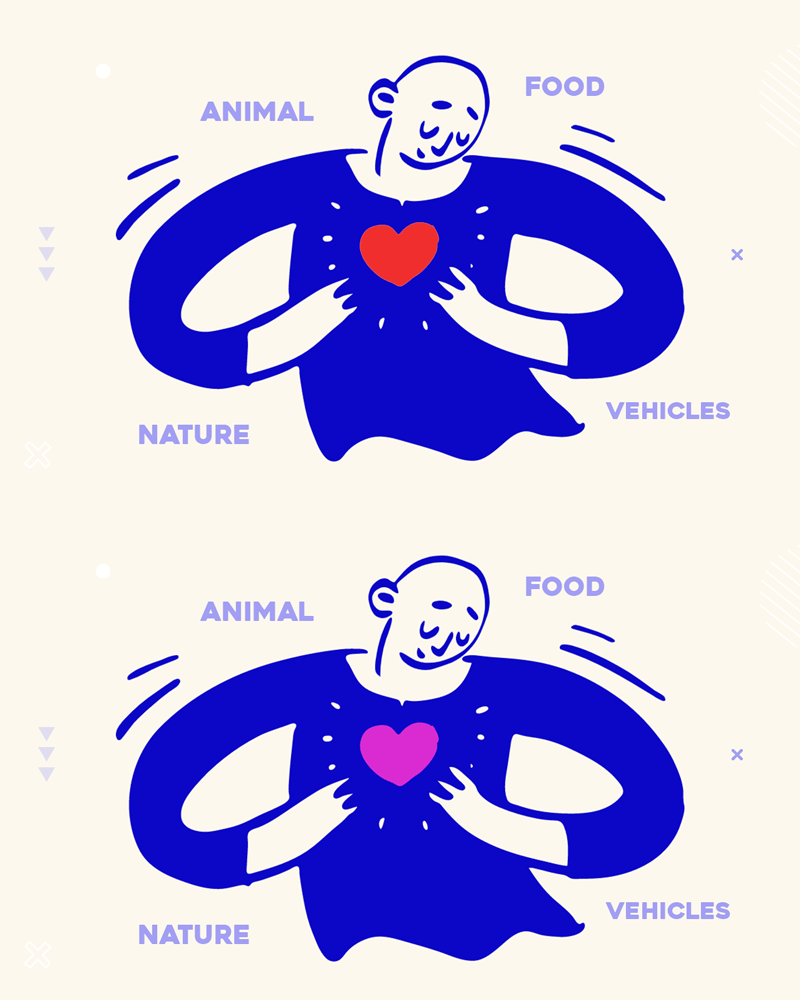
Pick only one theme that excites you the most and focus on drawing them. If you have too many interests, then try to narrow it down. Make a list of 5 themes and put them in numerical order and only focus on a topic that is on your number 1 list.
Helpful Tip: Here is an example of some themes to choose from!
Step 2. Build a Reference Library

One of the best ways to find your illustration style is to combine elements from other artists work that you love. Create a reference board from at least five different artists and copy ideas from each of them, but try to make small changes
The routine of collecting references and inspiration from others will help your creative juices flow and inspire you to think creatively.
To collect references, use sites such as Pinterest, Behance, and Instagram. You can also use real photo references from your travels or the internet.
Helpful Tip: If you love drawing People - take hair inspiration from one artist, skin colour ideas from another, Clothes from a Photo reference and so forth. The more you combine, the more likely your unique style will emerge
Step 3. Define your style
Good news is that we all already have a unique style built within us, but might need to work on developing it.
Helpful Tip: Answer these questions as honestly as possible!
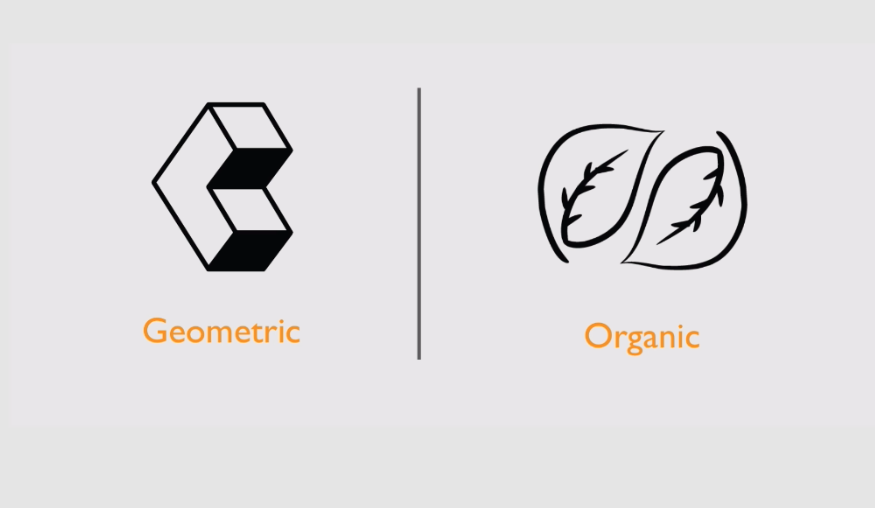
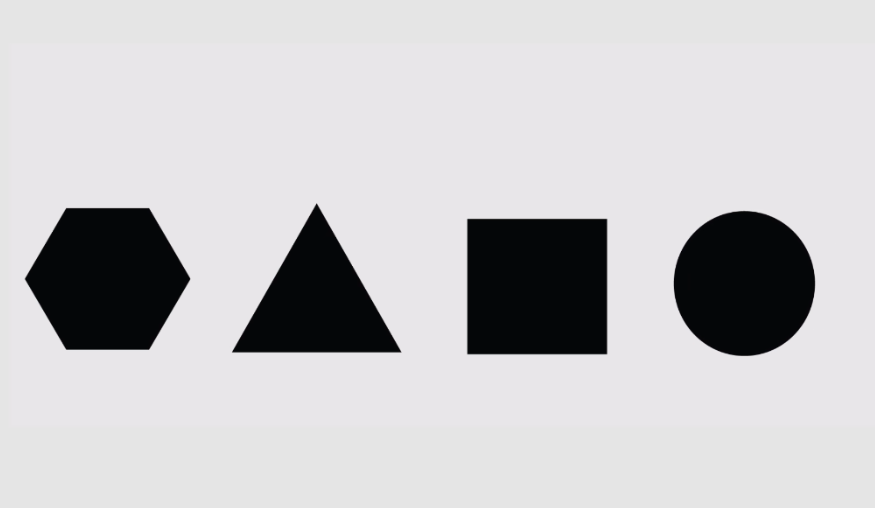
Geometric shapes
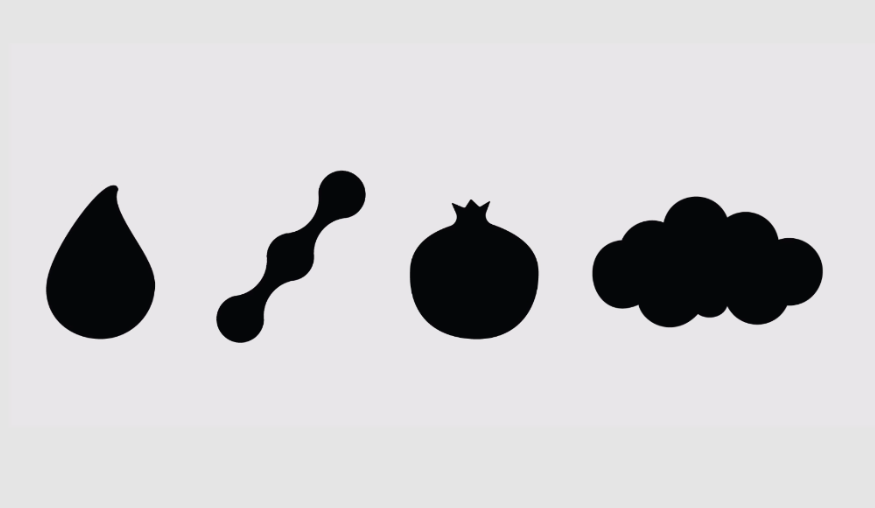
Organic shapes
- 1Choose a selection of 5 colours you love the most? If you are not sure how to do this, make a note of the common colours you have in your home or closet. Click here to learn more about colours.
- 2Do you prefer geometric or organic shape? Again check your wardrobe as a guide to see the type of shapes you are attracted to the most. To learn more on shapes, watch this tutorial
- 3Do you prefer textured illustrations or clean, simple vectors? To apply textures to your work, watch this tutorial
- 4Are you passionate about traditional mediums? If so, experiment with them. A lot of amazing illustrators use both traditional media and then digitalize them using Photoshop or Illustrator. My favourites are Emma Block Illustration, And Smile Studio and Jennet Law
Digging deep and analyzing yourself better will help you to define your interests and style.

FREE weekly industry tips, tutorials & resources!
Step 4. Have a solid sketch
Plan and try to visualize the final illustration and work towards that. Attempt to come up with 6-10 rough sketches. For instance, if your subject is a Deer, then do a rough sketch or doodle of a Deer at least six times -you will see improvements each time
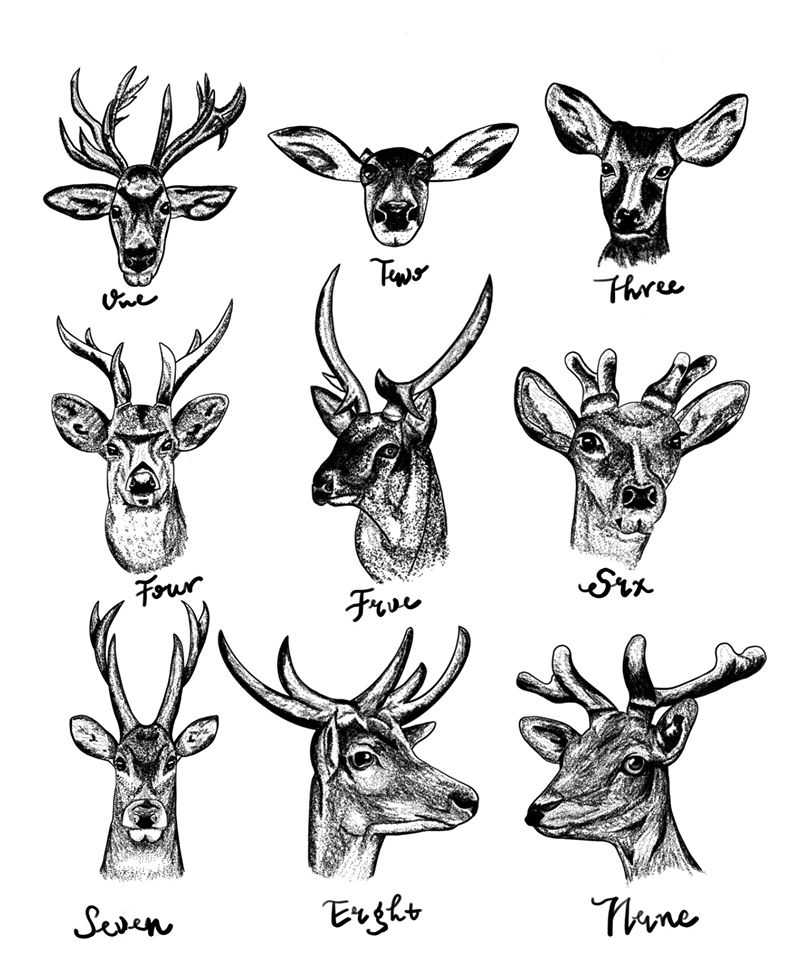
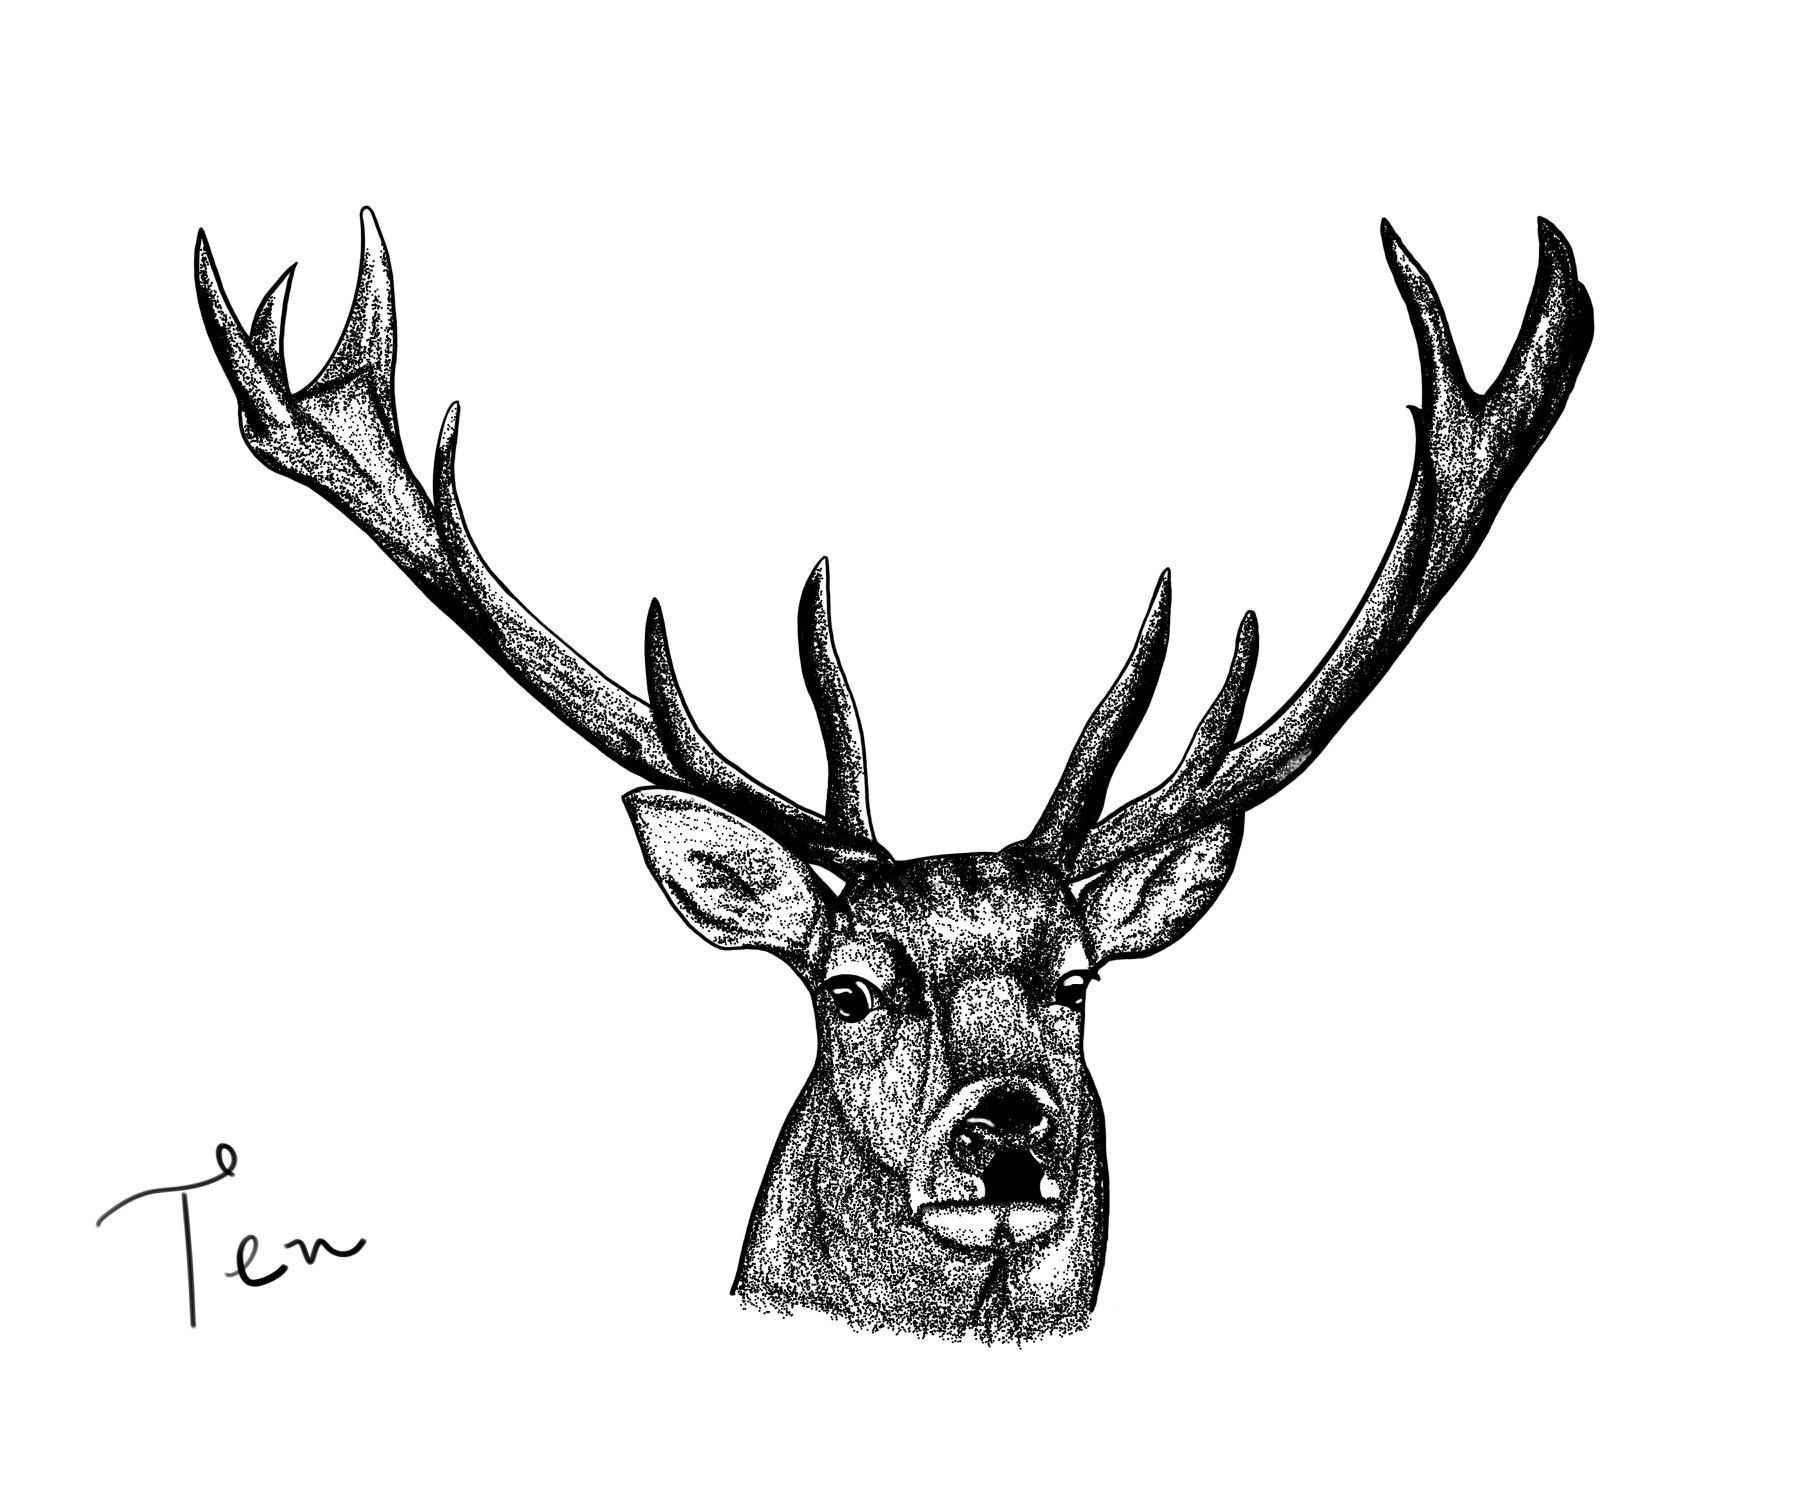
Example from our Pro Member Students Danta Griffthy on sketching a Deer 10 times, as you can see, each drawing improves gradually!
Alternately you can also take part in many drawing challenges and contest on Instagram such as drawthisinyourstyle.
Step 5. Set realistic deadline
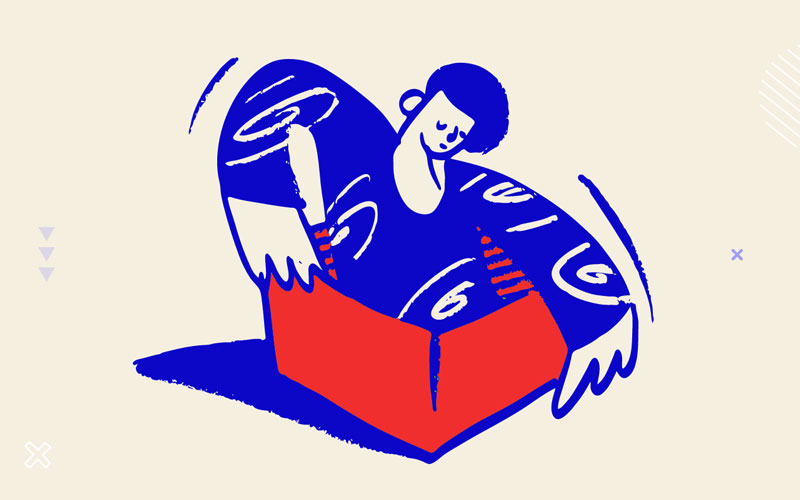
Once you have a solid sketch, set yourself a realistic time-scale to finish it; otherwise, you will find it challenging to get started. Only give yourself a maximum of a one-week deadline to complete it. This method is a great way to juggle both family life, a full-time job while working on personal illustration projects.
Step 6. Review and repeat steps
Share your artwork on social media for feedback. Evaluate your designs and see which one got more likes or saves. This feedback will help you determine what makes your work more appealing.
Keep on repeating these steps and feel free to combine themes and mix up ideas from reference images.
If you haven't watched it already then watch our tutorial below and find out how upcoming illustrator George Tonks found his illustration style!
Additional Help
Book Recommendations
Steal Like an Artist: 10 Things Nobody Told You About Being Creative
Keep Going: 10 Ways to Stay Creative in Good Times and Bad
Show Your Work!: 10 Ways to Share Your Creativity and Get Discovered
How to Draw Almost Everything: An Illustrated Sourcebook
Terryl Whitlatch - Animals Real and Imagined
Chris Ayers - The Daily Zoo series
Raul Moreno - Drawing Animals (Masters of Anatomy Book 5)
Ken Hultgren - The Art of Animal Drawing
Drawing Techniques Tutorials
Conclusion:
Don't worry about having a style too much; this will stop you from getting started. Ironically the more you draw, the more chance you have developing your style as you will naturally gravitate towards particular colour combinations, shapes and techniques.
UP NEXT
A list of contemporary artists whose illustration style we love, each style is unique and easily distinguishable
LEARN ADOBE APPLICATIONS
from Adobe Certified Instructors and industry professionals


