Have you ever fancied making fun and amusing caricatures using Photoshop?
In the most recent updates to Photoshop, they have introduced split warp, which makes it easier to create more accurate and complex distortions using a customisable mesh.

Watch our full tutorial and follow along to learn how you can transform photos into fun, exciting caricatures. You will learn how to play around with images non-destructively using split warp and puppet warp.
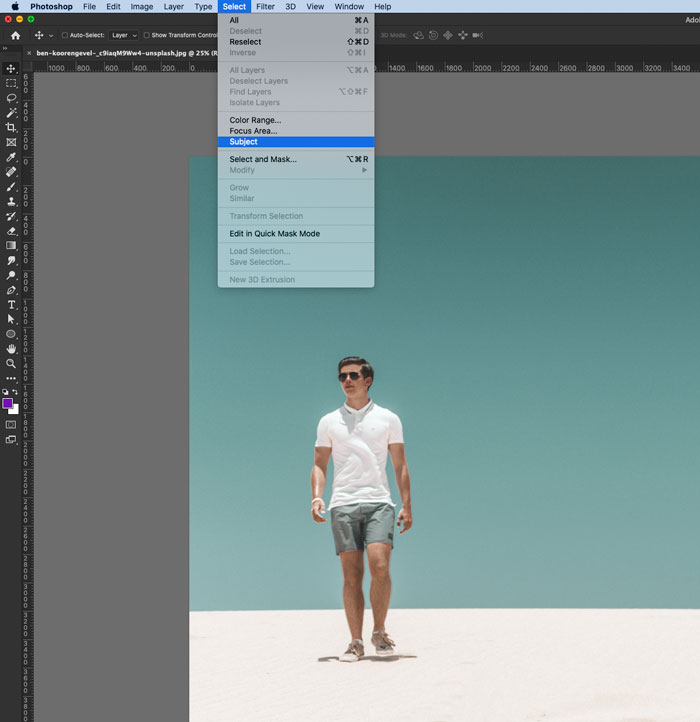
Step 1: Extract the object.

Martin uses the subject select feature (which relies on artificial intelligence) to extract the object. As long as the background is not too detailed, it produces a good result very quickly. Once you’ve separated the object onto a separate layer, the eraser tool can tidy anything the subject select tool misses.
Step 2: Prepare the background.
For puppet warp and split warp to work better, it is better to delete the background and not keep it as a mask, because you will get a better fit for the distortions when there is no background visible. Even though you will be creating a whacky caricature, you still need to preserves the shadows on the background, to stop the object looking like it’s floating and unnatural.
Step 3: Convert to smart object.
By turning the object into a smart object, the distortions are non-destructive, allowing changes later on. If you are thinking of using both split warp and puppet warp on your work, it is advisable to your workflow e non-destructive.
Step 4: Split warp

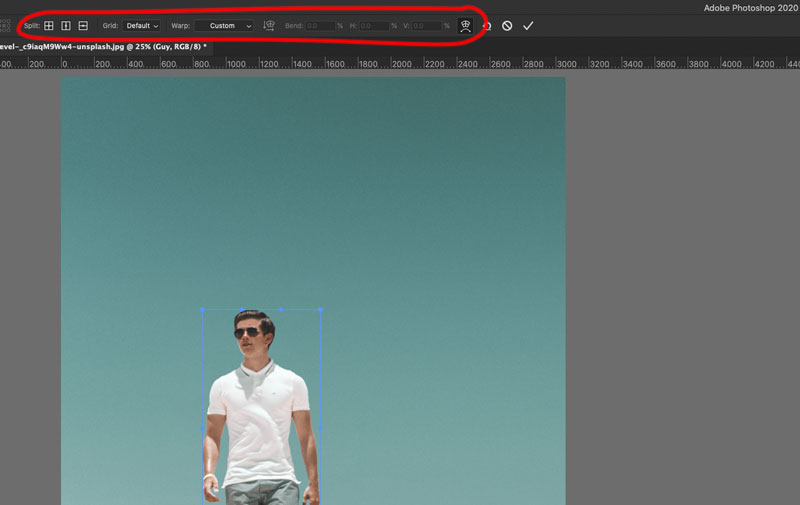
Next, it’s onto the fun warp effects! We are going to focus on the new split warp, allowing you to do much more complex and specific warps.
The first step in turning someone into a caricature is to make the head bigger. You can follow Martin in the video as he defines new mesh points to create a bounding box around the head and various other parts of the body that he will manipulate.
Once you’ve selected your points, you can distort the image, move things around, rotate and resize without affecting any other parts of the picture. You can have precise control over tweaking adjustments using handles that appear on individual points.
Step 5: Puppet warp
Using smart objects allows you to stack other distortions on top, like the puppet warp feature. When you add pinpoints to areas of the object, you can begin to rotate and move the character around. You can quickly and easily change the pose and even make the person dance – all while the rest of the parts of the body perfectly interacts. You can have some real fun here!
By altering the stacking order, you can not only move body parts in front of the body, but you can also move them behind. Check out the video where Martin has the caricature attempting the swish dance move!
If you create something with these techniques and would like to share it, please use #yesimadesigner so we can find it on social media.

Are you interested in becoming a Graphic Designer or Illustrator?
Join 10,000+ creatives and subscribe to our FREE Graphic Design Survival Kit newsletter.
You’ll get instant access to our resource library and feel well equipped to make that next big leap in your design career.
UP NEXT
We are excited to share our 7 go-to techniques to help you enhance your skills as a designer.


