Instagram is no longer just the place for cute pet photos and to show the world what you are having for lunch. It's grown into an amazing marketing tool, a way to start and develop and promote business or even as a way to make a name for yourself as a social influencer.
All of this said the core of Instagram is still the same. It's almost entirely visual. Don't get me wrong captions are very important and obviously your tags are essential but if you don't have great images even the wittiest copy writing won't help draw attention to your images!
I enjoy developing my own personal account as well as our business account at YES. A place where we aim to show you guys what is keeping us inspired and further develop our connection with you, our creative community! In this post I will give you some handy tips and advice for both taking and editing images.
So you can create a killer Instagram account!
1. Define the purpose of your account:
Even if you are just planning on growing a personal account to be proud of it's important to think about why you have created it, what you want to get from it and what you want others to get from it. Do you have a niche? Why would people follow you? Are good questions to think about to start with!
If you are creating or already have a business account this is absolutely essential! Your profile should have a purpose it could be to inspire, to educate to, to sell, to promote, to make people laugh etc (the list could go on and on.)
I would definitely recommend having a think about this. Obviously don't get to caught up in the details, just have an idea of the direction you want your content to take!
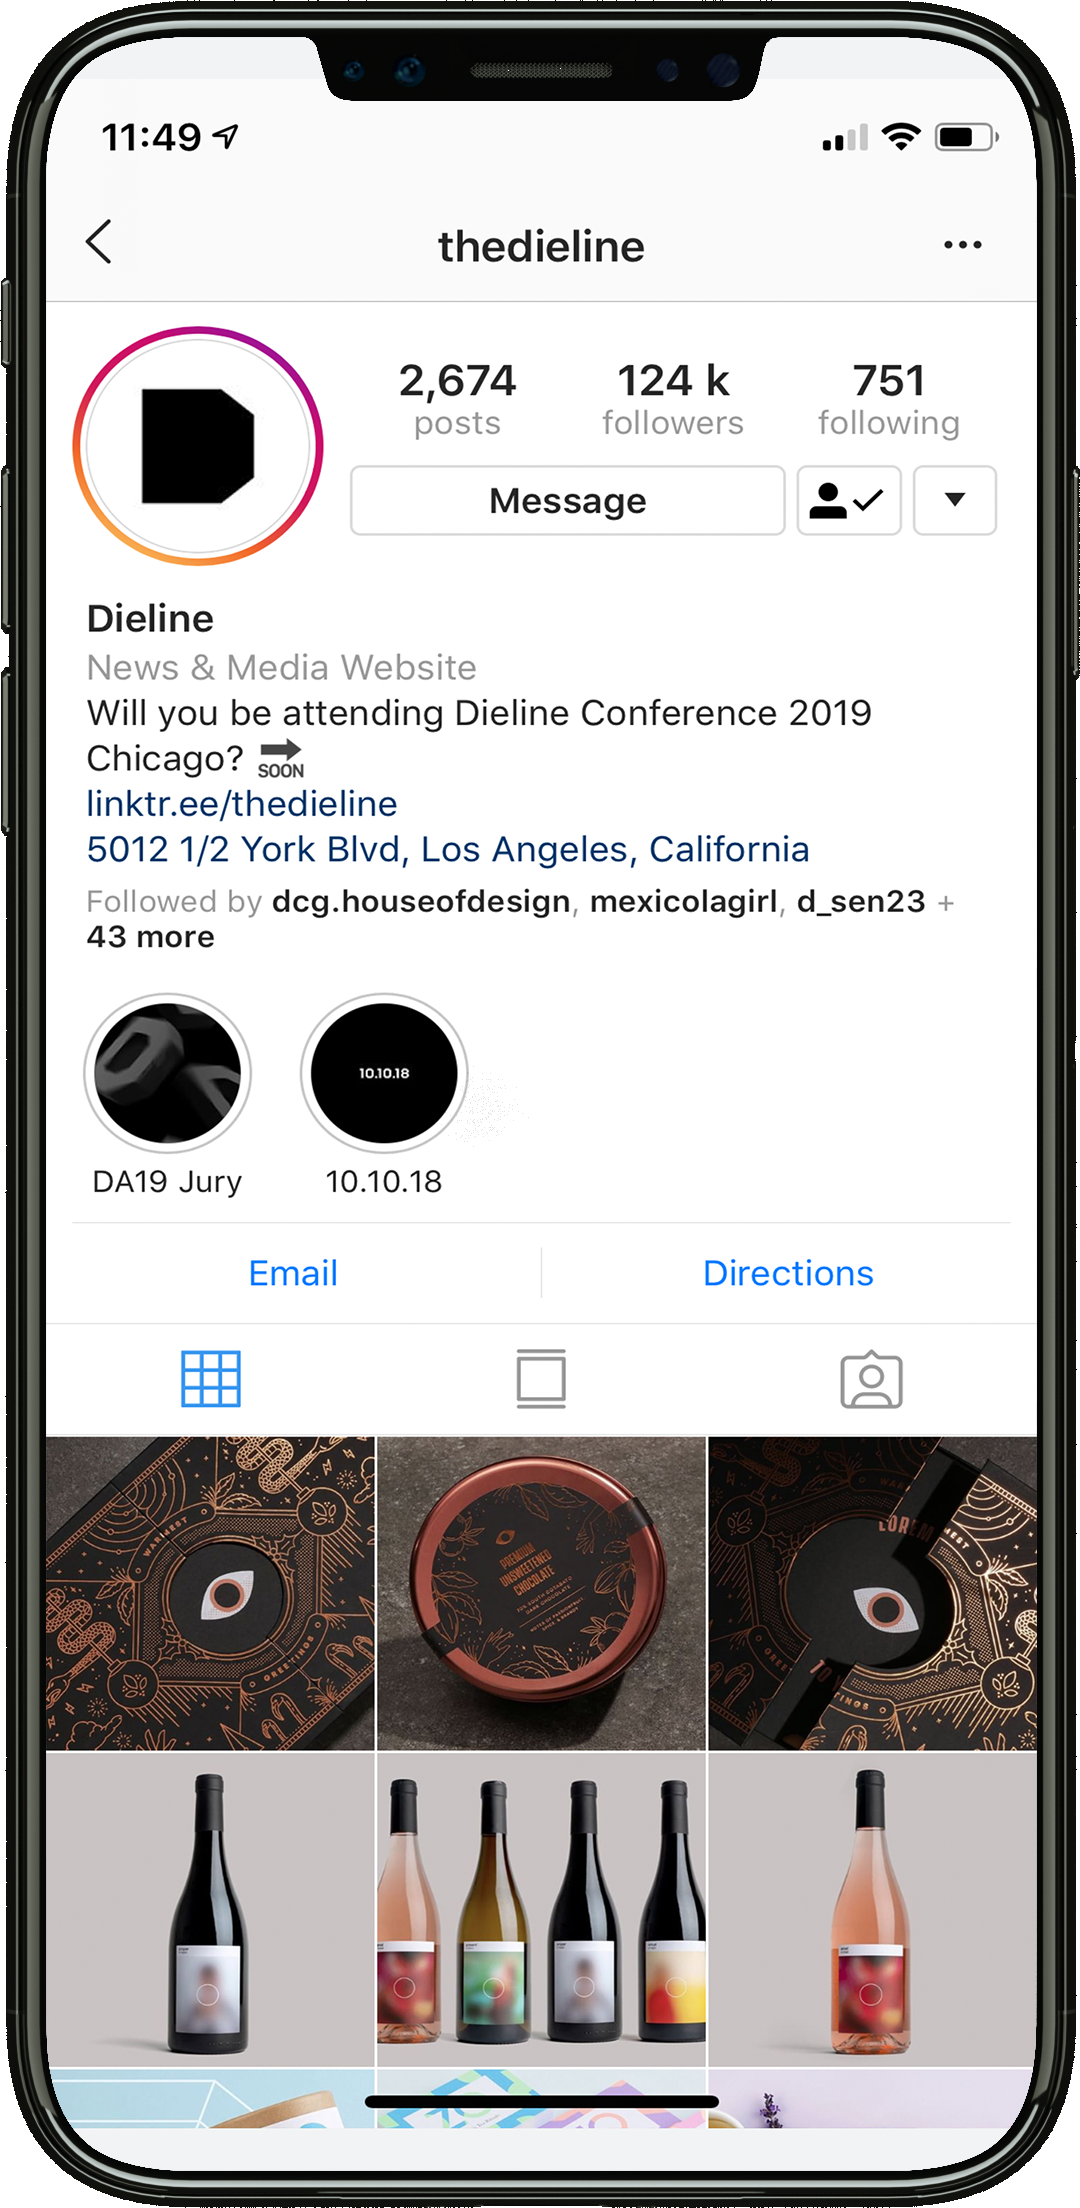
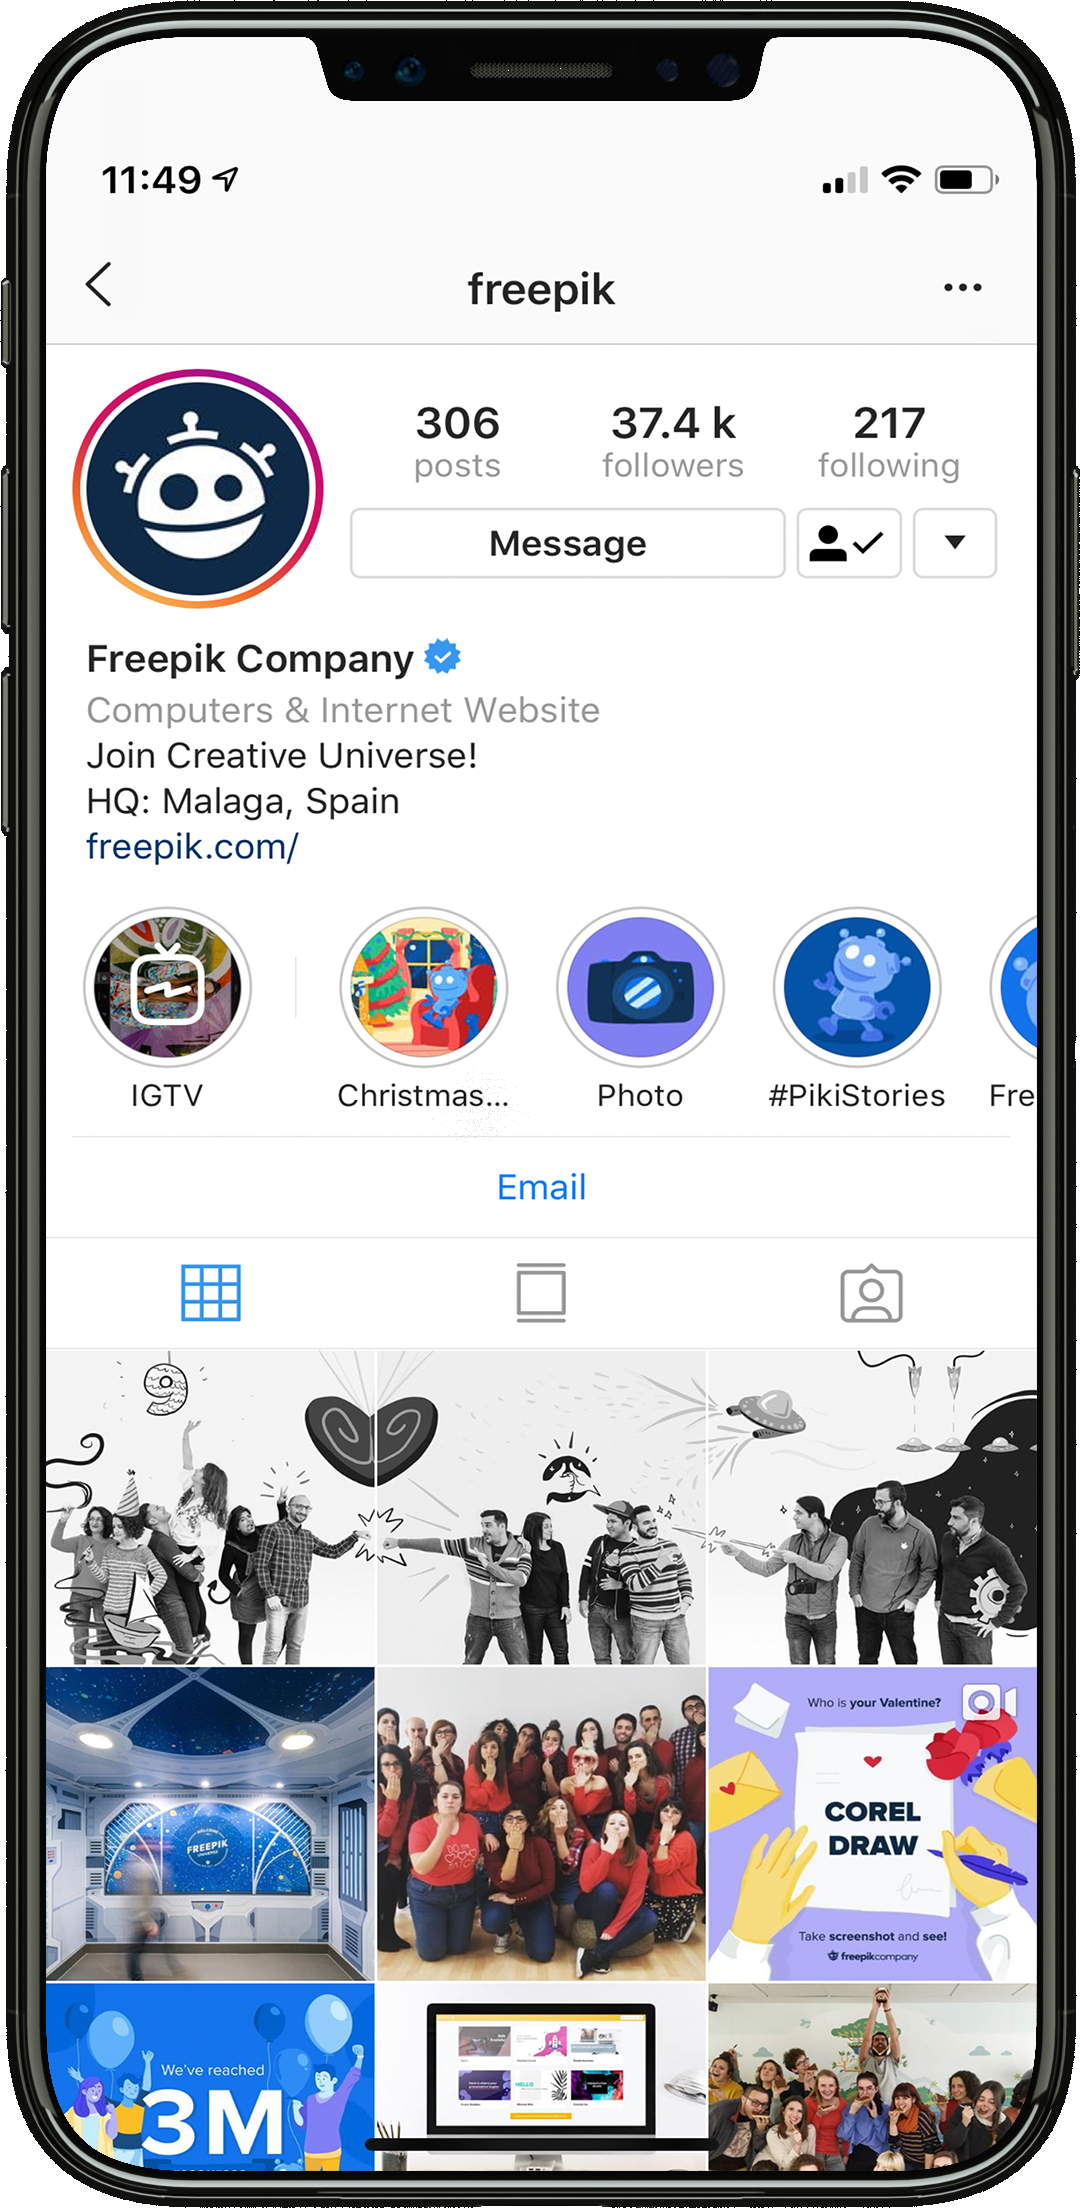
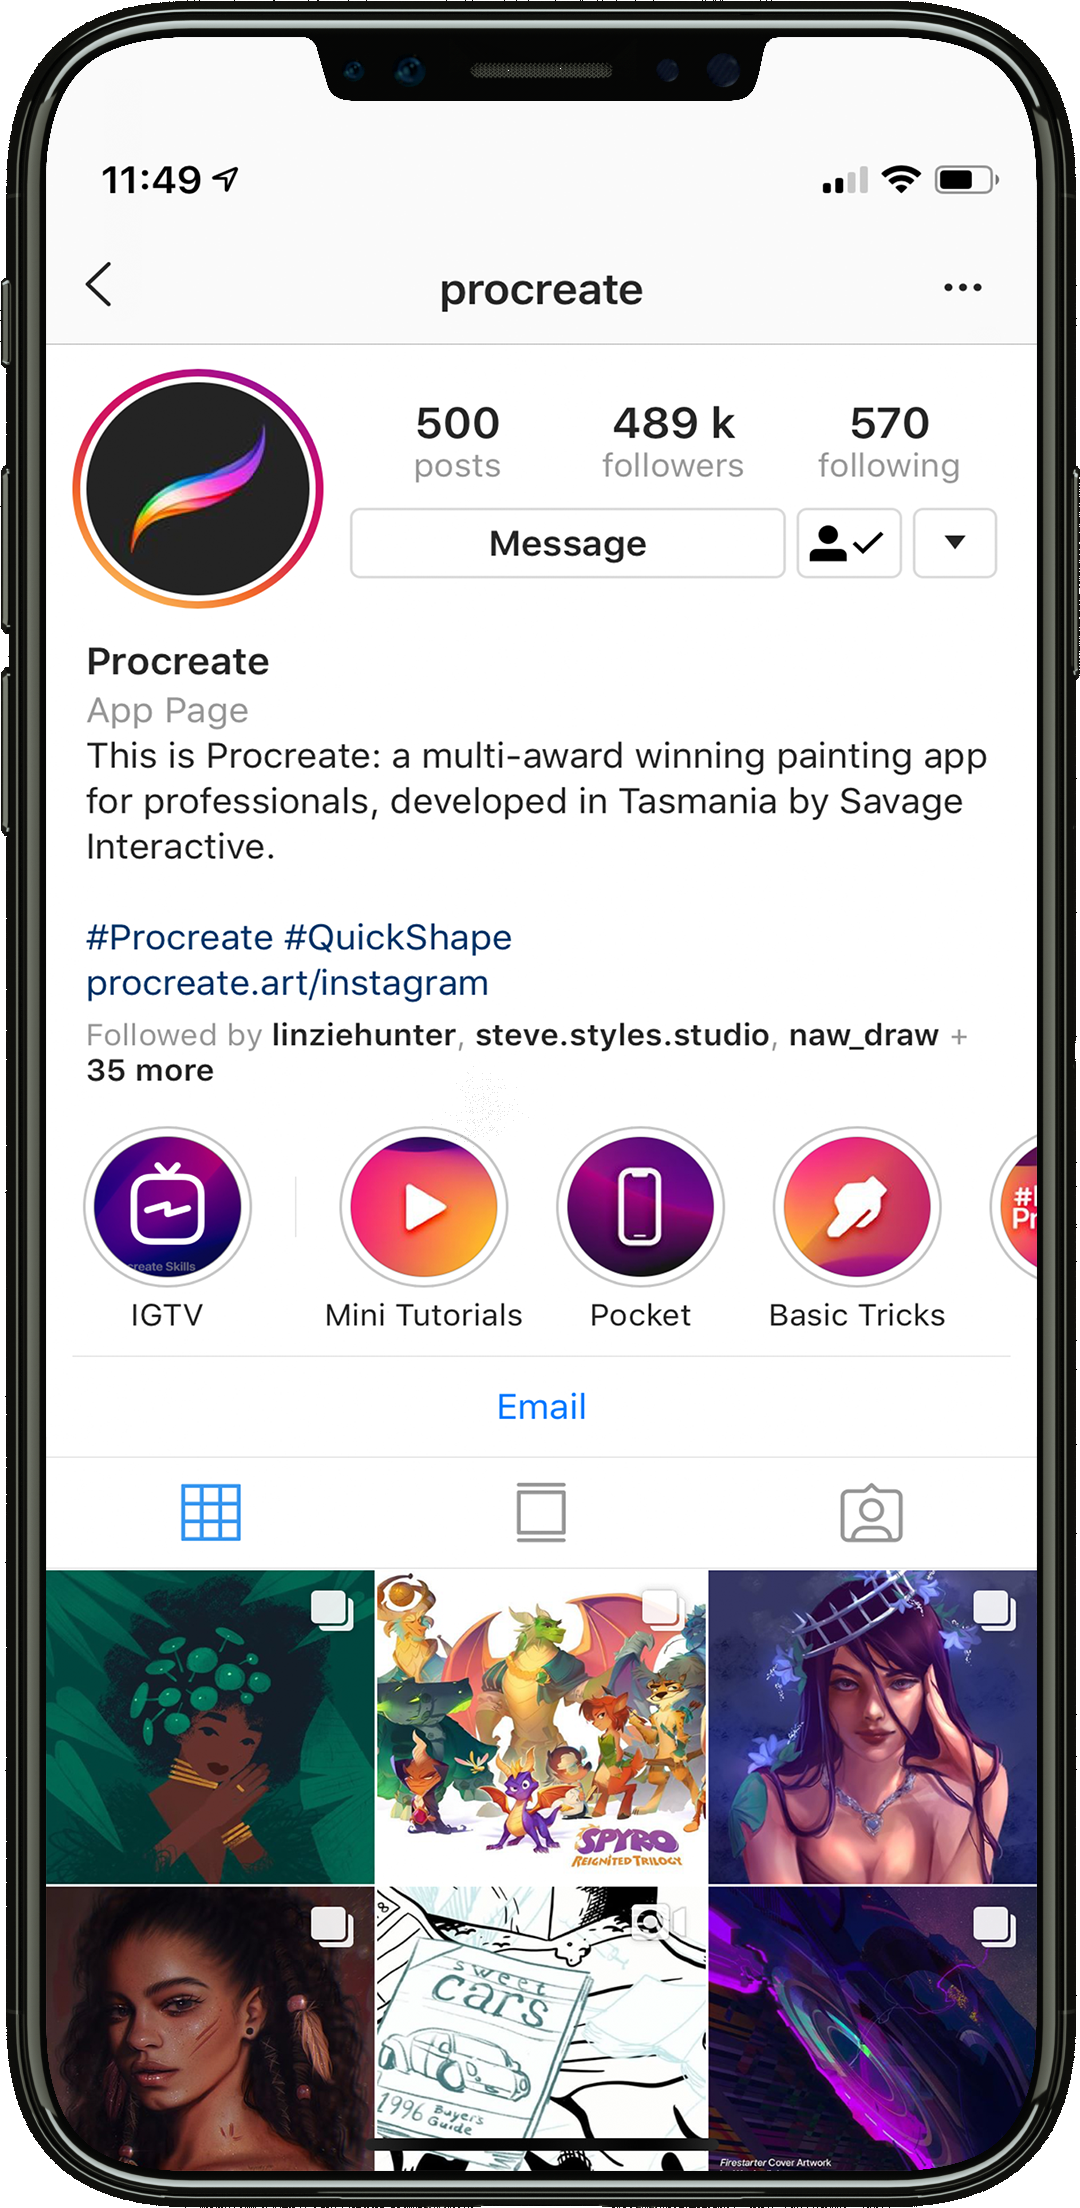
Here's some cool accounts to follow for inspo!
2. Now let's think about taking the images:
If you want to to take great photos that capture peoples attention it's good to know a little about image composition. Having a strong focal (focus) point for your image will help to draw a viewers eye. Let's look at some examples.
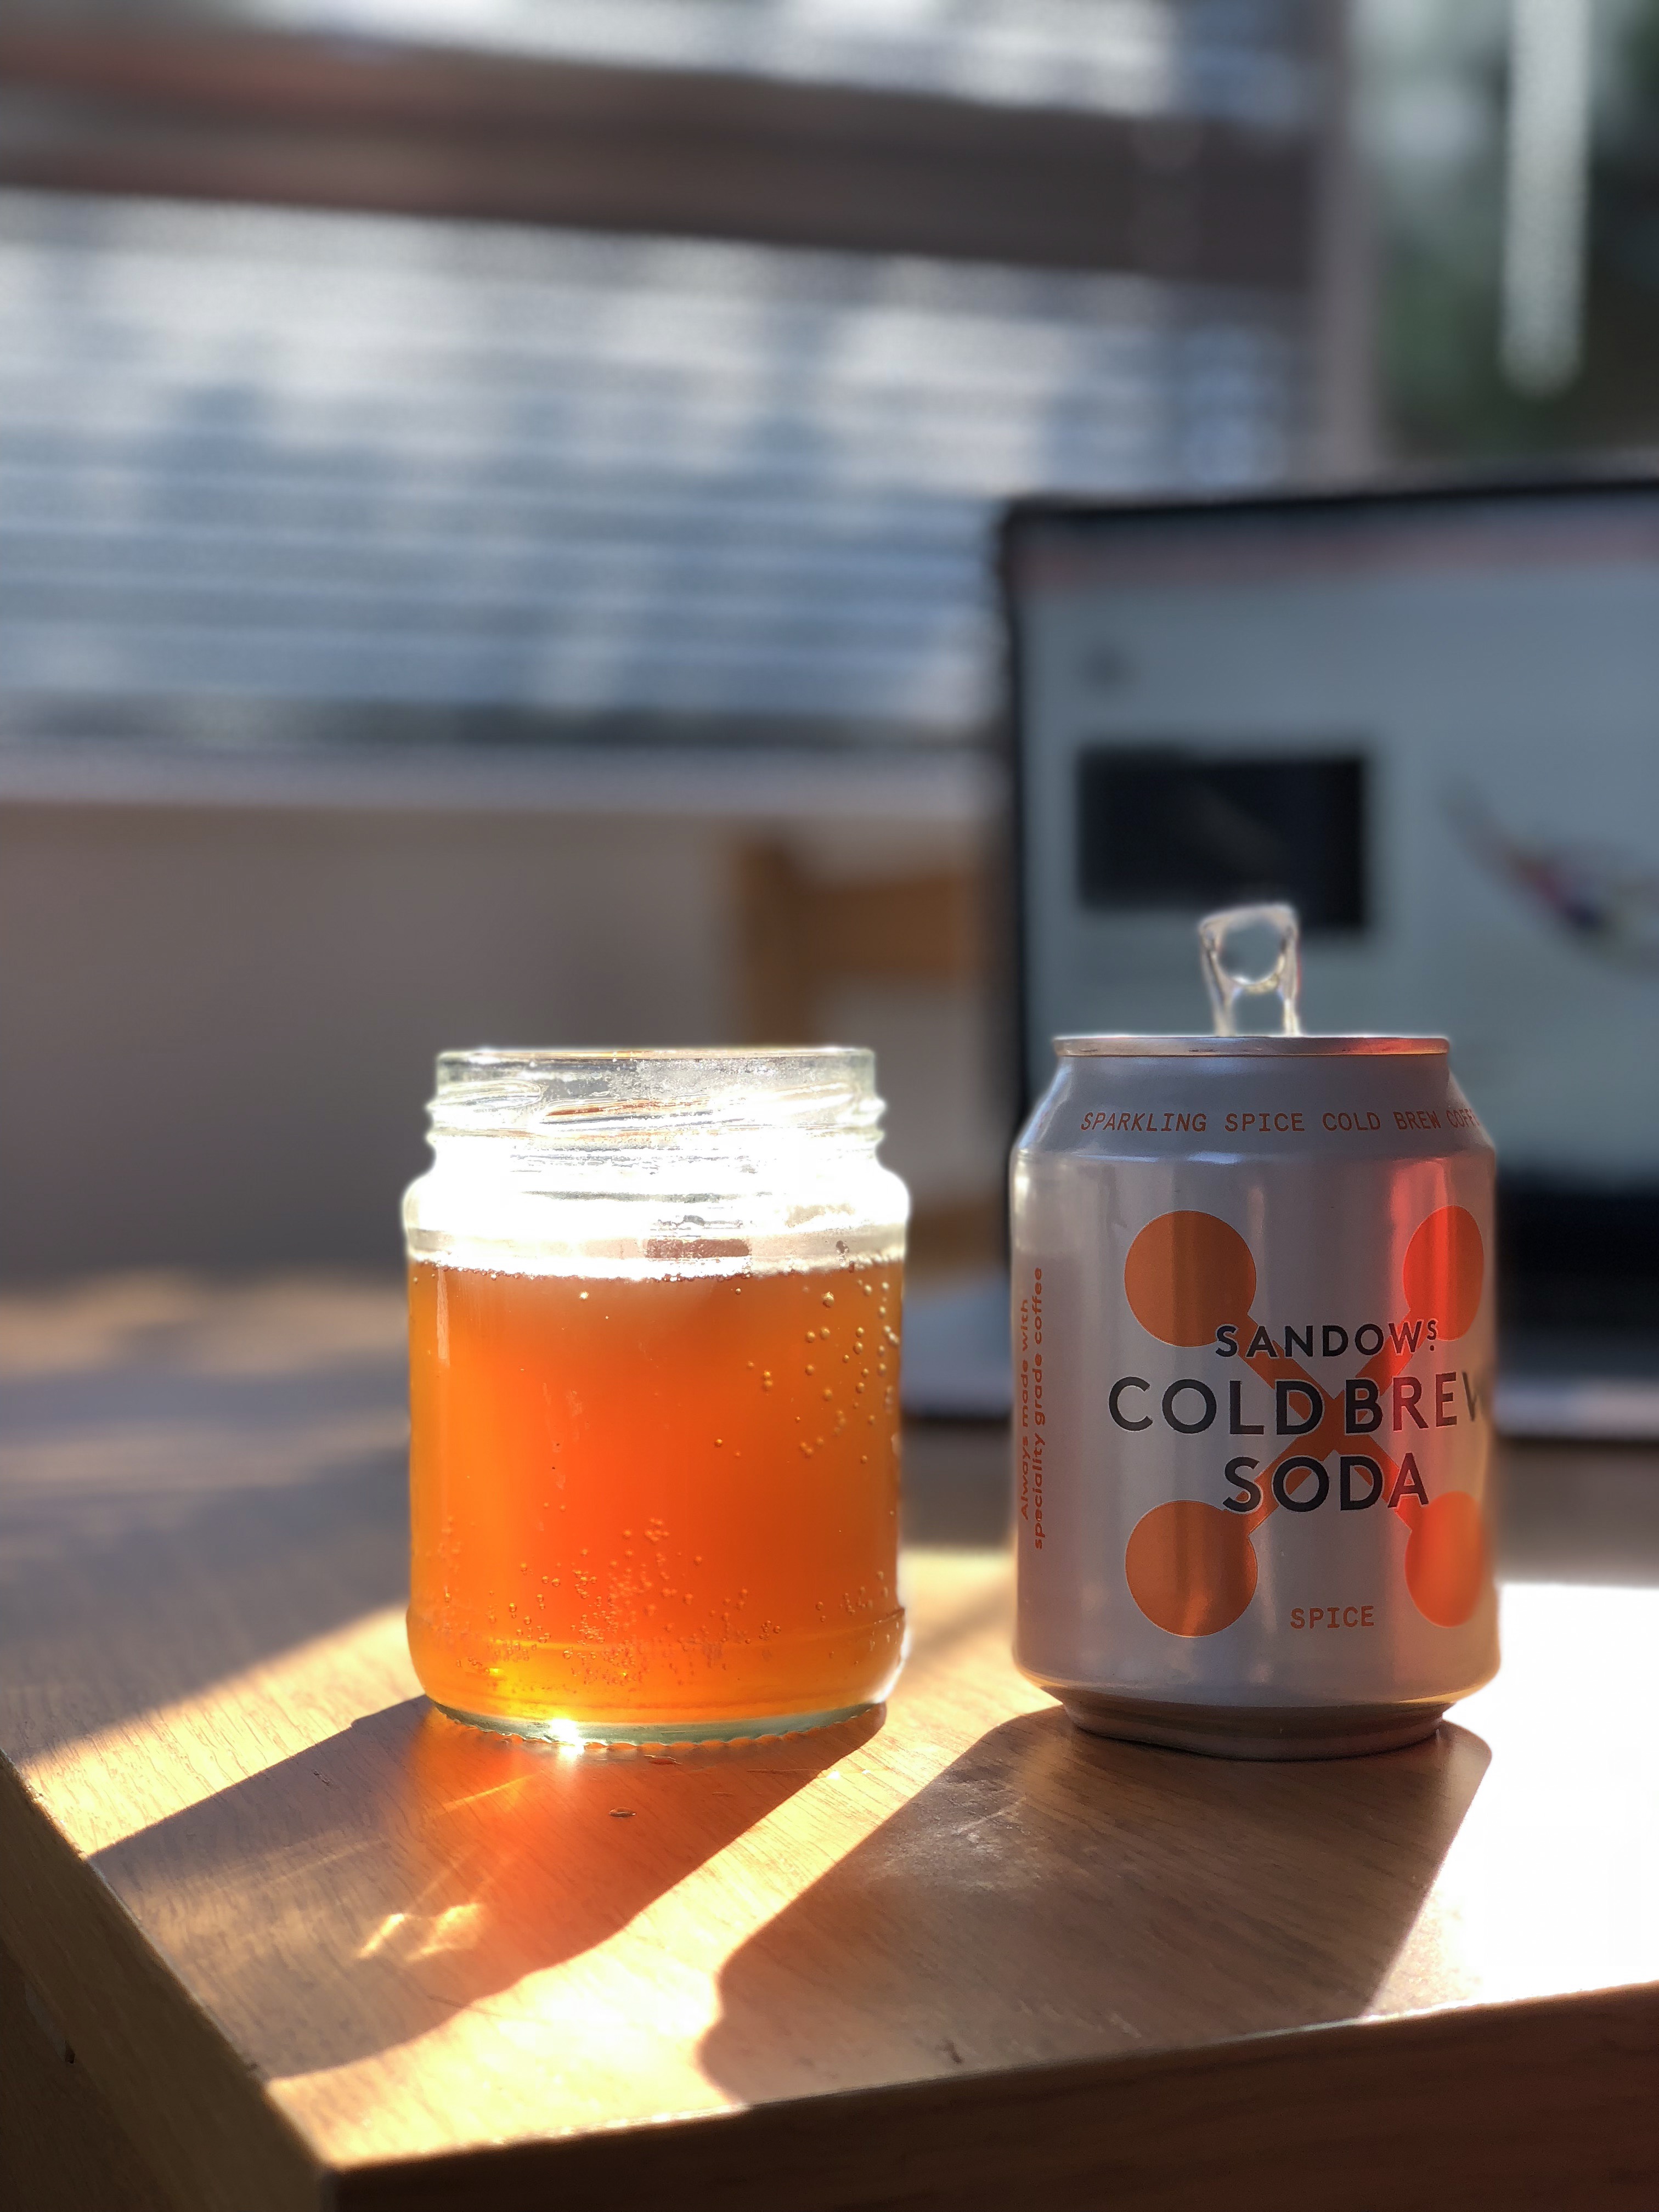
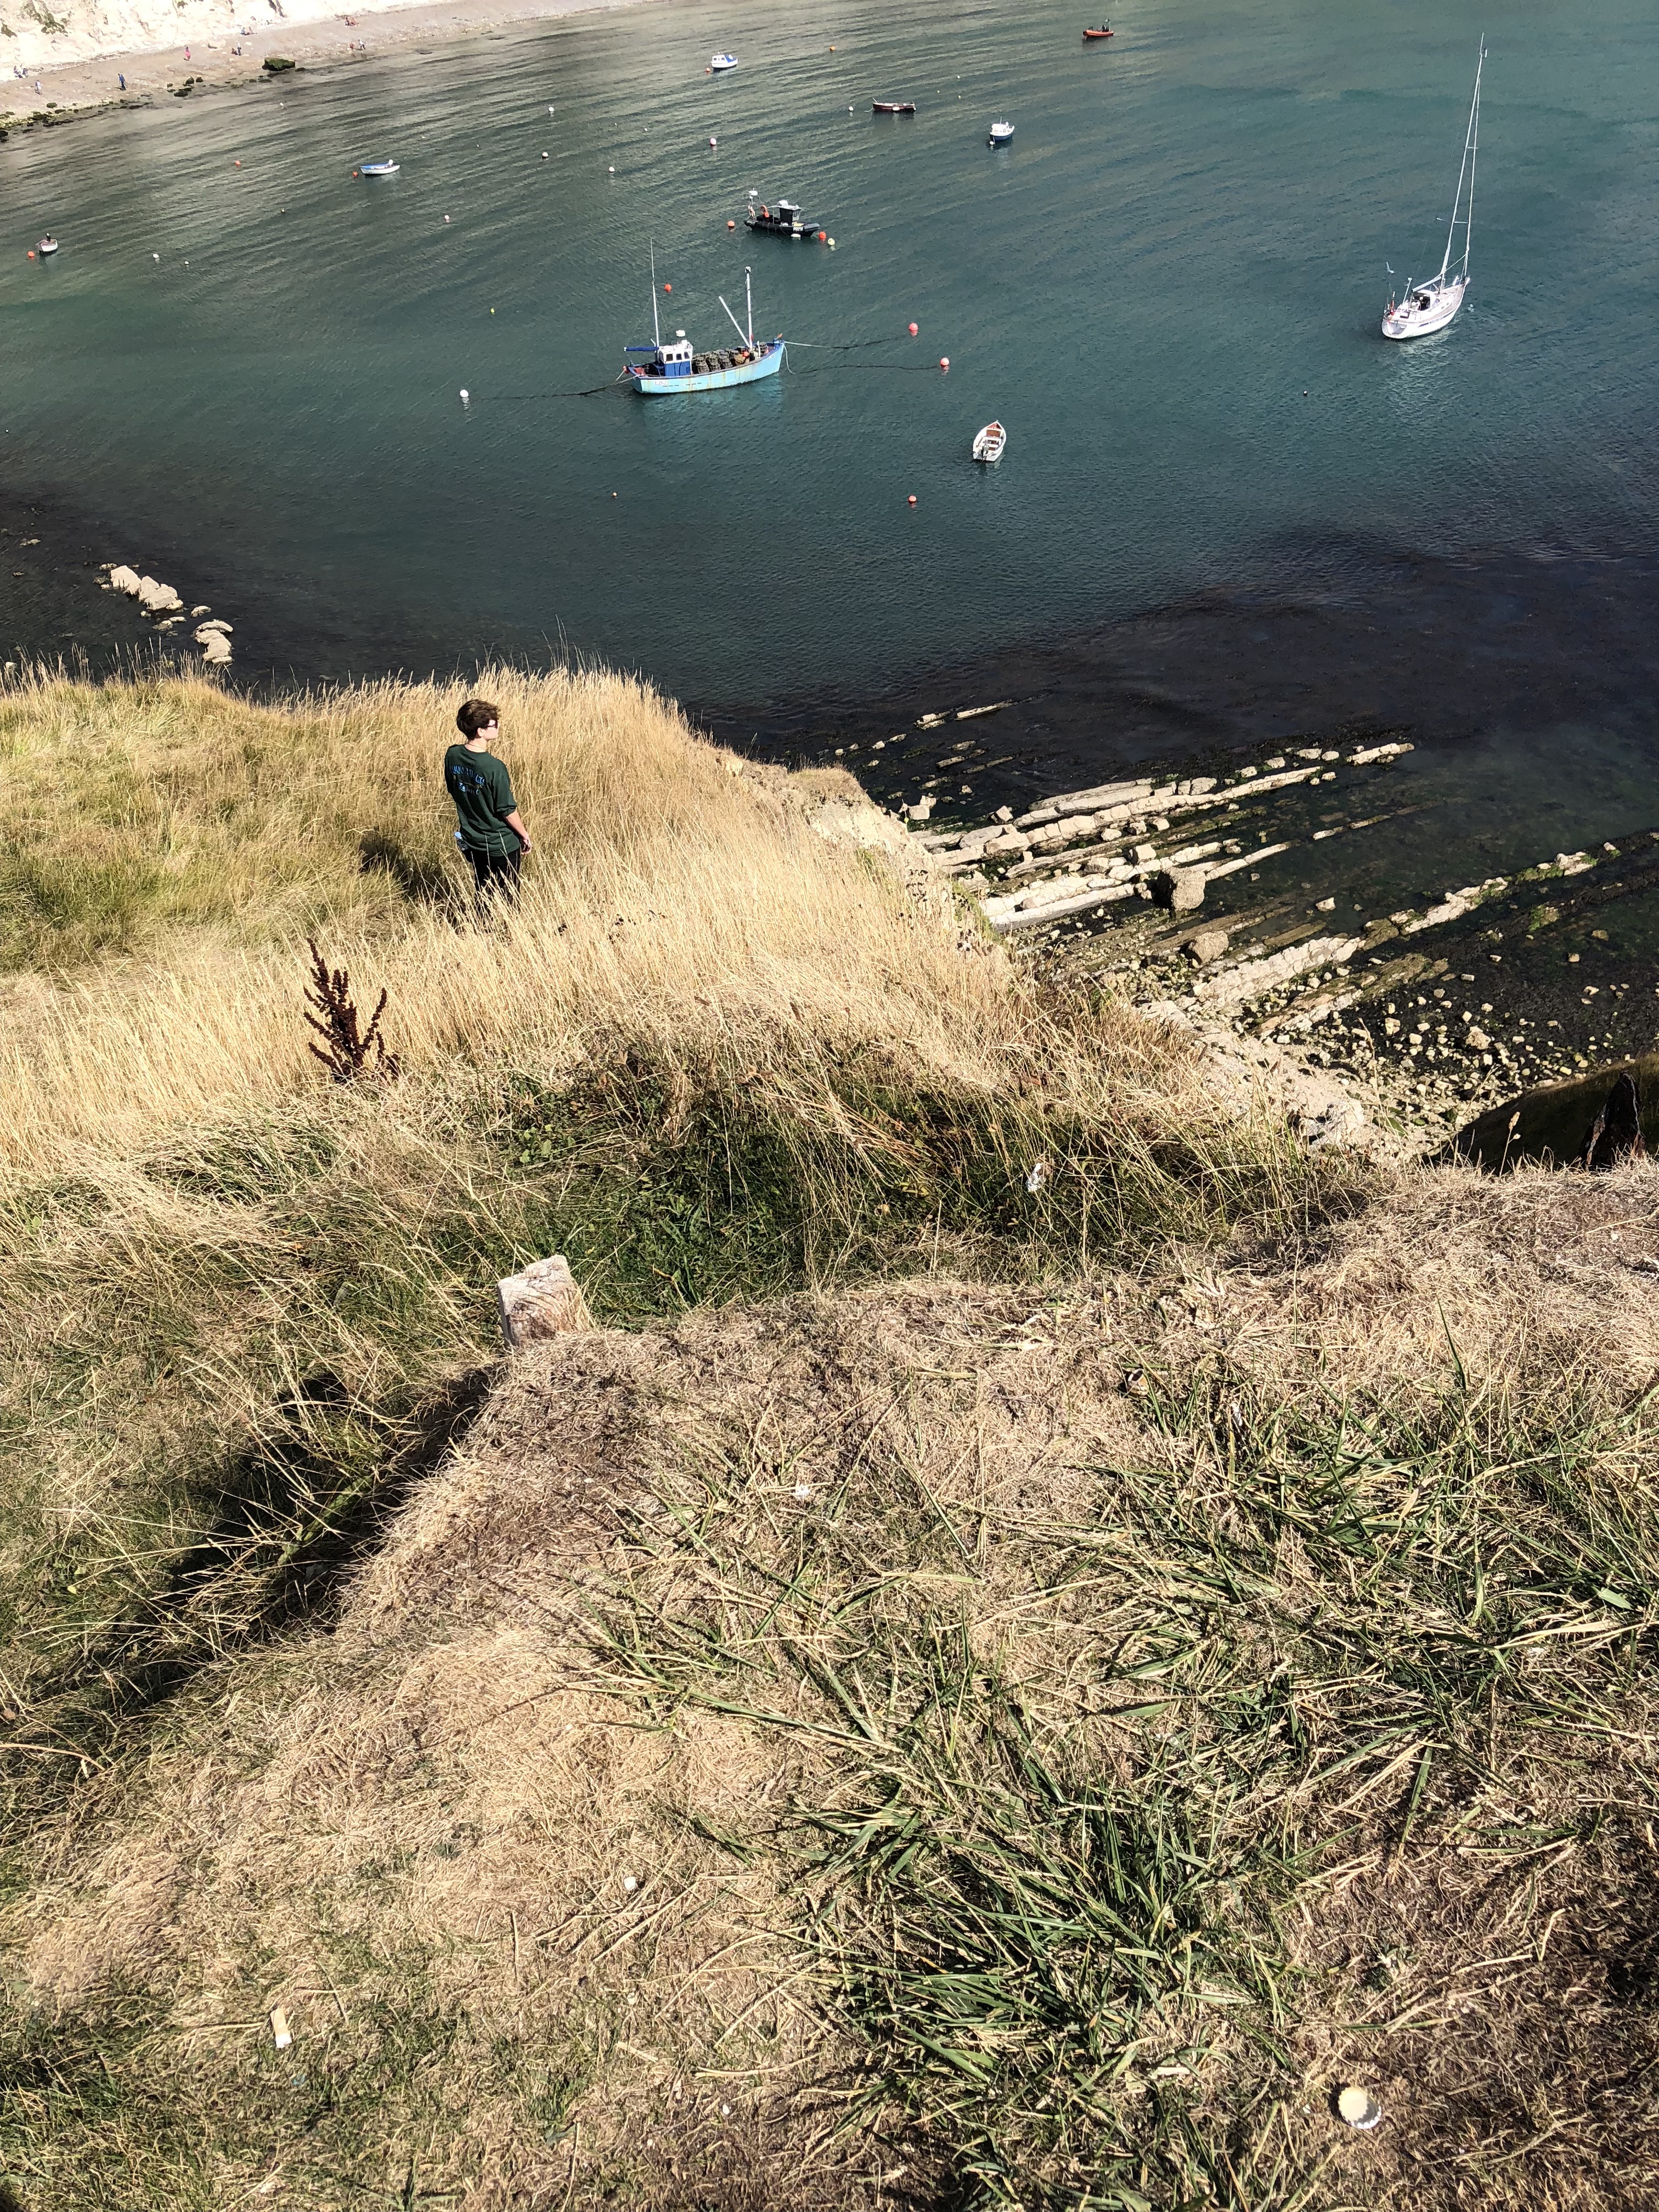
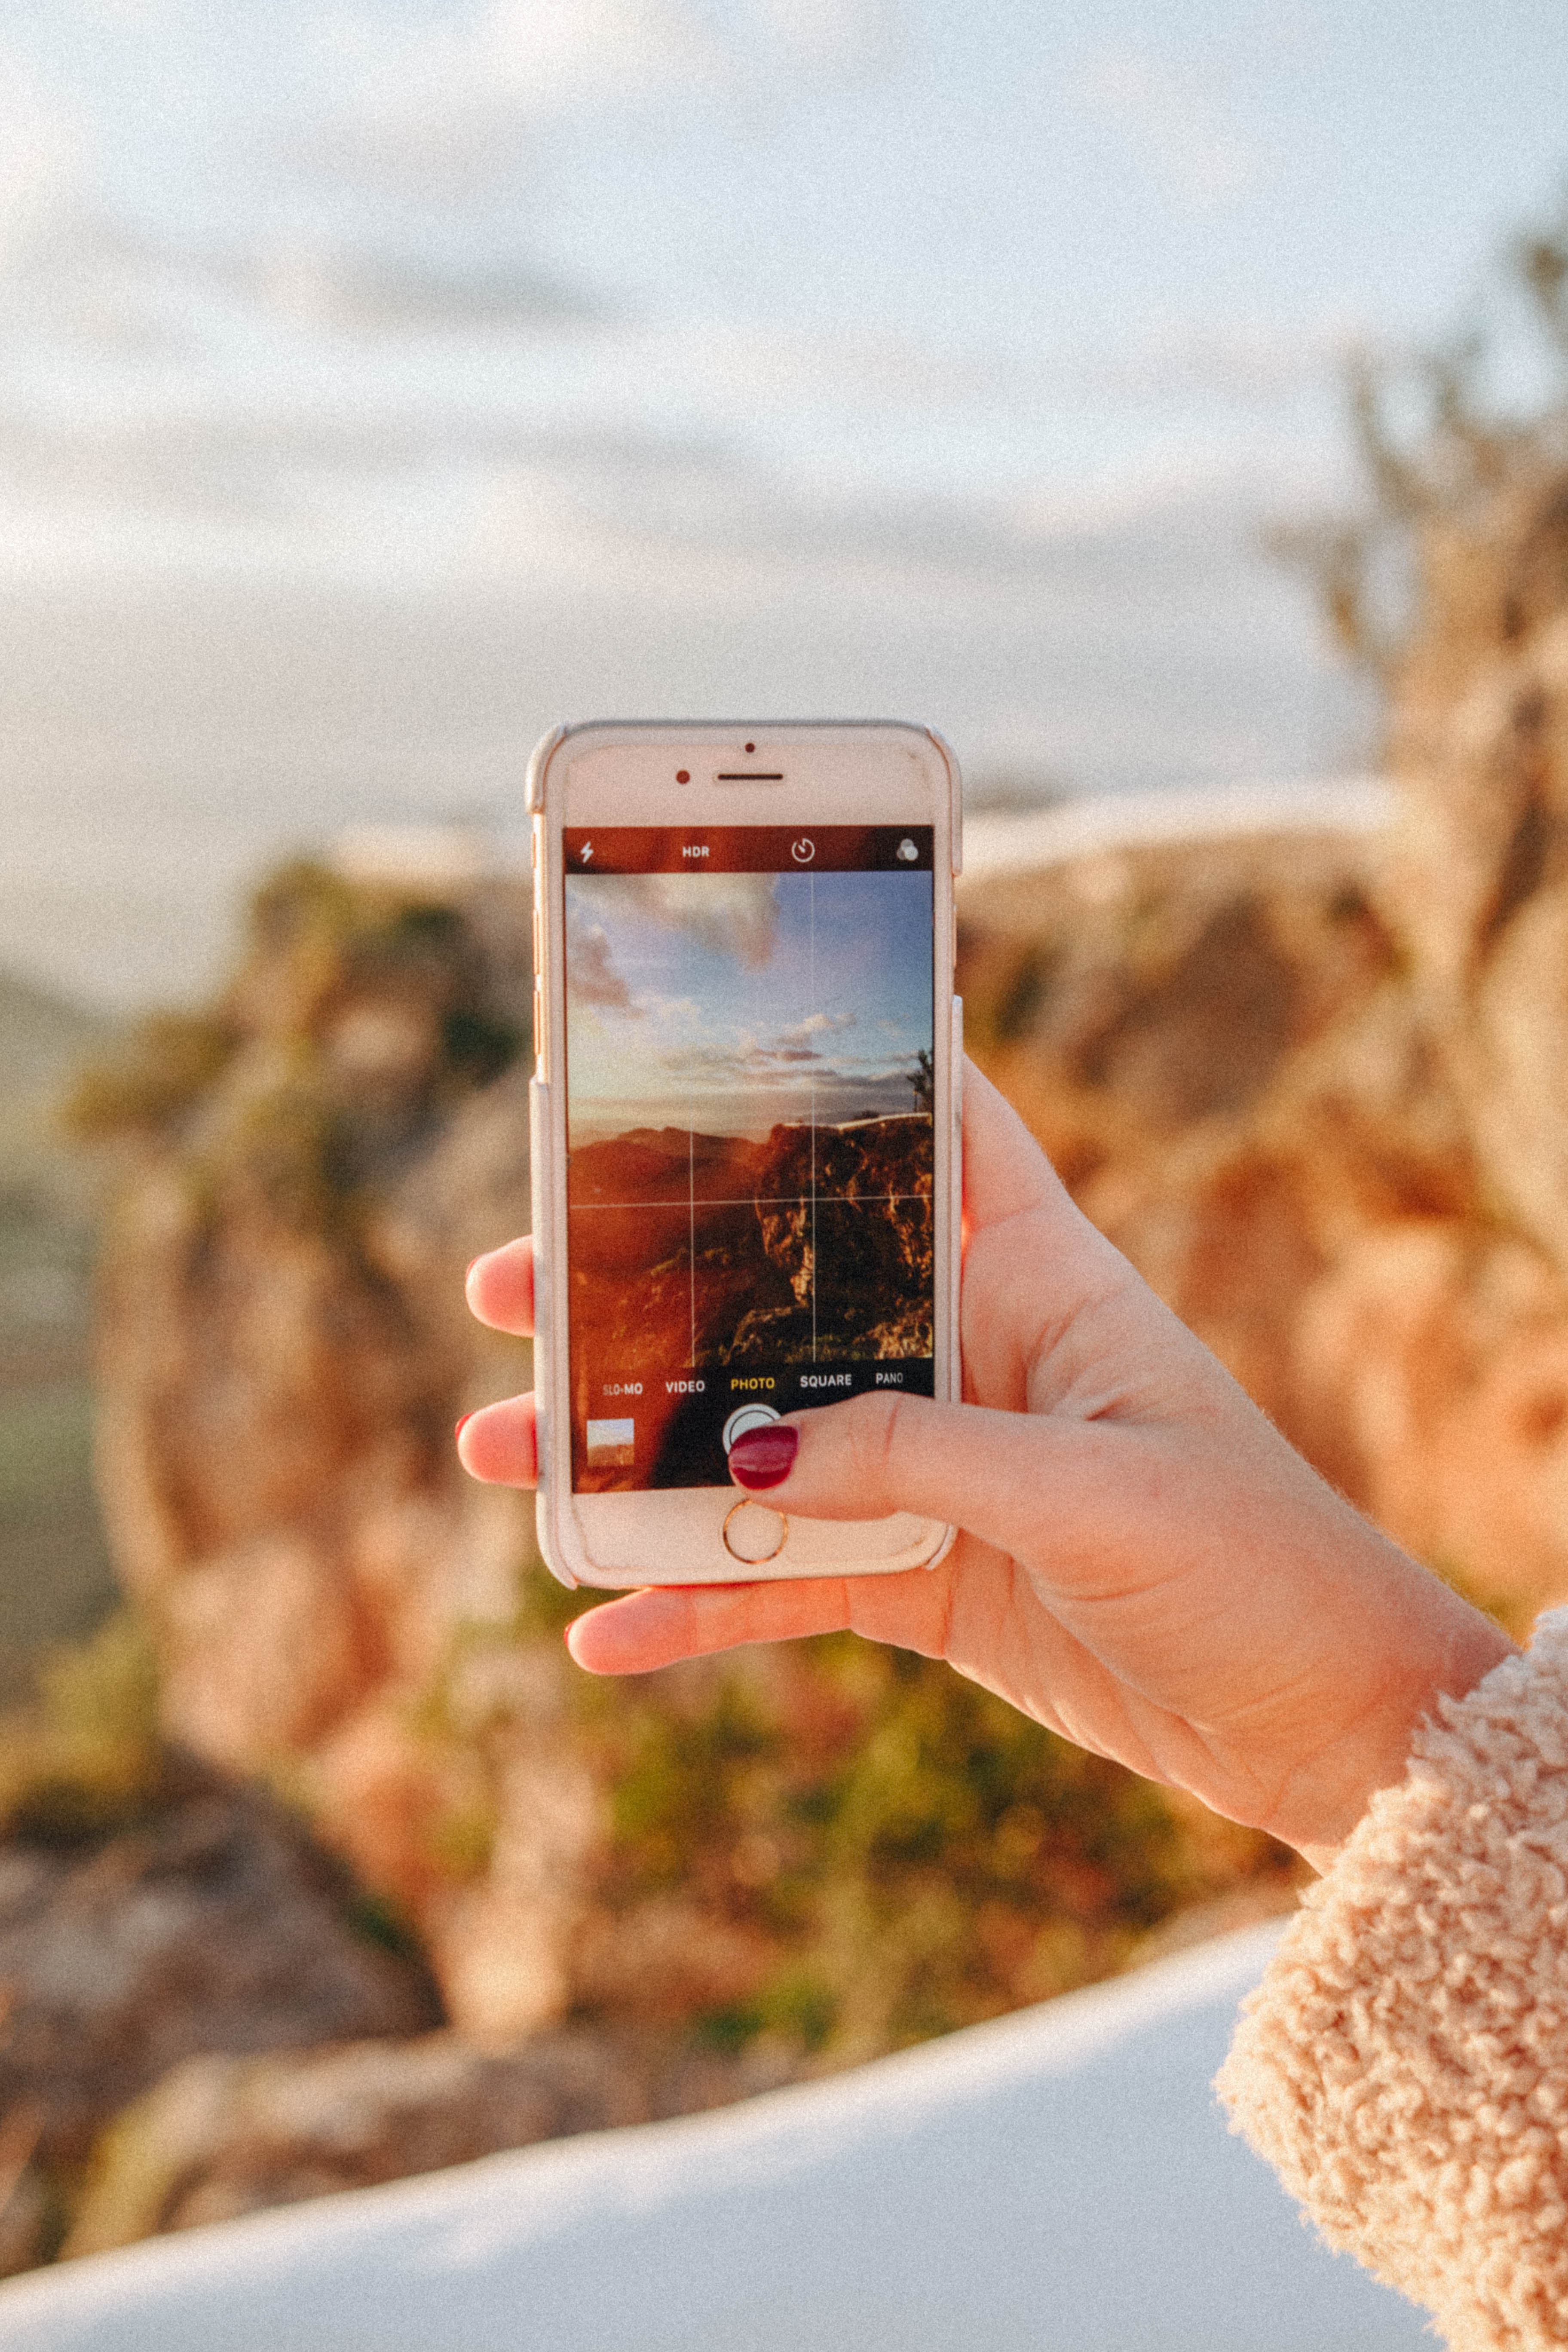
Here both of these images have an established focal point. Although it is much more obvious when it comes to the image on the left. This uses shallow depth of field to draw attention to a product which is the focus for the image.
The image on the right has far more going on but uses the person as a focus or entery point for a viewer. Your eyes are first drawn there before you explore the rest of the image.
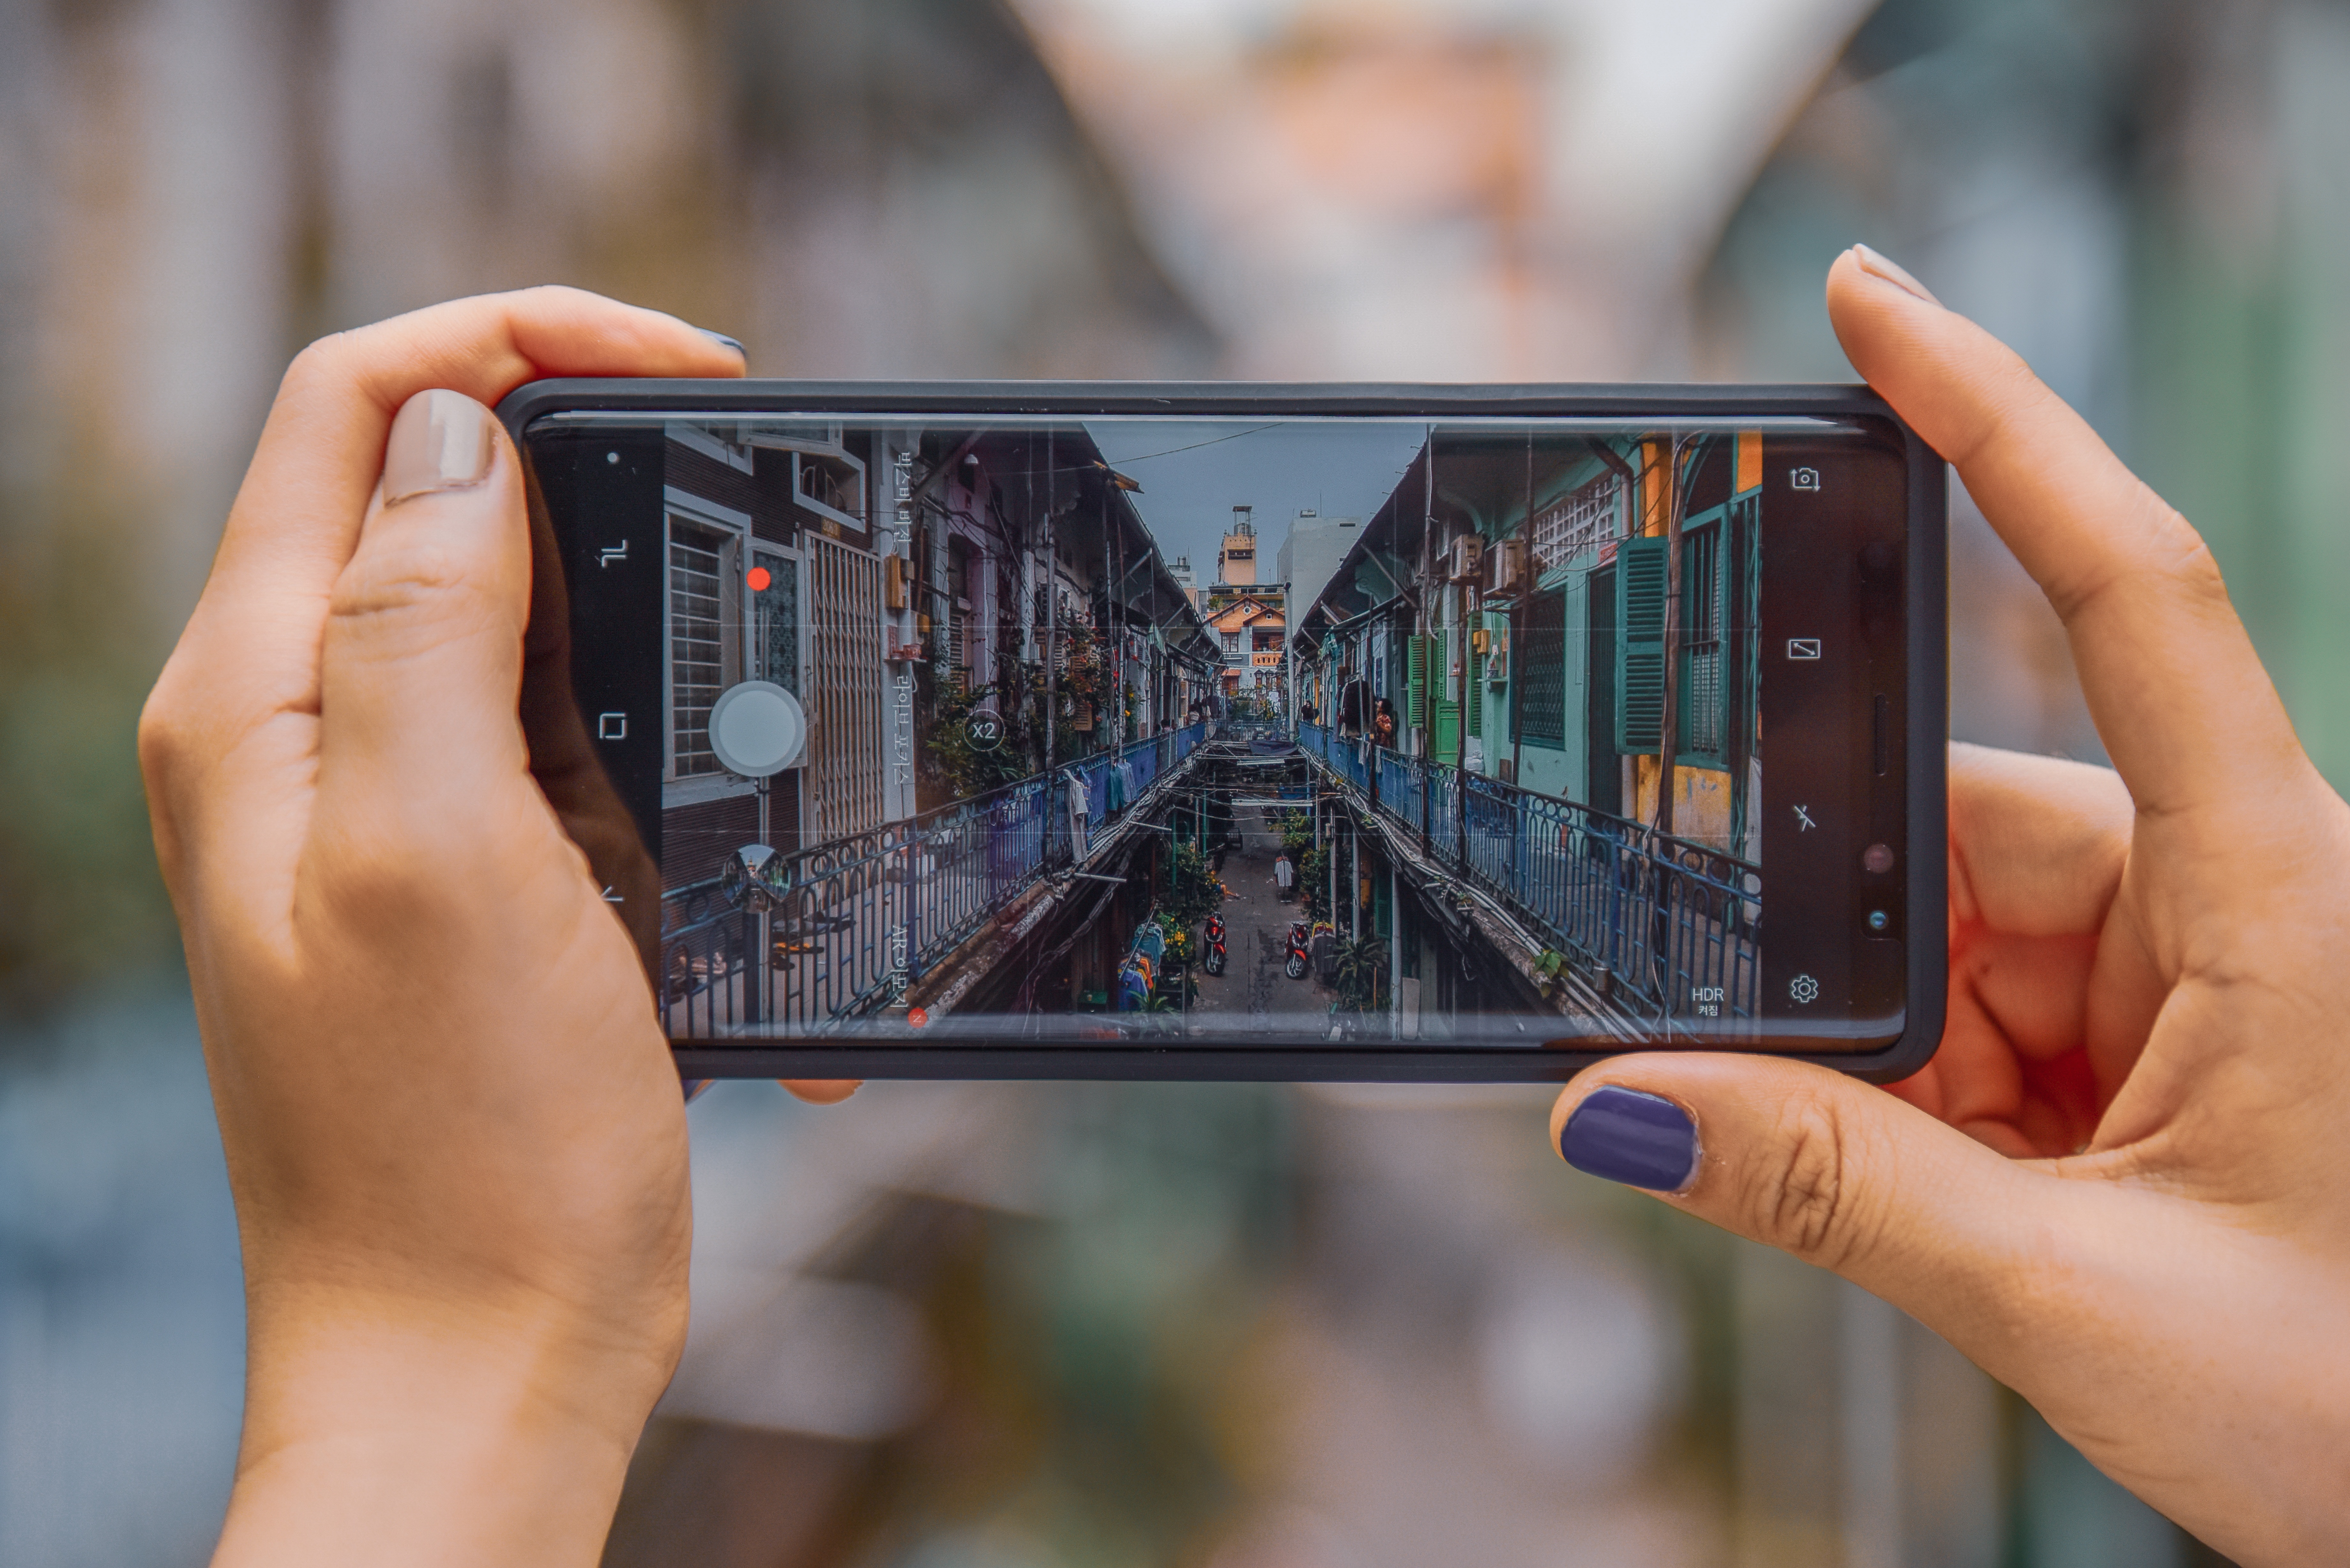
It's also good to get to know the Rule of Thirds. This is essentially a grid you can use to help you structure your images.
In the image on the right, taken by Sonnie Hiles, you can see an example of this grid. The idea is you want to place foal points for the image at points where the lines meet. Or to line them up along on of the vertical or horizontal lines.
I would definitely recommend a little bit or research into this piece of theory!
Image from Unsplash taken by Sonnie Hiles.
Here's some more general tips to keep in mind when getting those perfect shots!
- Make sure your image is in focus.
You might want the whole image to look sharp or you may just want a certain portion of the image to be in focus. This really depends on the type of shot you are getting. But either way be sure the right part of your image is in focus! It's essential to a good photograph. - Natural light is always best (unless you have some handy studio lights lying around.)
You may have already noticed its way easier to take good images in natural sun light. Just like your eyes a camera can see way more when there is more light. Meaning it can capture more detail with a lot less strain. The less light you have the harder the camera has to work and that's when your images start to look grainy (this is usually referred to as noise.) - Keep looking at others photos to stay inspired and learn.
It's great to see the way others frame their shots and learn from the angles they use. Look at all types of content, not just stuff similar to your own. The more you look the more you will learn and develop your own style of photography. - Have fun and enjoy experimenting!
Don't be afraid to get into some weird positions to get that shot, we have all done it! And anyone judging just wishes they had the guts to do the same.
Image from Unsplah taken by Suhyeon Choi
3. Next up is editing!
I would suggest using the Adobe Lightroom CC mobile app. It's pretty easy to use and pick up as you go. Plus if you want a few points I wrote a separate post on how to use it!
This application will give you a lot more control over the outcome of your images. It also has built in pre-sets perfect if you need a quick edit on the go!
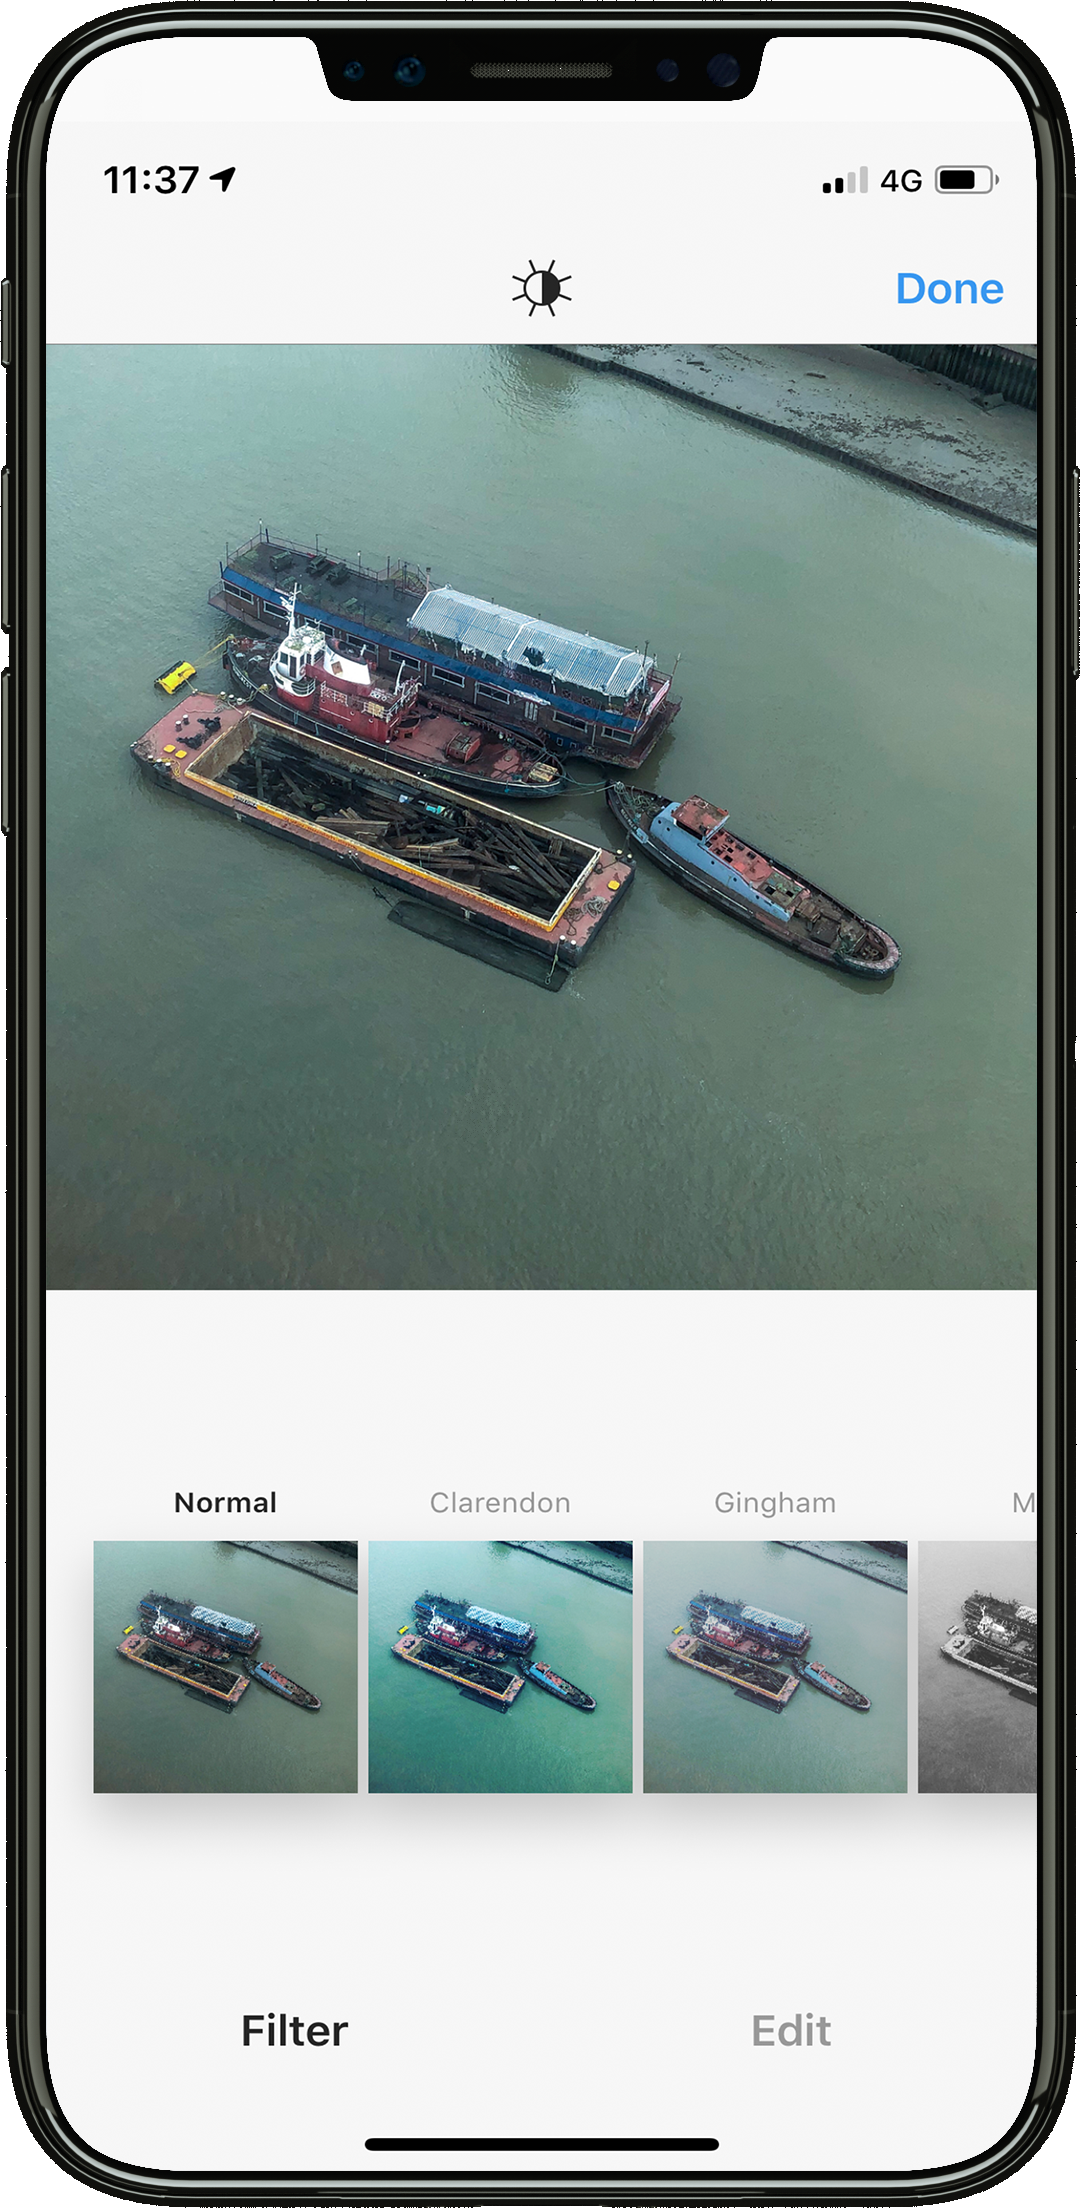
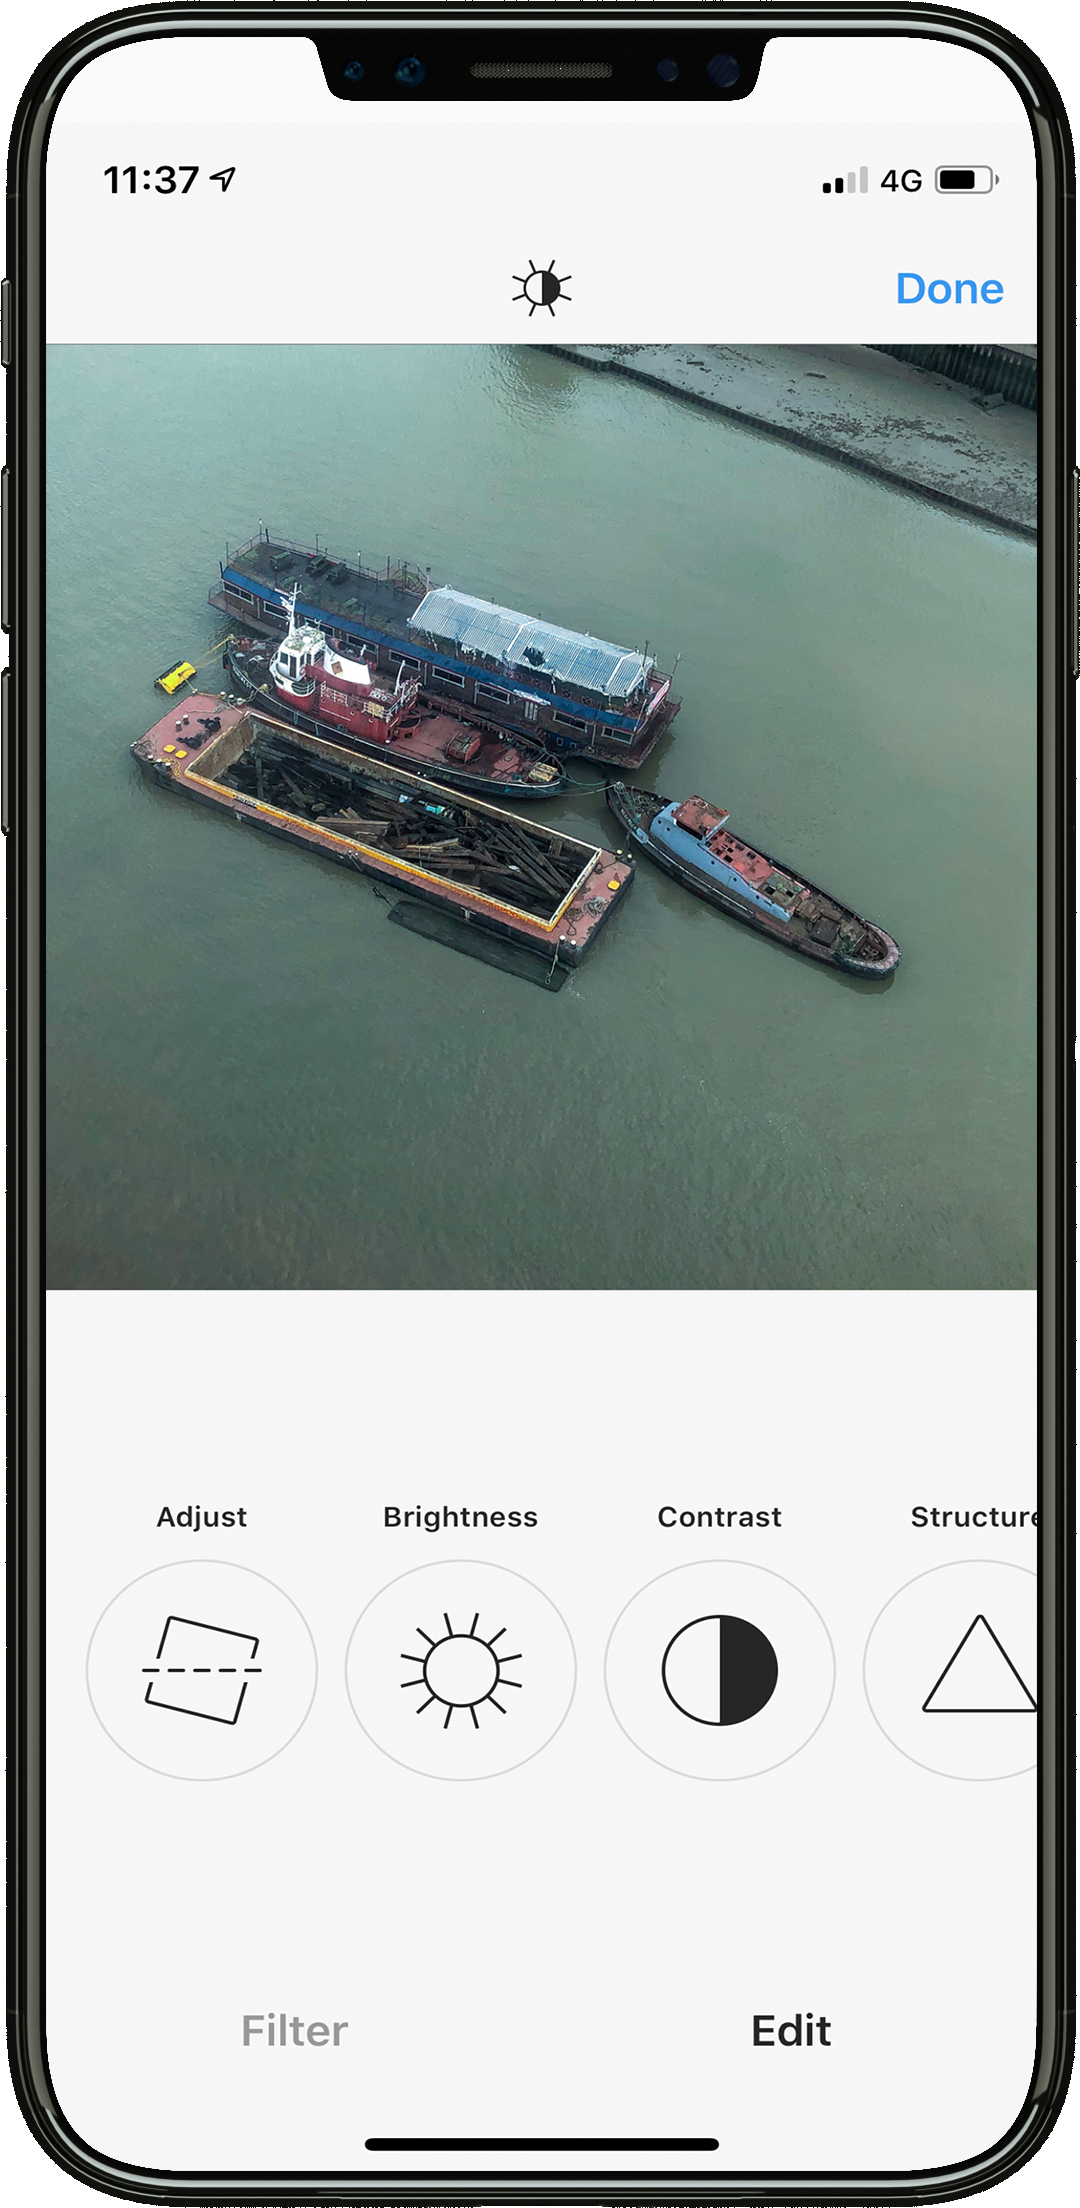
If you don't want to use another application it's absolutely fine to just stick with the built in editor with Instagram. It still offers you a variety of options for editing your images. Including control over brightness, contrast, structure, warmth, saturation etc.
All of these terms can be intimidating when you start but you don't need to make complex adjustments. Especially with the trend towards more 'natural and organic' content.
I would pay attention to how bright/dark your image is. Then play around with the highlights/shadows to see if you can introduce anymore detail and finally see if the saturation needs pushing up or down slightly.
However you end up editing your images remember less is more! Especially with filters and increasing saturation. Don't go crazy!
4. Review and post
After I have finished editing I tend to look back at the original (tap and hold if you are in the Lightroom app) to see the changes I have made and to check I am happy.
Then it's time to upload to Instagram and decide what format to go for. Instagram used to only let you post in square format. However now you have a few options to choose from. Go for the one that suits the framing of your image the best. Also keep in mind that when you are viewing your profile as a grid it will be cropped into a square!
Thanks for reading! I hope you found this post useful. Let us know what you thought in the comments below.
Fancy some more creative reading try this out: When to use Adobe Rush CC.
Want to master image editing?
We think you will enjoy our online courses!


