Personally I swear by the Lightroom CC mobile app. The more I use it the more I enjoy it and it's the perfect tool for editing on the go, especially if you need to produce social content in the moment but still need it to look professional!
It provides a whole host of ways to edit images without the faff of getting out a laptop, exporting the images and sending them to your phone. It's hard to find the time to fit this kind of workflow into a busy day and great shots can get forgotten about or just sit on your phone.
In this post I will give some insight into the ways you can use Lightroom CC. So you can create genuine content in the moment, that connects with an audience.
Taking an image
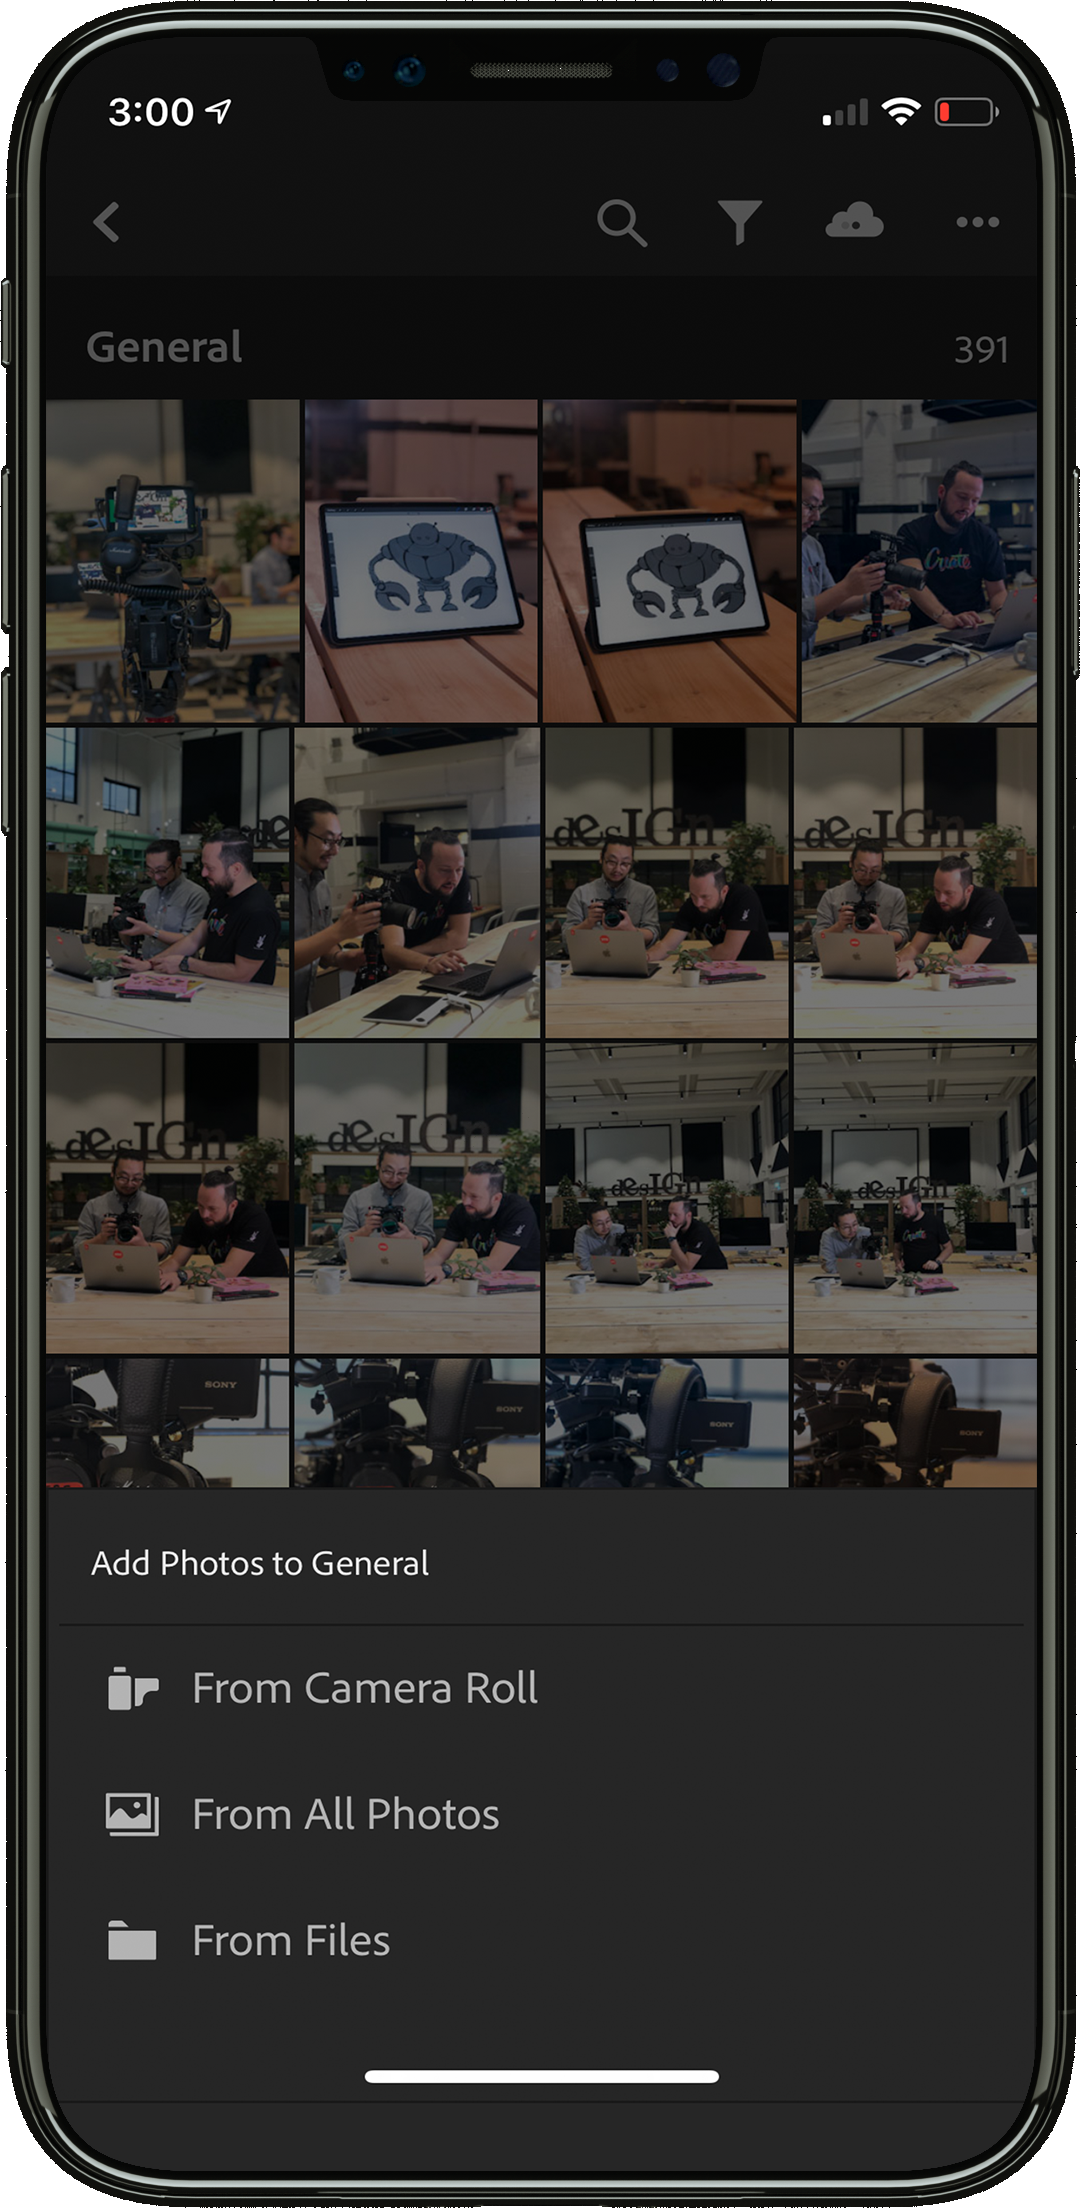
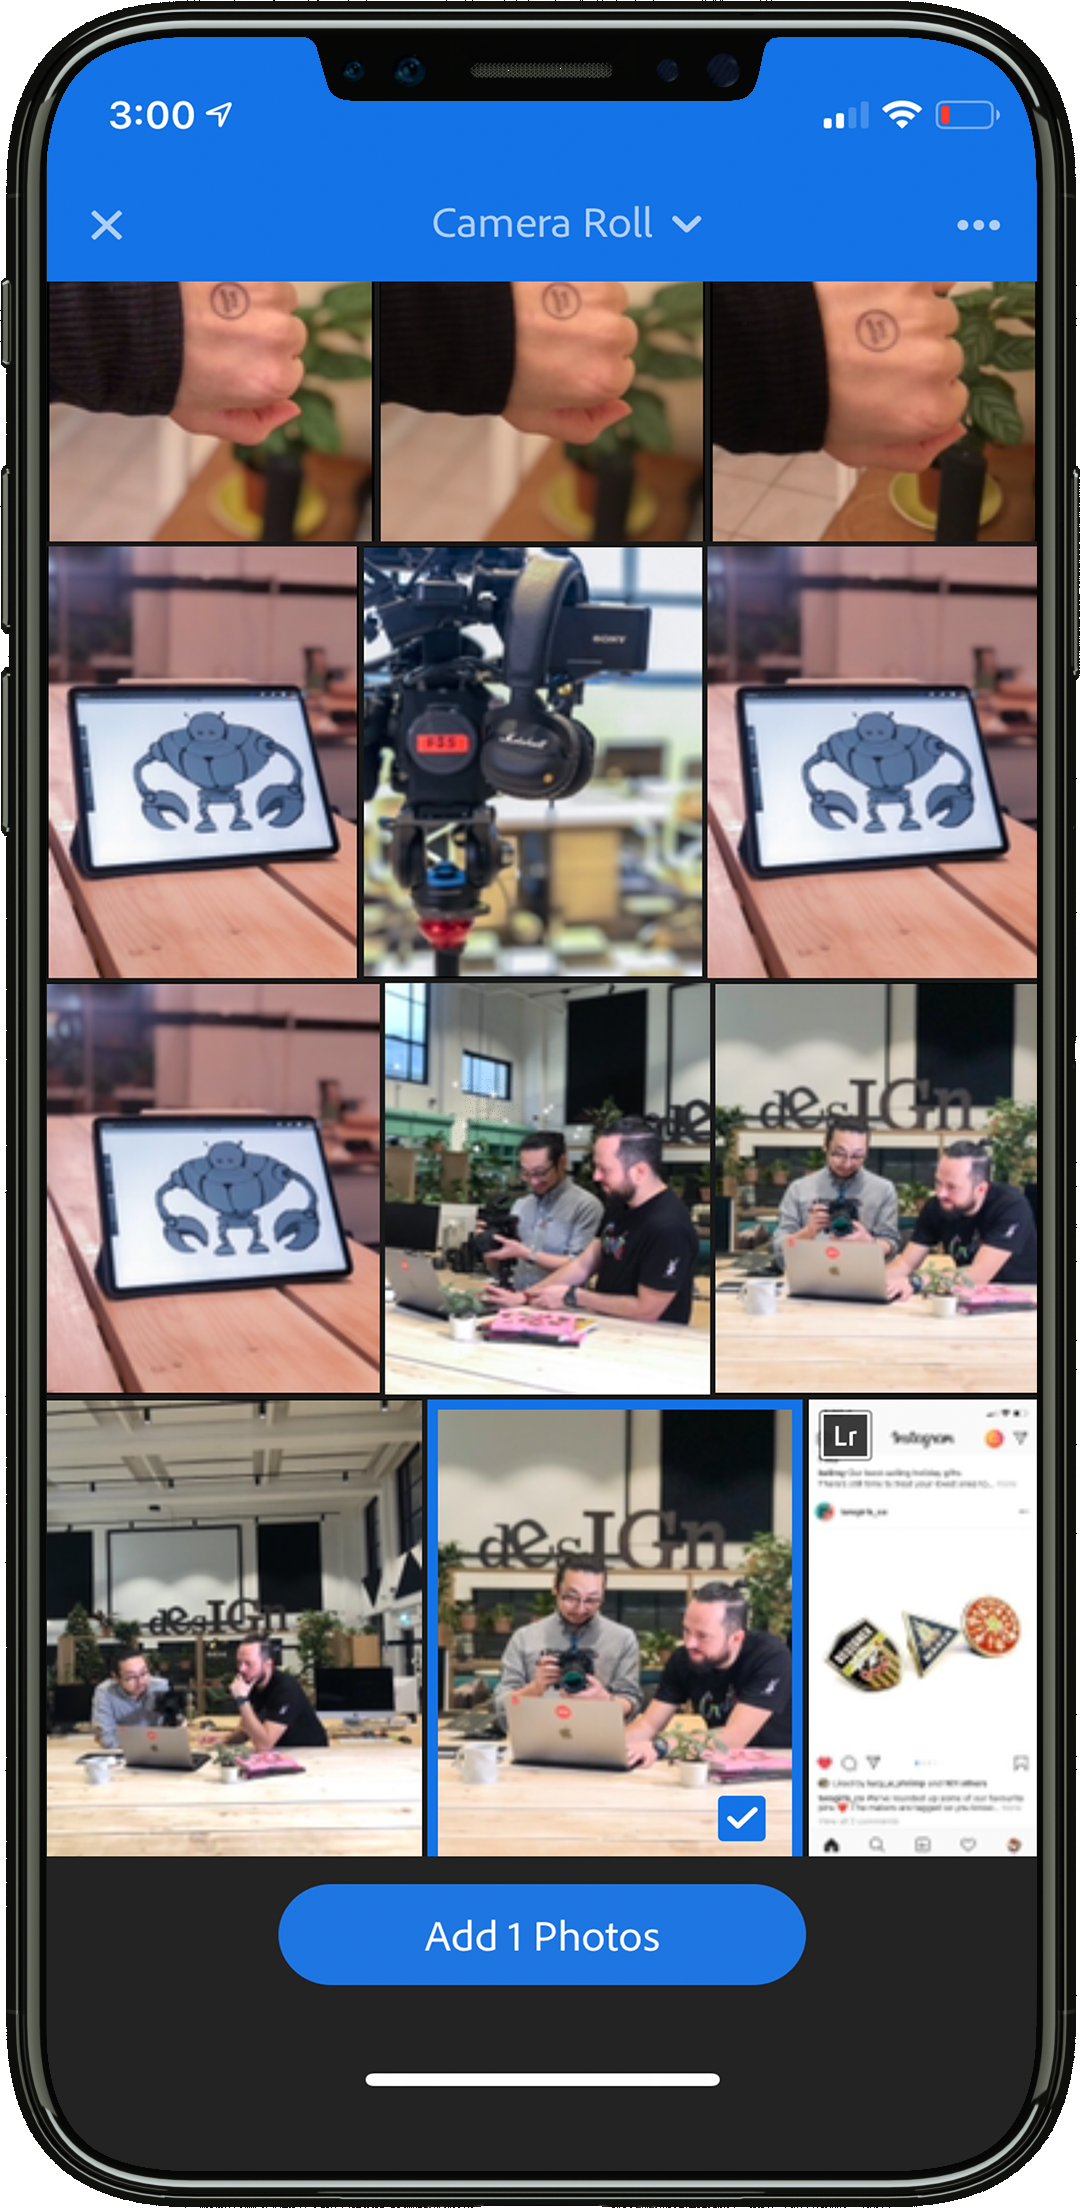
First off let's talk about taking the actual photograph. You can simply use the default camera app on your phone, modern phones now give you much more control over the light and framing of your image than they used. Then you simply import the images into your Lightroom CC App. I often do this and simply import it into Lightroom.
However you can also shoot images in the Lightroom App itself, which gives you even more control over the settings you use to take your photographs.
You can change the Exposure, ISO and White Balance. Check your image is straight and upright, change the aspect ratio and even use manual instead of auto focus.
Being aware of all of these settings can not only save you time whilst editing the image will also improve the overall quality of your photography as you will be considering your shot and environment much more.
However, you may not know much about these terms and sometimes there is not always time to manually set up the shot, in these cases your phones default camera is still great!
If you want to make the most of all the features in the app we have a Lightroom MasterClass that's goes into detail on every aspect of Lightroom! Take a look here.
Basic interface intro
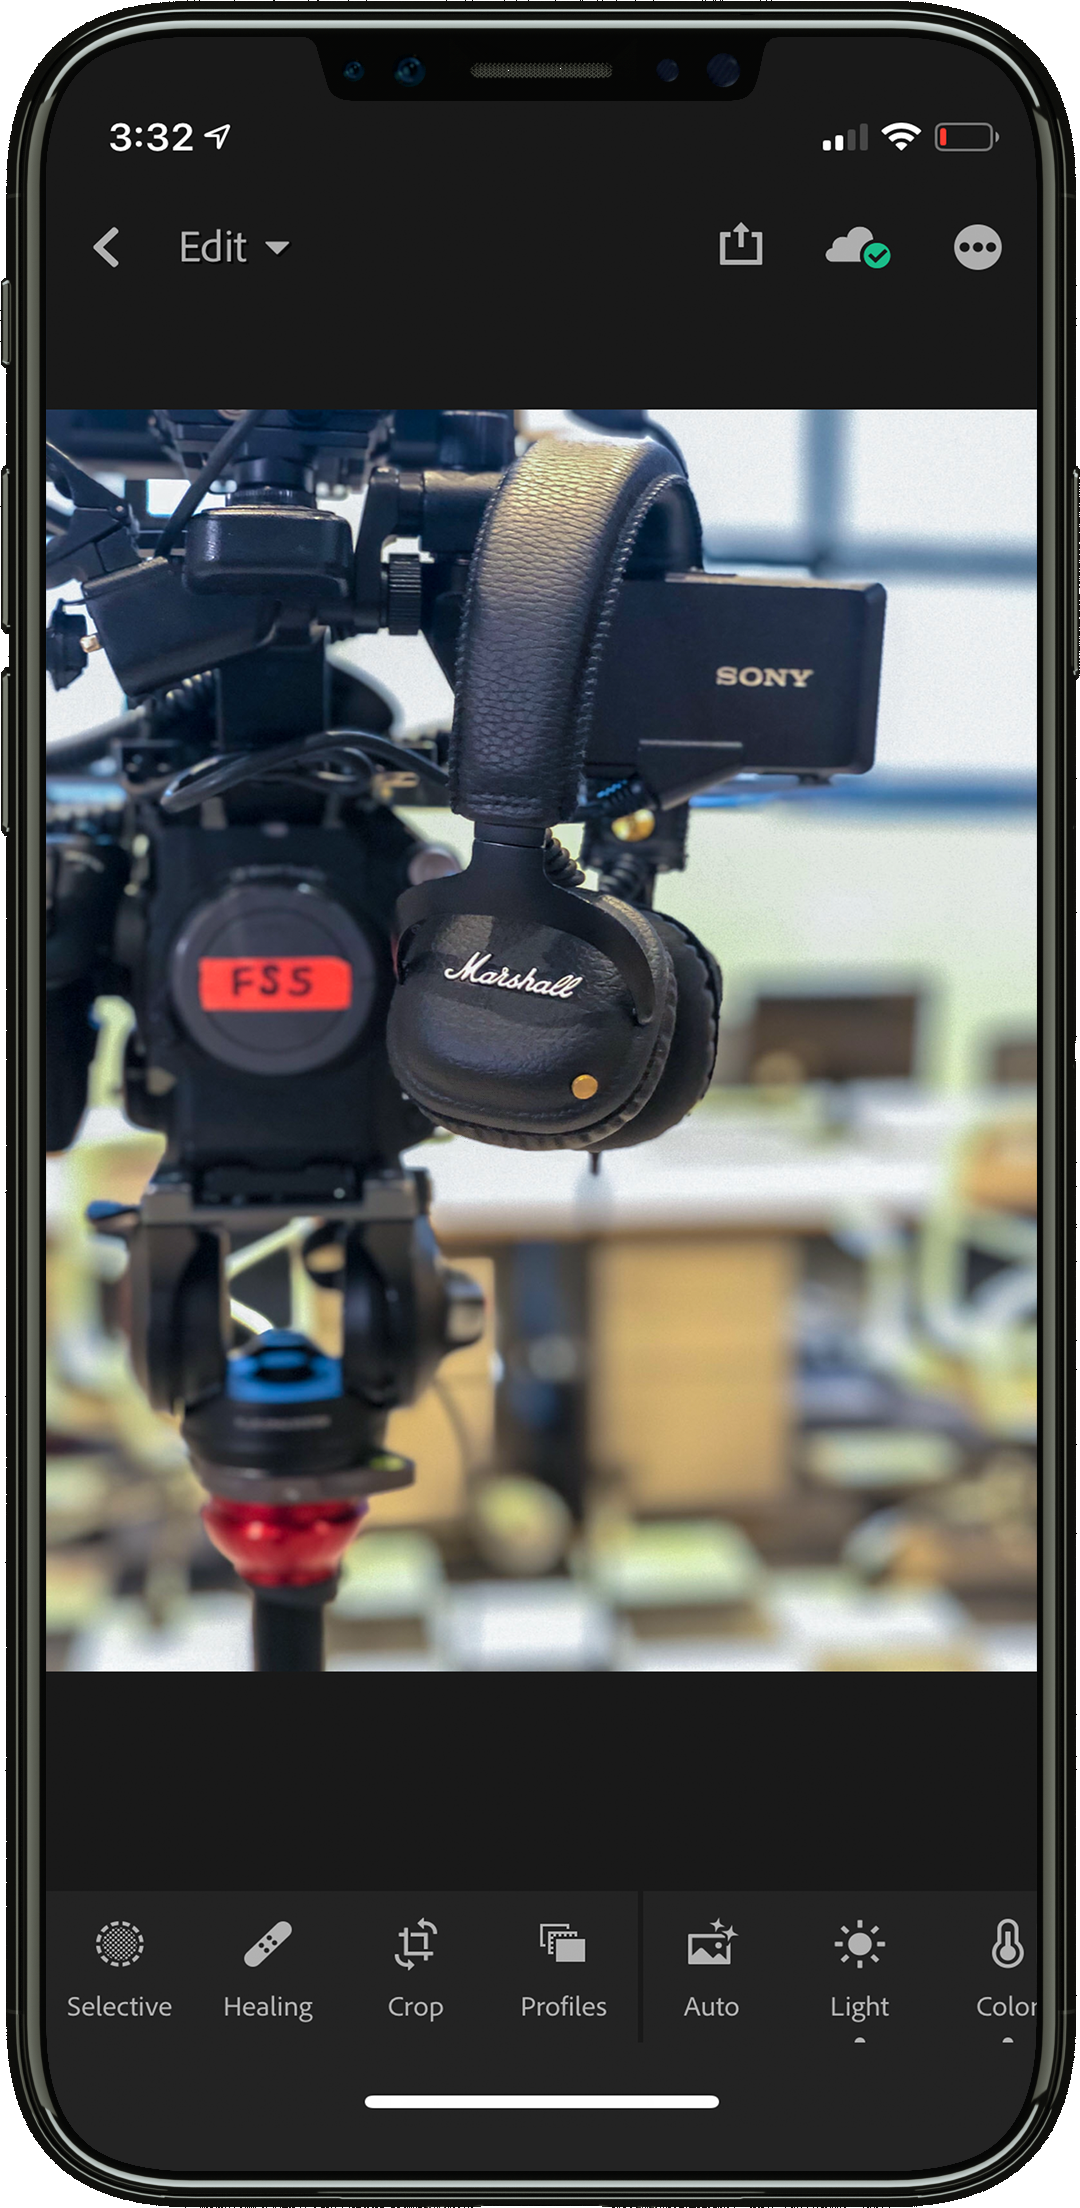
When you import or start to edit an image in the Lightroom CC app this is the screen you will be greeted with.
Here at the top of the screen you have your sharing options and the way to navigate back to you library of images.
Then at the bottom of the screen you have a bar full of features ready for you to use. This bar is scrollable so make sure you take a look at all the different options available.
Editing an image
Here's just a few quick tips to get you started so you can edit quickly and confidently from the get go!
Don't be afraid to make use of the auto edit feature
It's there to help and a great place to start, especially when you are new to the app!
(It also a big part of how I learnt to edit in this mobile app, seeing how Lightroom would edit the settings helped me to understand what needed changing or improving about my image. You can learn a lot from looking at something which has already been worked on, even if it was automatically generated.)
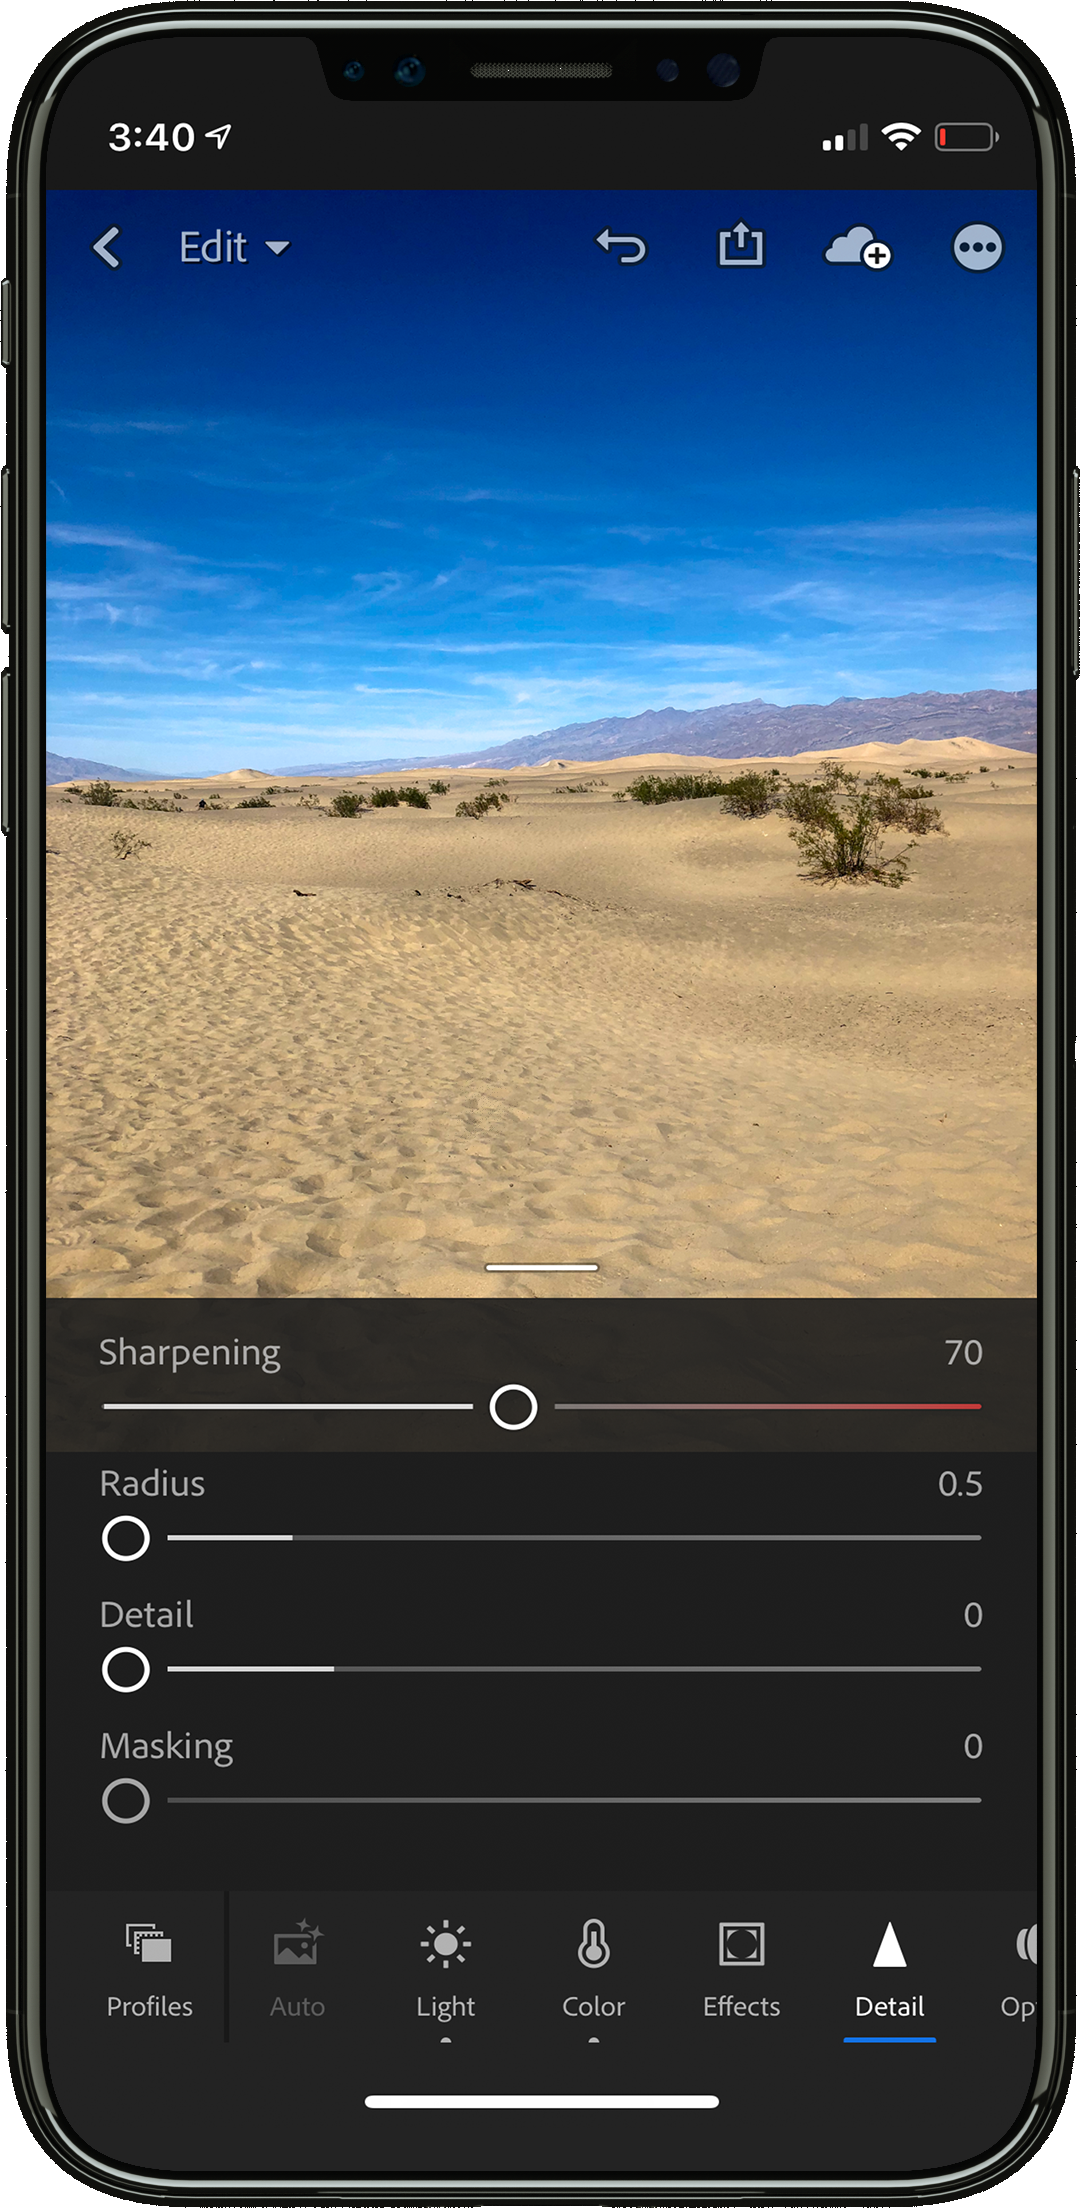
Make sure your images are looking sharp!
Having a nice sharp image is essential to professional looking images, if something is just slightly out of focus there is no need to abandon it completely simply:
Click on the 'detail' icon whilst in Edit mode, the top slider will help you sharpen your image so it looks crisp and clean.
I would not recommend pushing this the whole way up to 150. Typically you won't need to increase the sharpness that much, the image might start to look fake and over edited.
Try pushing it up about 20% at a time see how that makes a difference to your image.
If something is in focus it will appear crisp with no blur. You can always zoom in a little to check.
Try out the healing brush options
The healing brushes can help you remove unwanted details from your images. When you are posting images to any social media channel you want them to look clean and considered, especially if you are advertising a product or event! So it's always a good idea to remove smaller unwanted details, like wires, dirt or anything that distracts from the main focus of the image.
There are two options to experiment with Healing Brush and Clone Mode.
Healing brush: Paint over the area you want to edit, Lightroom will find another area of the image to replace the area you want to heal and blend into the rest of the image naturally. This can be manually edited if Lightroom does not get it quite right.
Clone Mode: This enables you to copy details in the image. Select the area or object you want to copy and Lightroom will duplicate it, you can then move it to where you want in the image. The clone tool will not blend the new detail into the image but that's where the healing brush comes in handy again!
It takes a little practise but they are really useful and can become addictive.
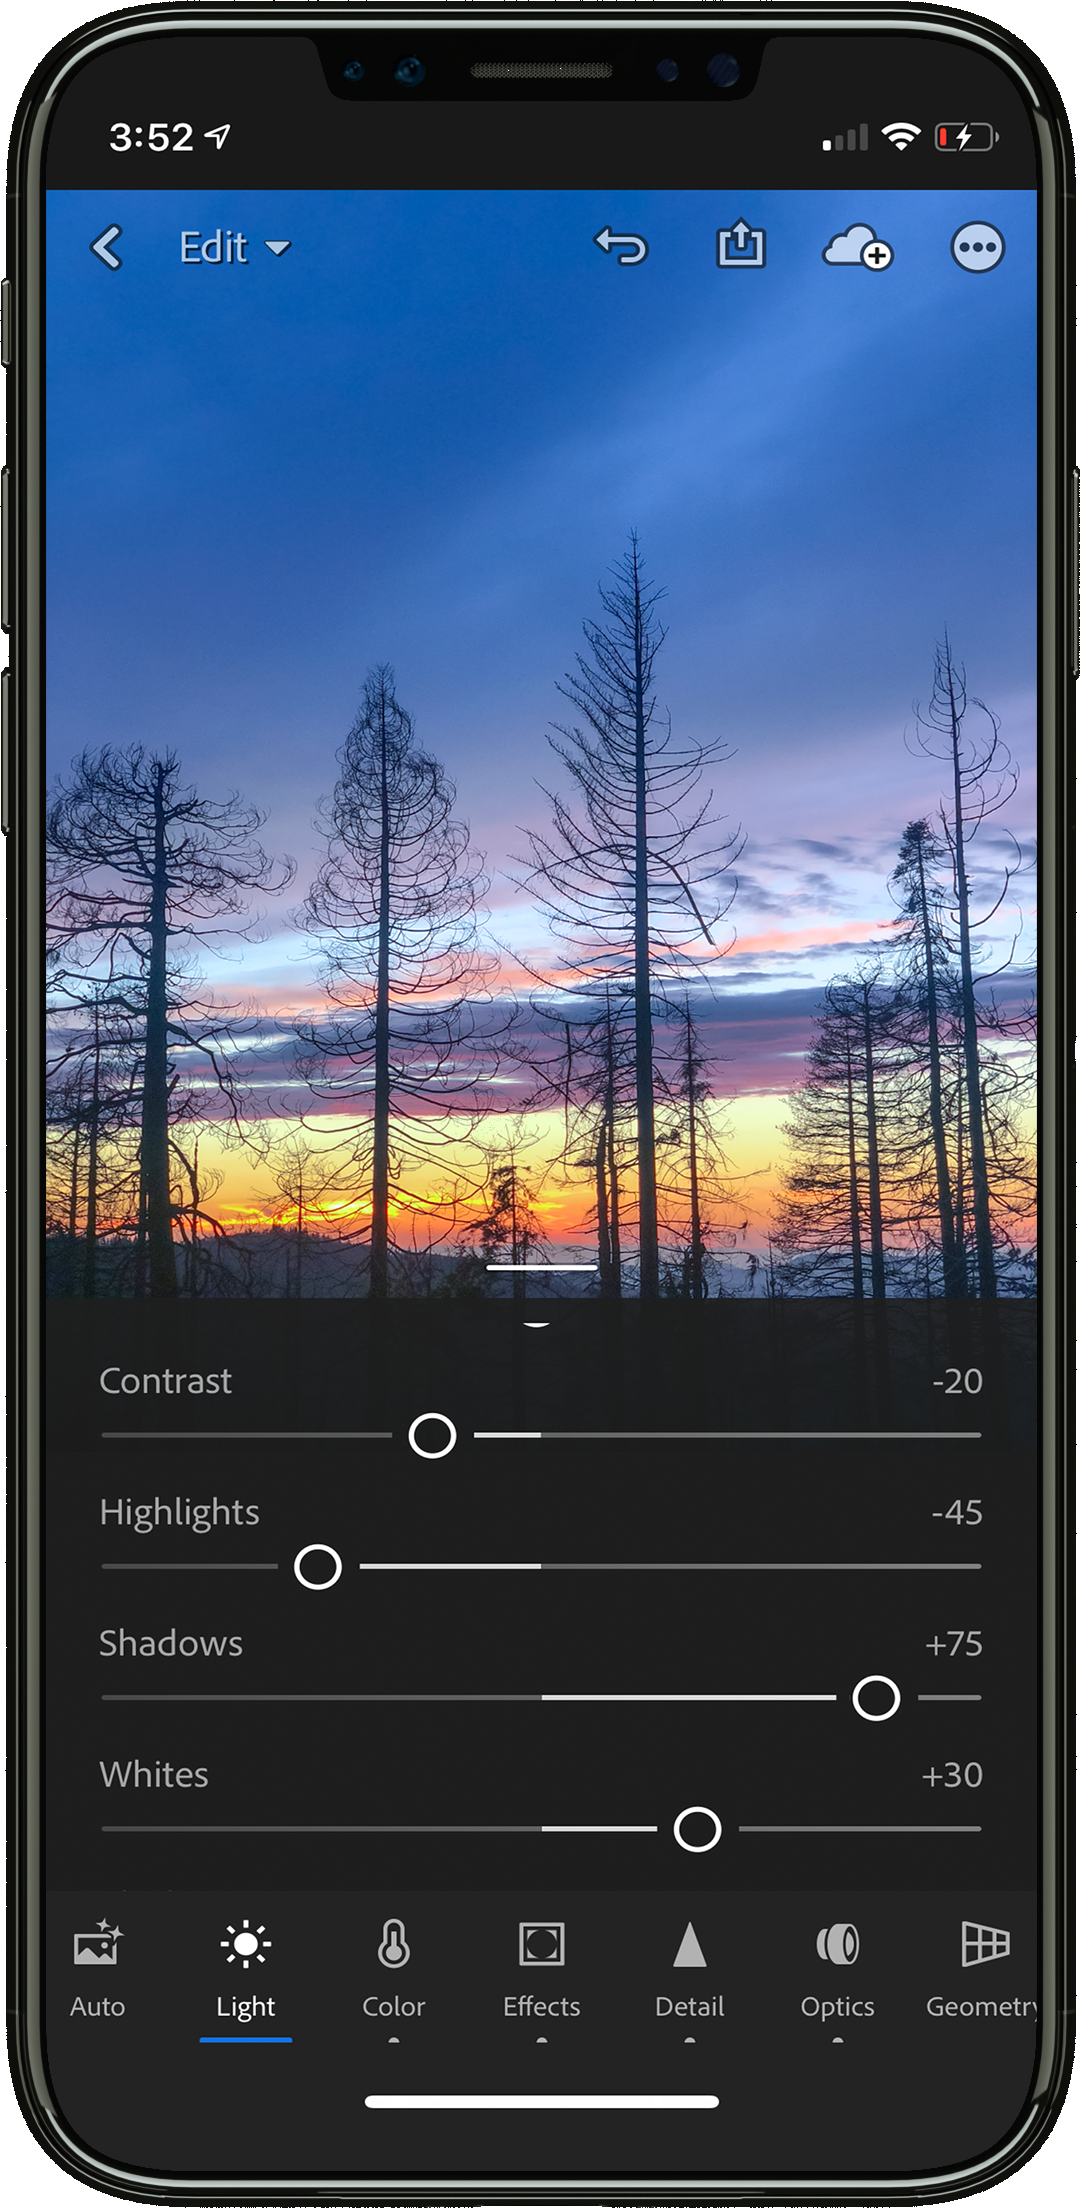
Pay attention to the 'Light' settings
These settings can really help to enhance the detail and over all quality of your images!
A brief overview of the changes you can make:
- Adjust the overall exposure of your image - I try to only use this if an image is way to dark or bright.
- Increase/decrease the contrast - images without enough contrast will appear flat and maybe dull.
- Increase/decrease the highlights - these are the brightest spots in the image.
- Increase/decrease the shadows - these are the darker spots in the image.
- Adjust the percentage of white - increasing this setting will make the image brighter.
- Adjust the percentage of black - increasing this setting will make the image darker.
Think about the message!
Always keep in mind you are trying to communicate and connect with an audience, keep in mind what they will want to see and try not to just edit an image so you personally like the style. This may work for more personal accounts but for larger brands it can cause a miss-match of styles.
Think about the style of the account you are posting to, is it playful or professional. Should the image appear warm or modern, natural, funny etc.
These are all things to consider when editing because Lightroom gives you the ability to make images look cooler, warmer, futuristic, dated, colourful, dull and so on! You can really use your images to tell a story. Something your audience will connect with and can help you build a style for the brand or just for yourself.
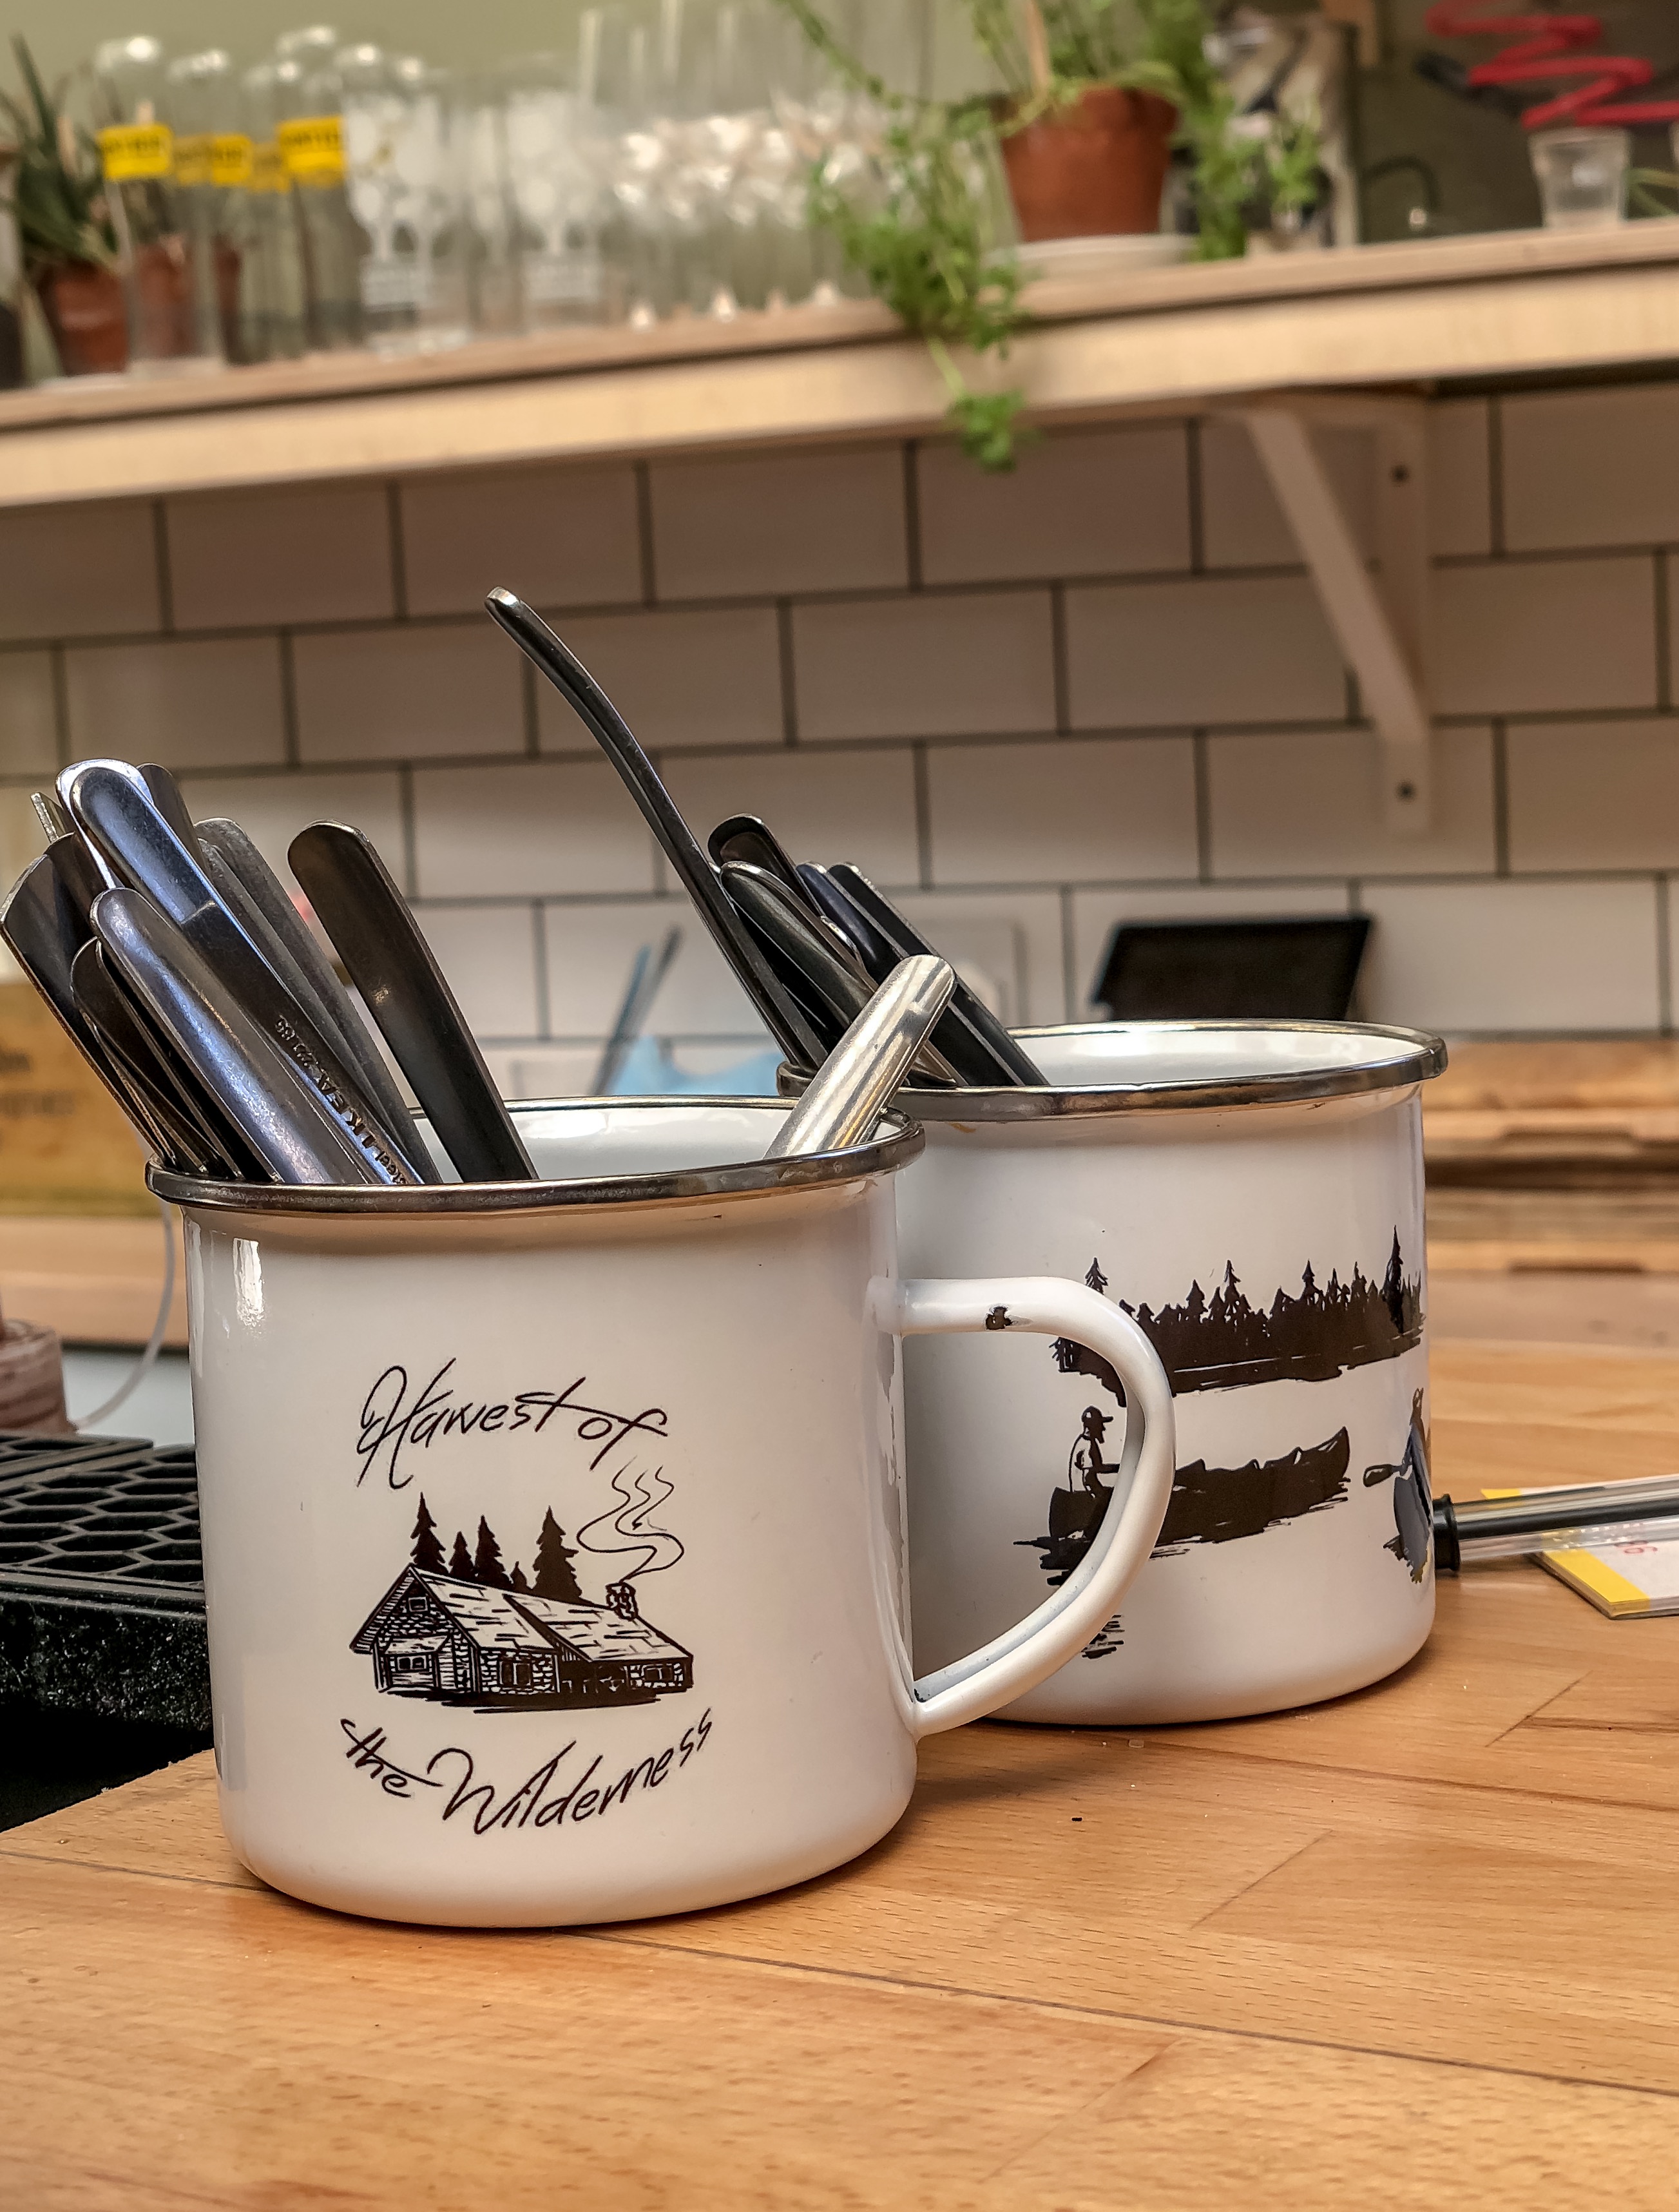
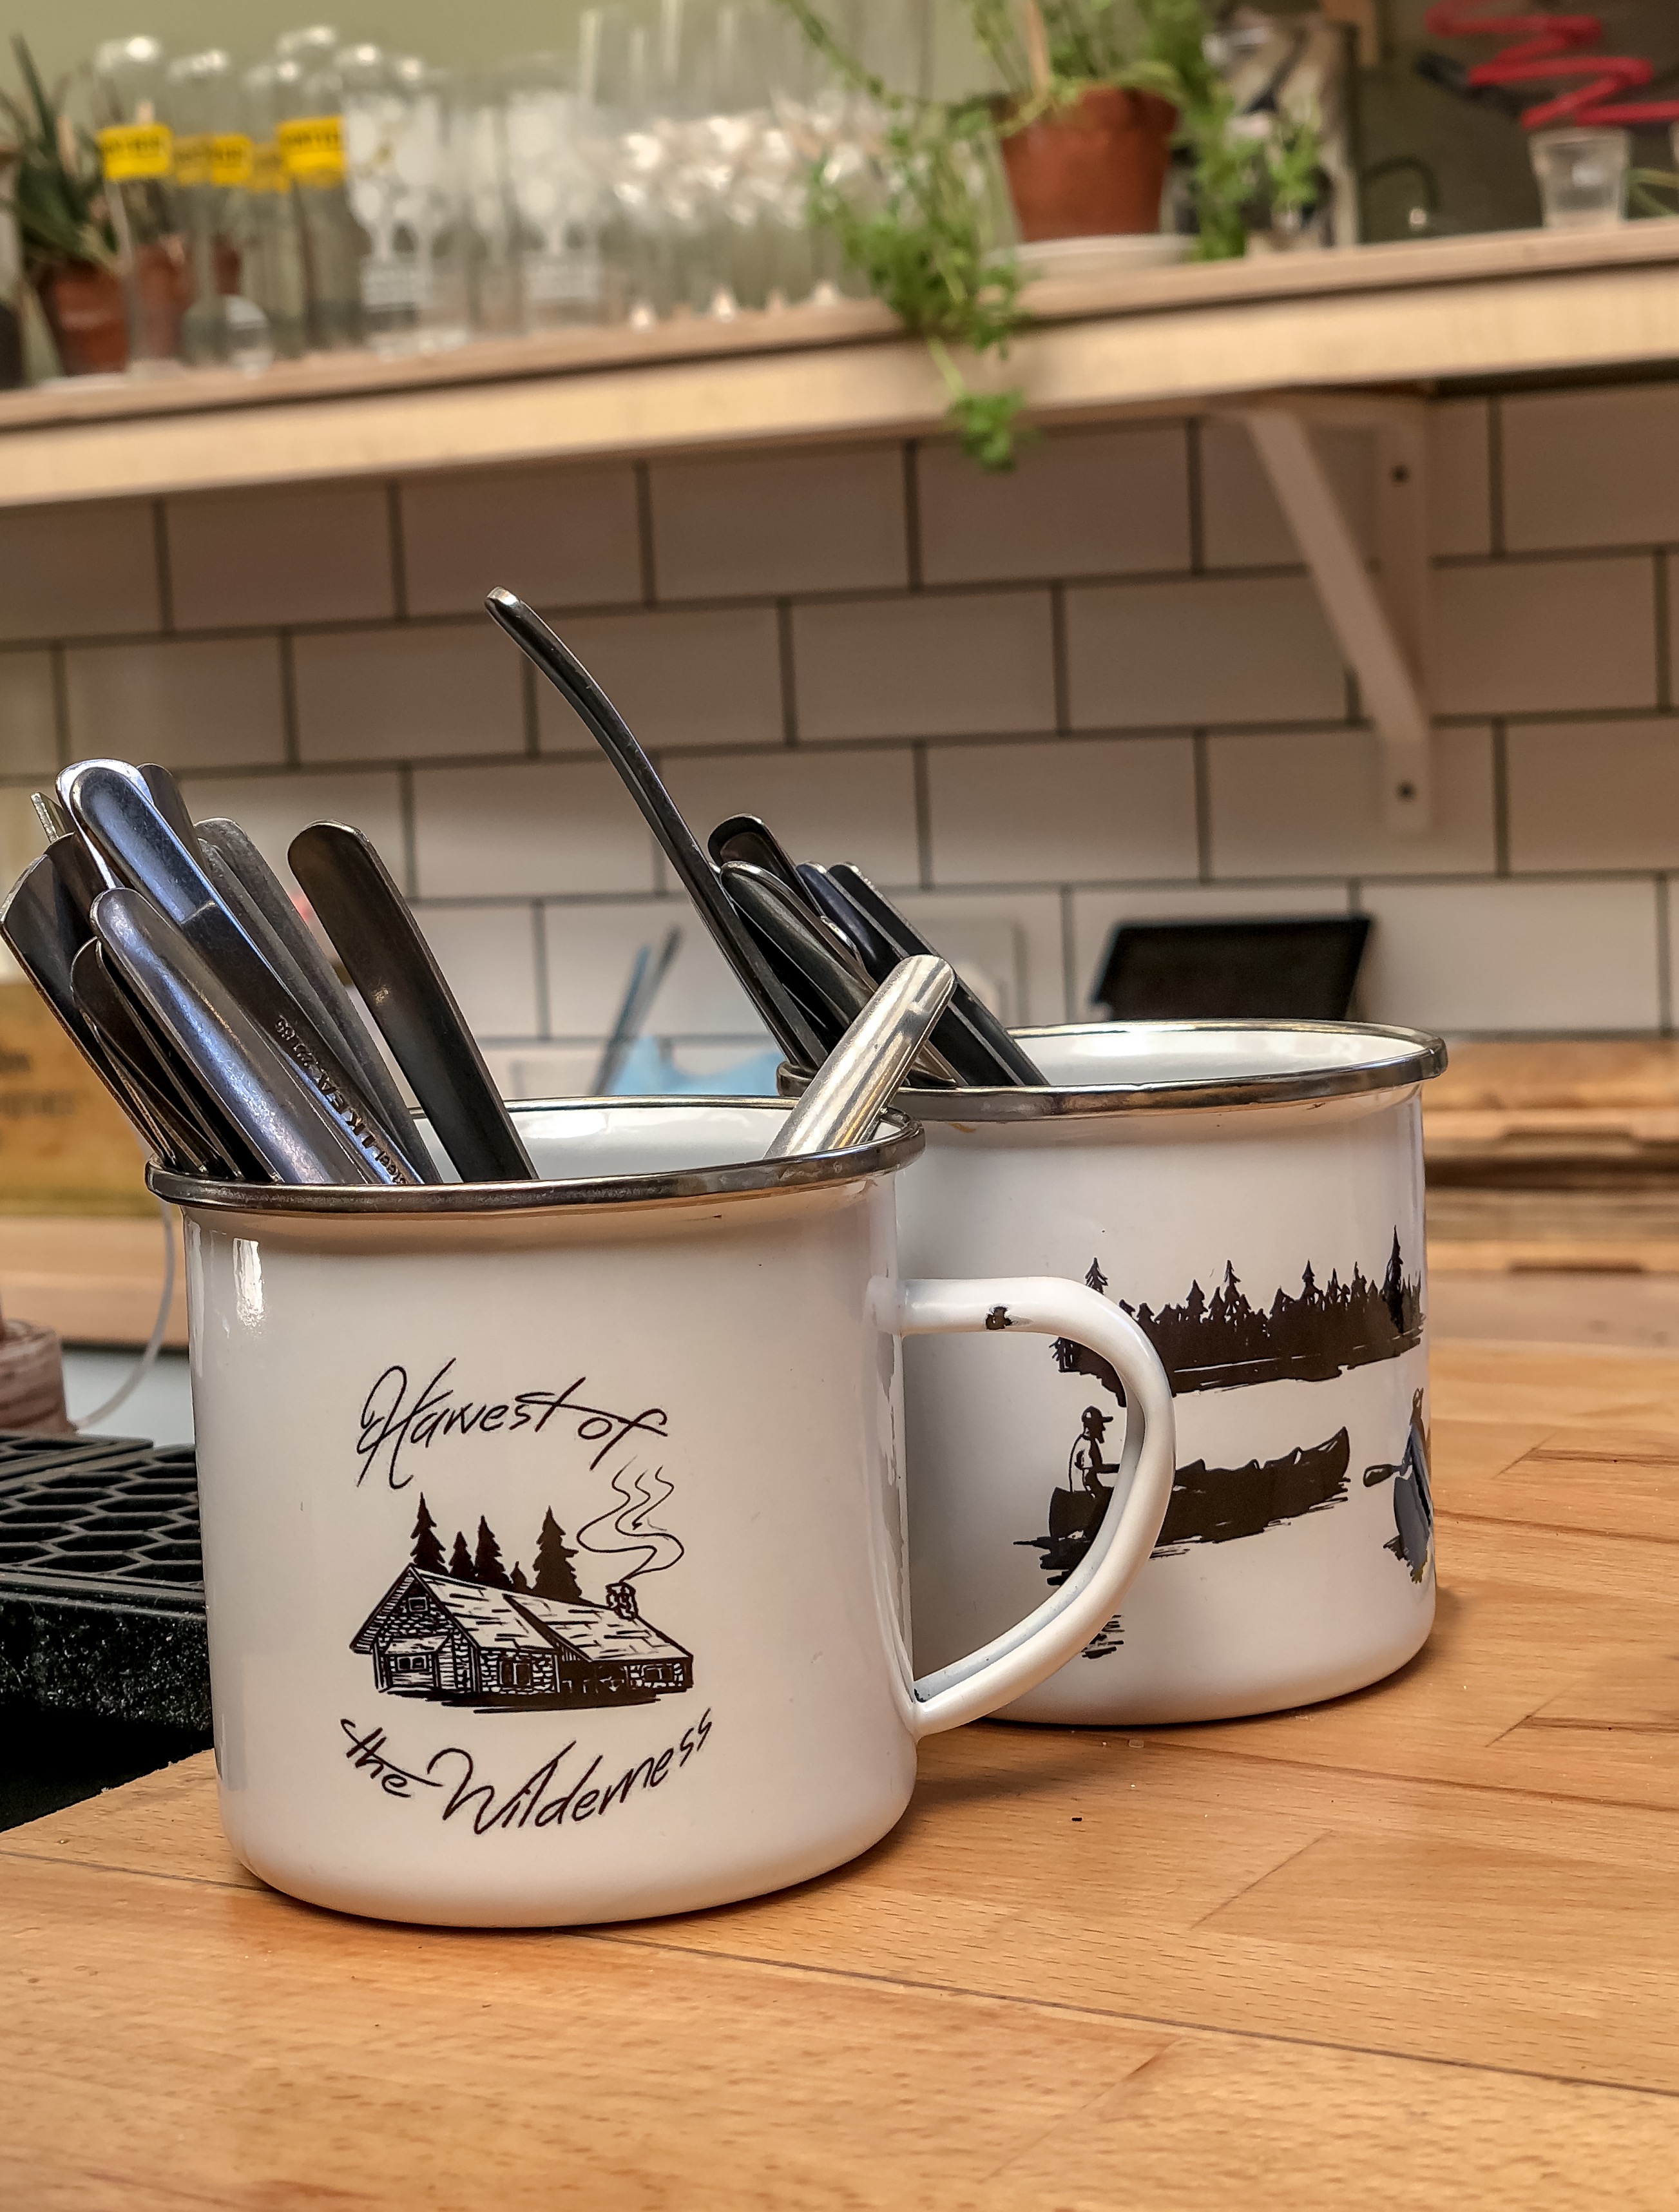
Here these brilliant images already have such a distinctive style, even posted totally separately you would known they were created to be a set.
They have an eery mystery to them which as an audience we already associate with certain feelings etc and it's important to remember that when editing because these images would definitely only work for a certain style or product.
Don't over do-it!
Less is more is a rule that the team tend to stick by in most creative projects and editing images in no exception. It can be easy to get carried away with all the settings and making cool changes to the image but if you edit a photograph to much it may start to look unnatural, oversaturated or just a little weird so (unless you are going for this style) I recommend you just keep an eye on how much you are changing.
In the Lightroom CC app if you press and hold anywhere on an image while editing it will temporary revert back to how it looked originally. When you release you will see your changes once again and this gives you a good idea of how much the image has changed.
Post it up!
I can be guilty of editing an image but not exporting it because I want to make a few more tweaks. I move onto a new task and just let it sit on my phone. Then the moment has gone and it's too late to post the picture on social media. Remember you need to stay current so if you have taken an image that day, chances are it's best to post it that day or maybe the next if you are super busy.
Don't get to bogged down in making it visually perfect and just use Lightroom CC to enhance the existing image, ensure it has the right focal point/ message and style for the audience you want to connect with!
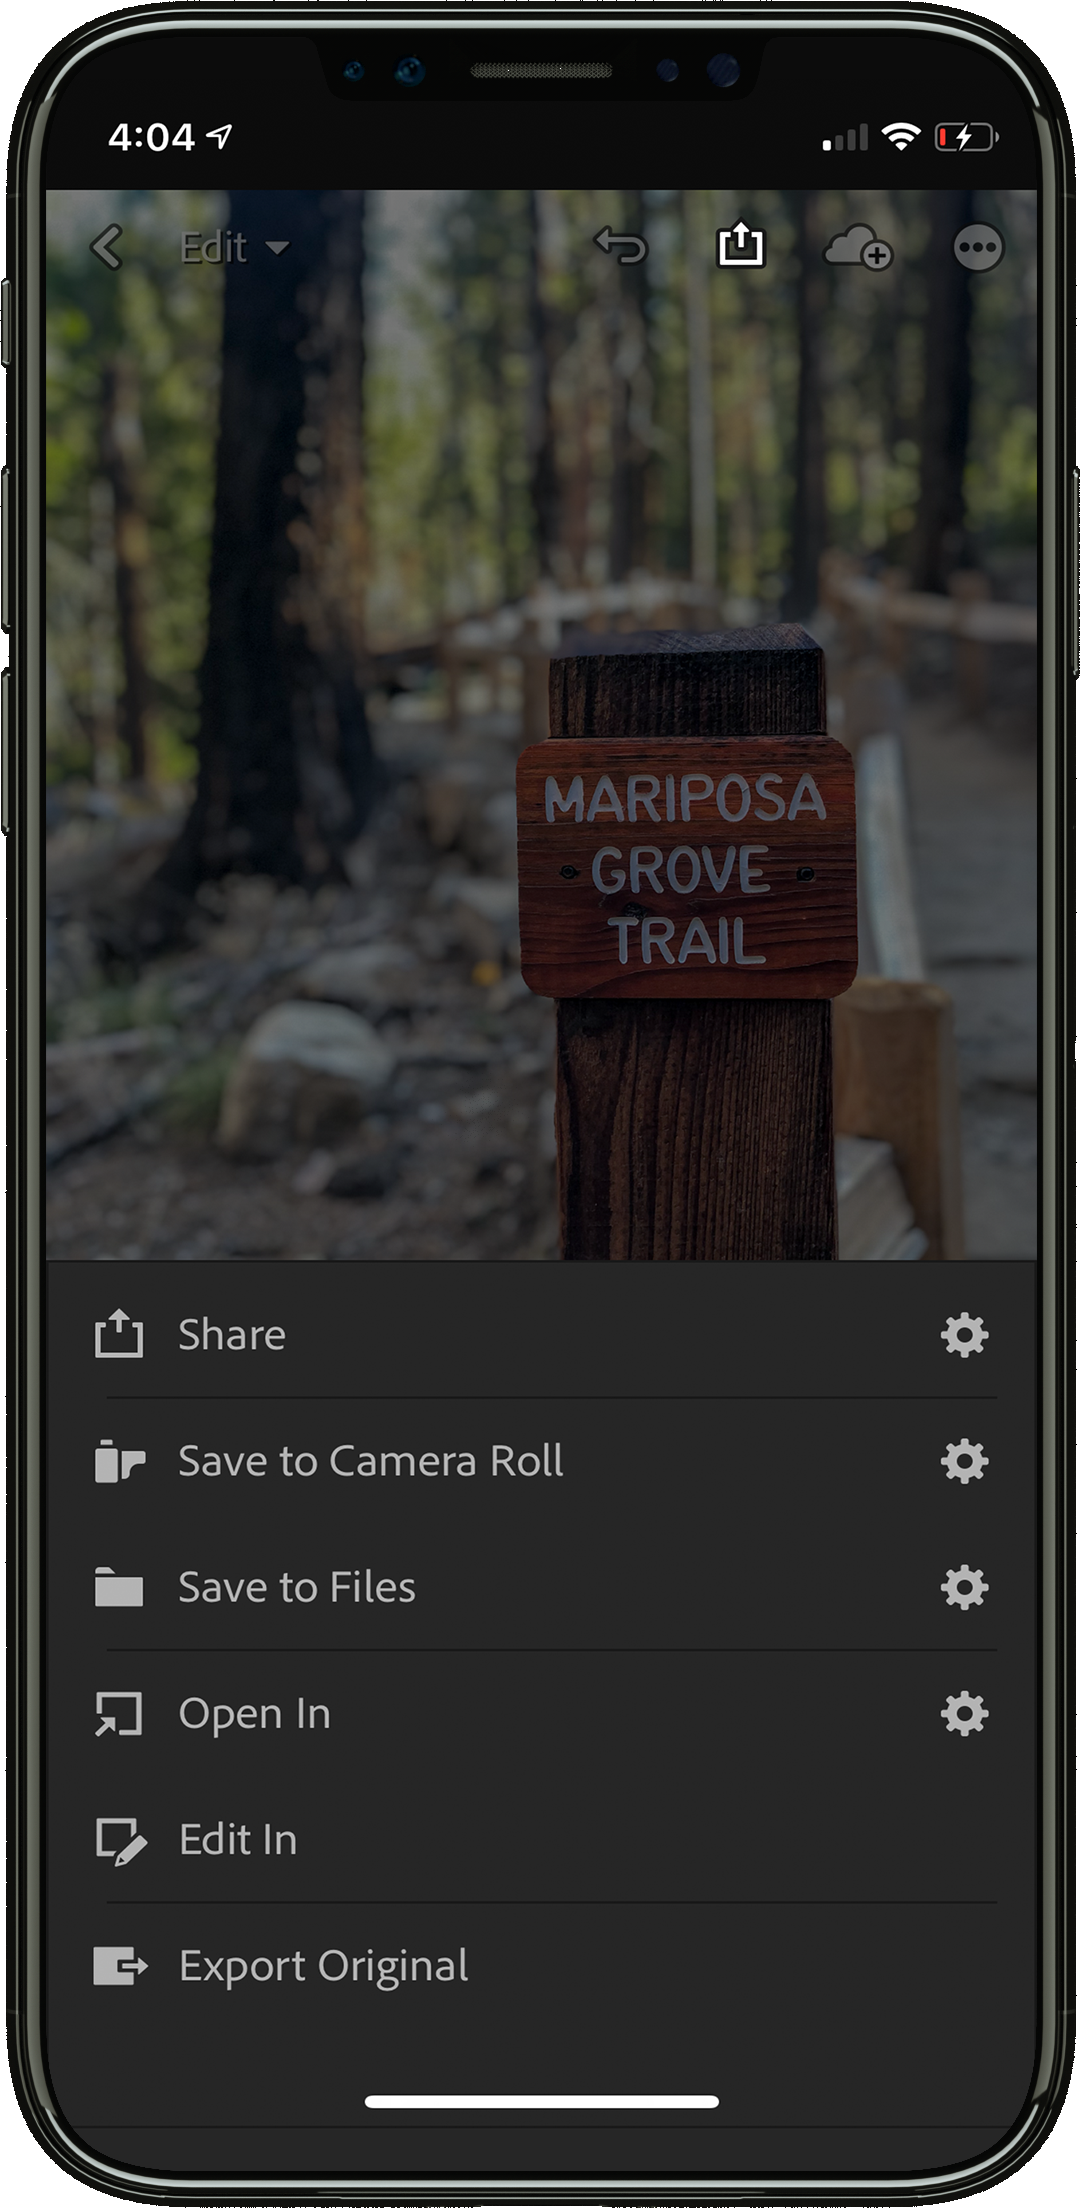
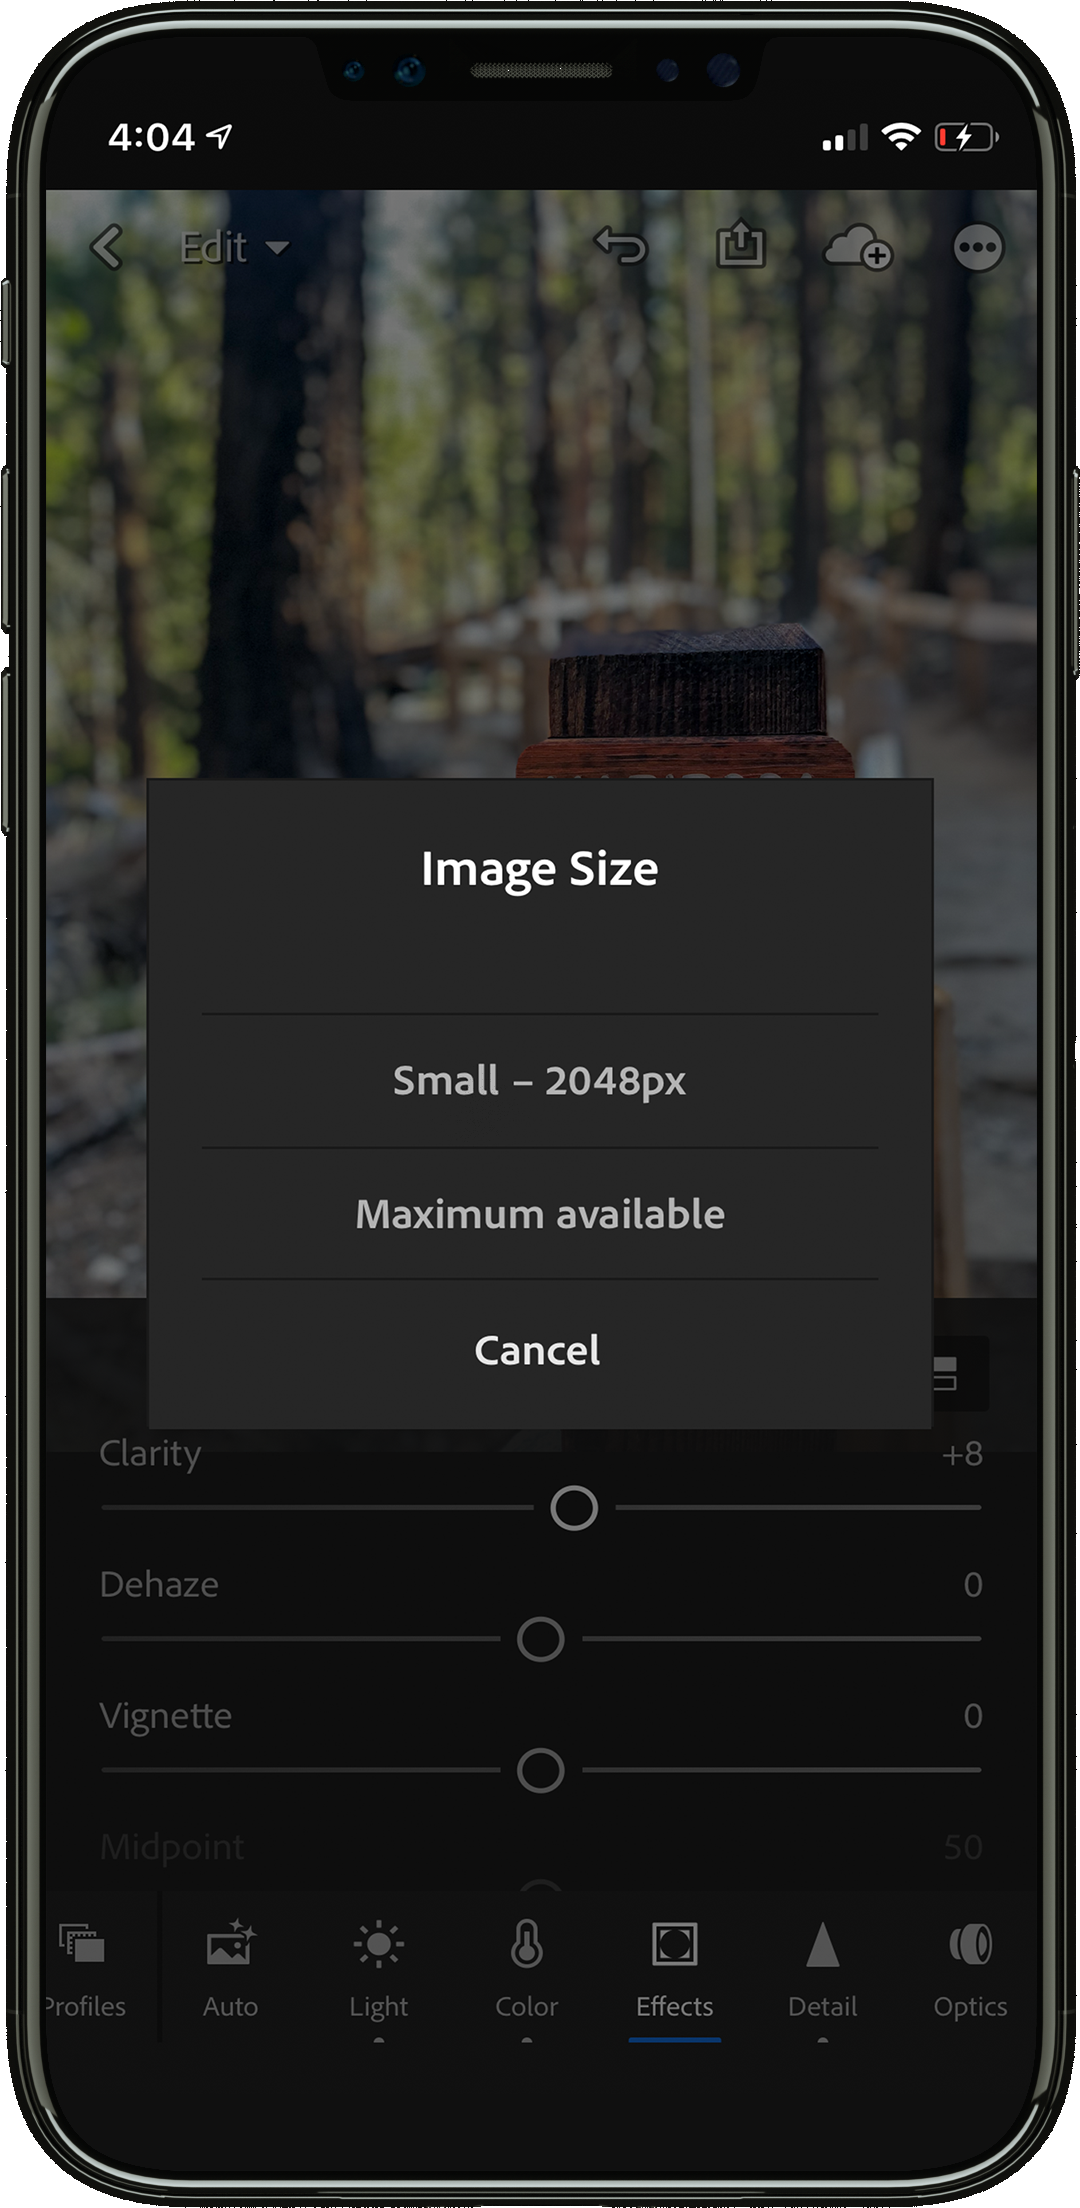
Here you can simply save the image straight to your camera role, ready to share with the world when you are ready. Or you can share it directly from Lightroom to a social media app you have installed on your phone.
Plus if you are into using Procreate Pocket you can actually send it straight to the app to open up and play with! Adding hand drawn details can make the perfect finishing touch to an engaging social post!
I hope you enjoyed this post and found it useful! Download it the App today, give it a try and if you feel like it send in some photos you work on. We would love to see them!
If you want to carry on reading we have some other blog posts you might like. Get some killer portfolio advice here or find out more about the app stores mobile app of the year here.

