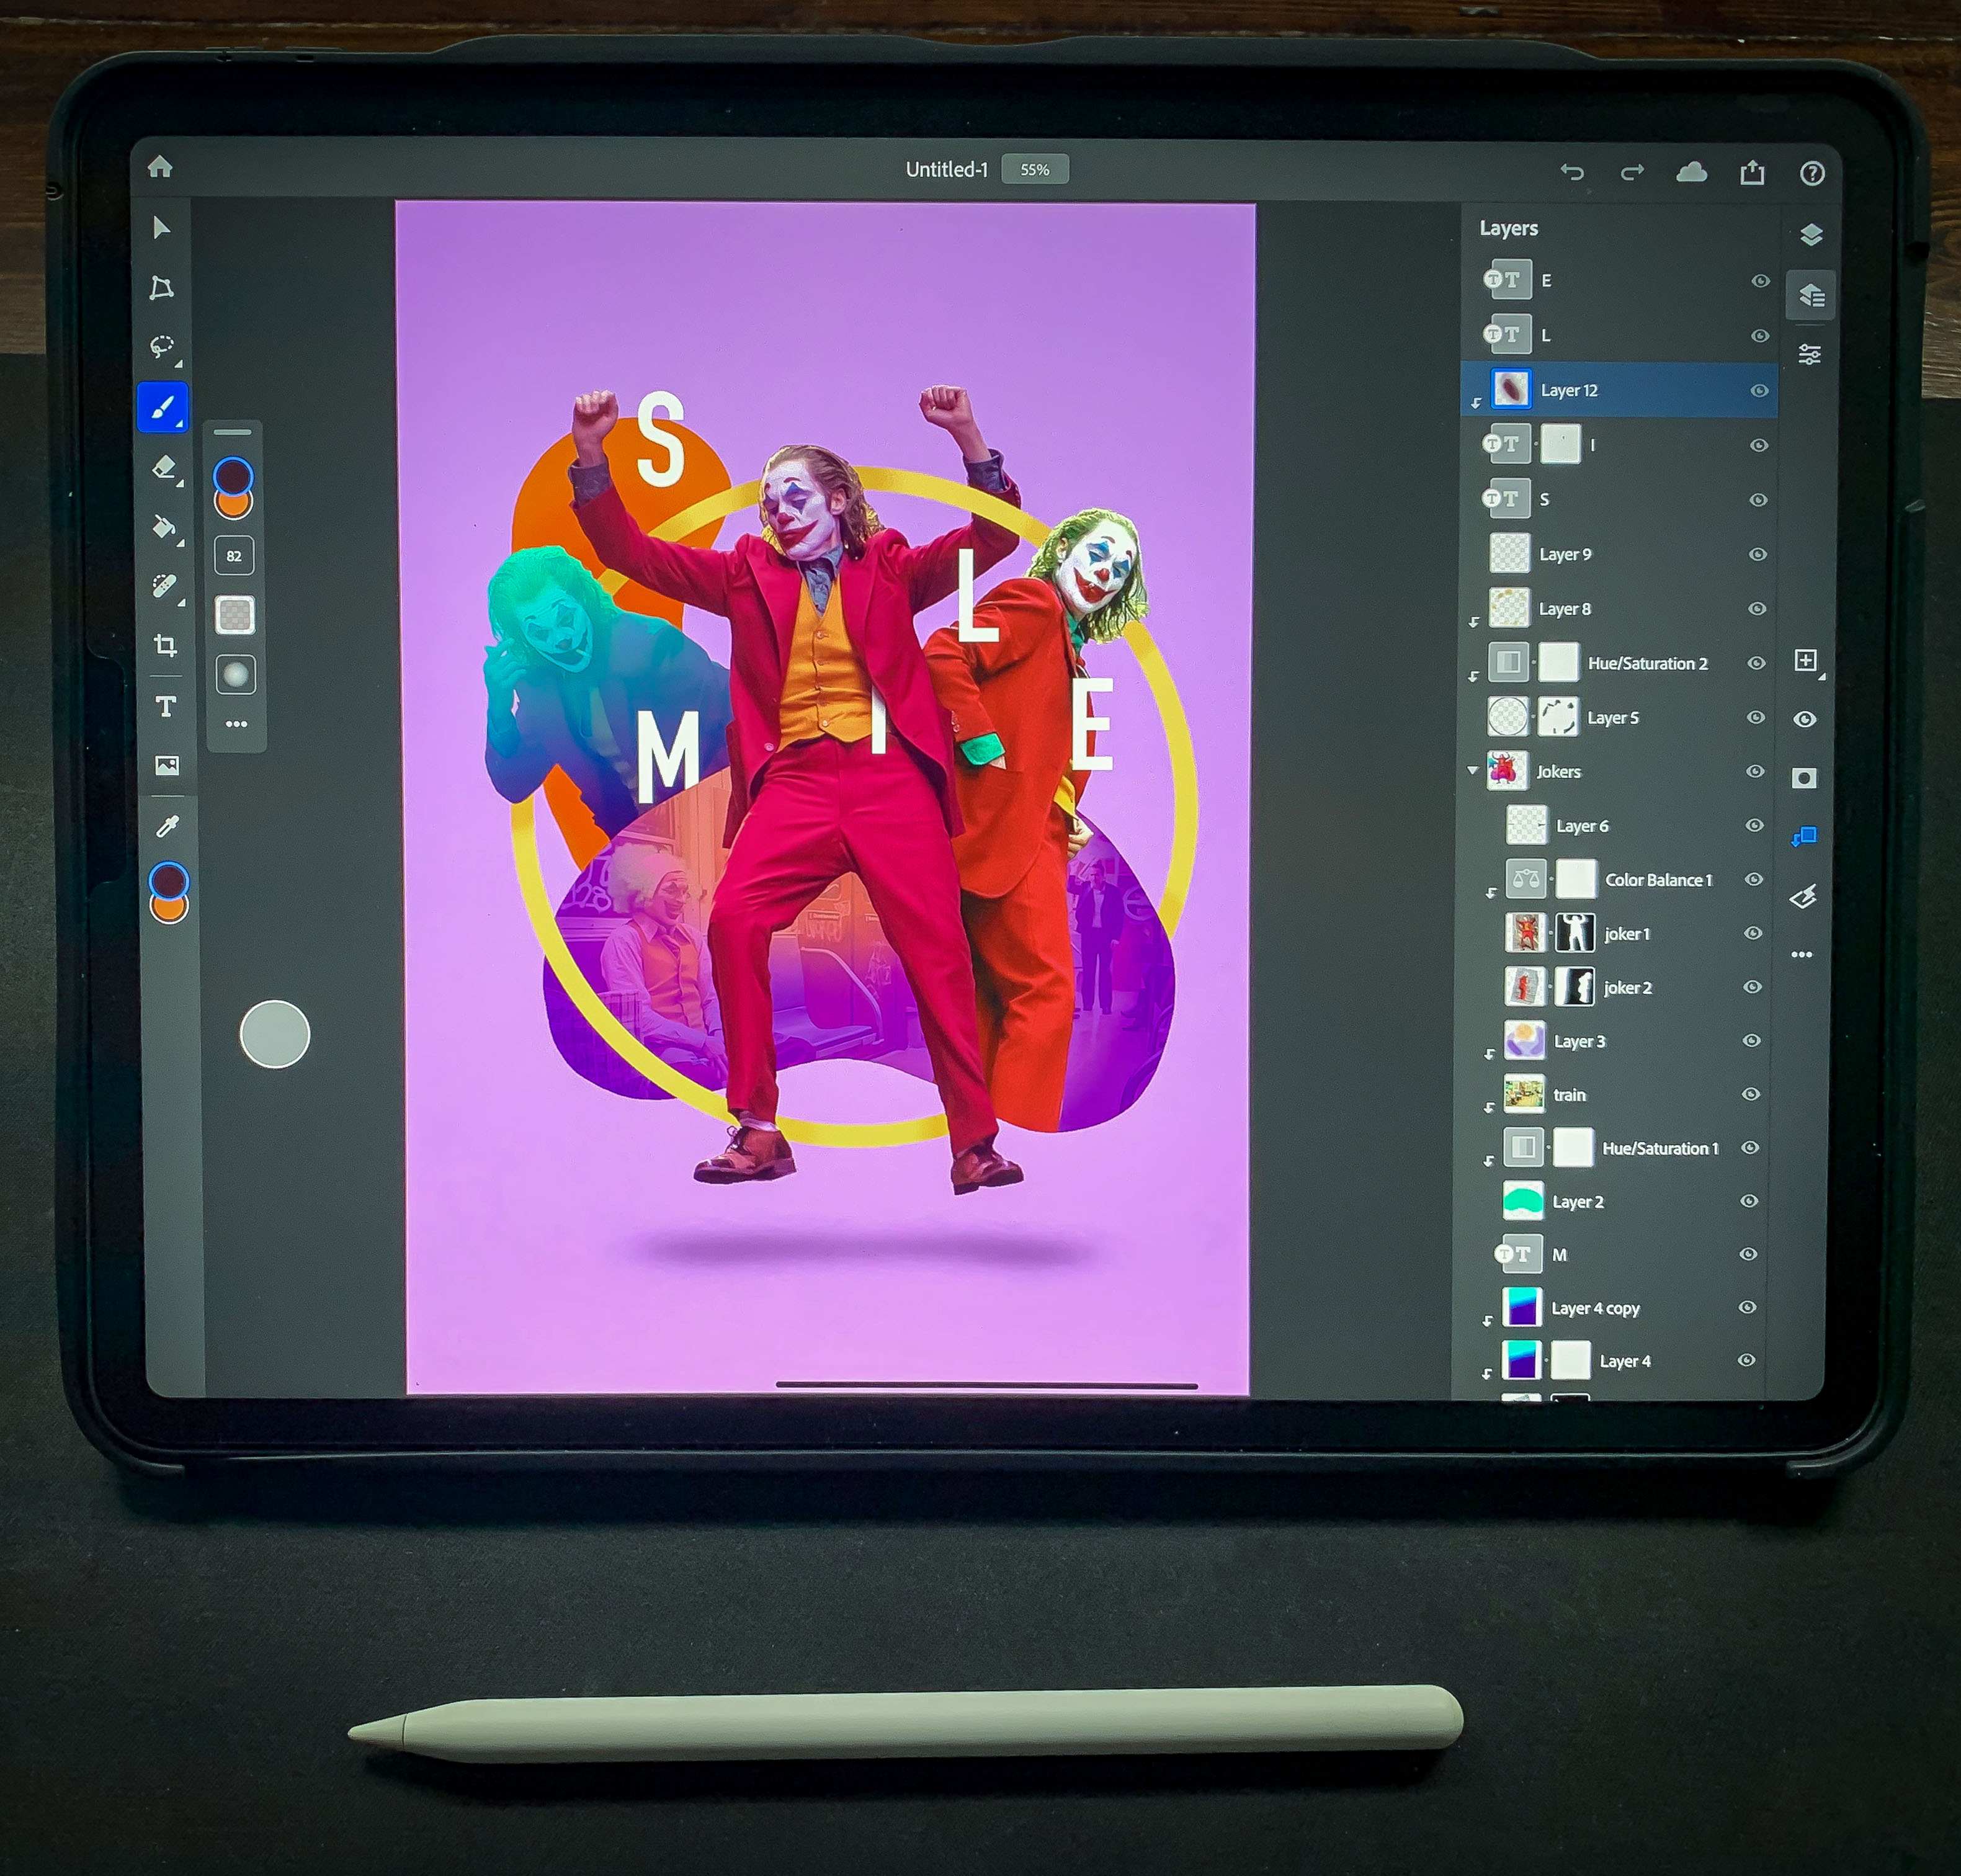
Thanks to the release of Adobe Aero, creating Augmented Reality experiences is easier than ever. All you need to start building interactive AR projects is to download the free Adobe Aero app on your phone or tablet
In this week's tutorial, I will walk you through the full process of turning a Photoshop composition into an AR scene that feels completely three dimensional.
Here are some tips on how to create an AR project using Adobe Photoshop Document.
- Simplify your layers, and most importantly, Merge your layer groups (Cmd/Ctrl E).Aero only supports Raster layers.
- You can either manually flatten your artwork or use the export feature for Aero in Photoshop.We recommend to do it manually.
- Name your layers correctly so that it will be easier for you to work with it in Aero.
- Try to keep the file size at 15 megabytes and delete the background layer.
- Save the artwork on your Creative Cloud Folder for easy access.
To create the AR scene, open Adobe Aero App on your phone or iPad, find a suitable surface, and add your files from the Creative Cloud Folder. Once your design is in Aero, you can adjust the scale, size, and offset.
I hope you enjoyed this tutorial! If you feel confident and want to challenge yourself further!
Be sure to have a go using Aero, share your artwork on Instagram, and tag us on #yesimadesigner so we can see your work

UP NEXT
Watch my step by step tutorial on how to create a fan art composition from a few snapshots from the Joker movie:


