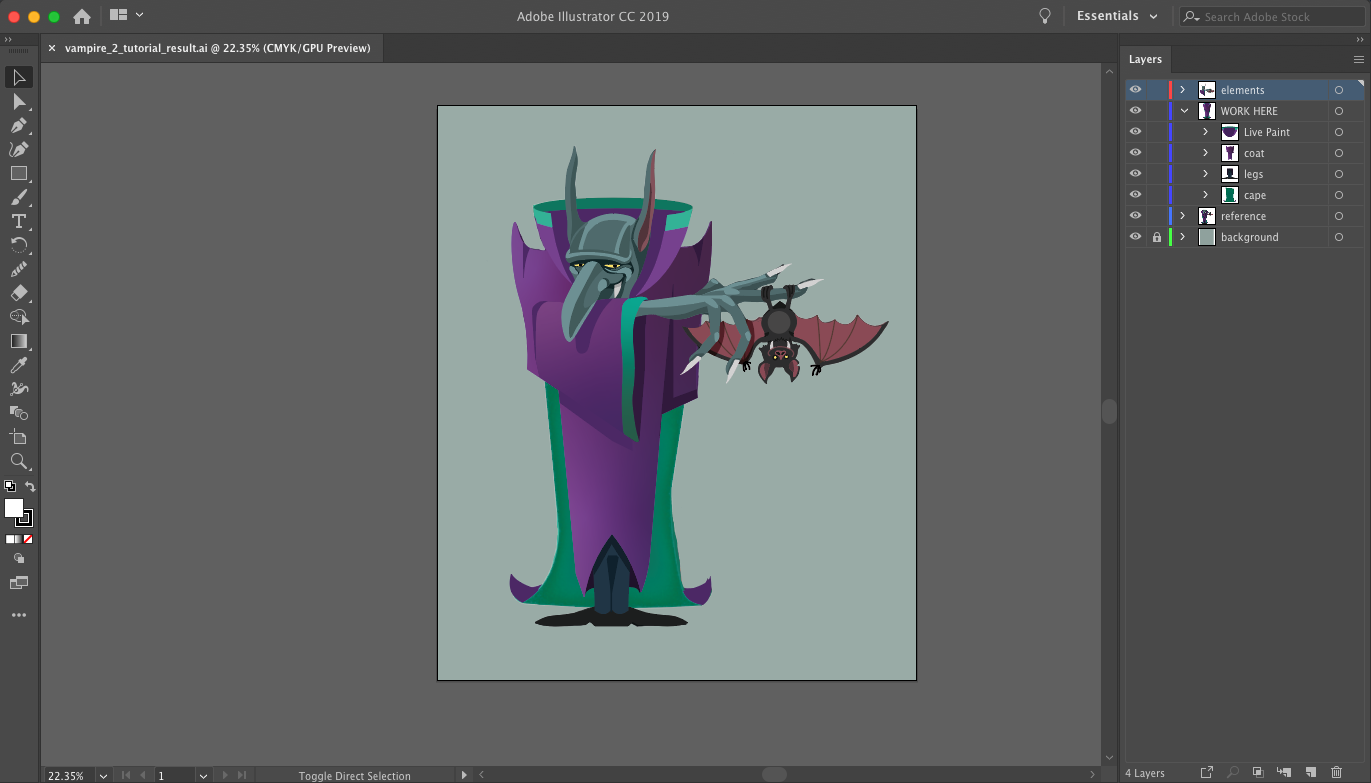
Discover new techniques and tools to help you draw and style a (suspicious looking) vampire character. Not only will you be able to work along with the video using the downloadable file but also learn about brand new tools introduced in CC 2019 so you can start using them in your own projects.
If you decide to work along with the video we would love to see your finished vampires!
Character design can br tricky you want to add enough detail, colour and depth to your work to communicate a sense of personality and help the audience to connect with the character in some way.
This requires a pretty savy knowledge of Illustrator and some of it's more complex tools which can be hard to pick up and start using on your own! If you would like to learn more technical skills and techniques in Adobe Illustrator 2019 you are definitely in the right place!
Martin originally taught this work-flow at Adobe Max 2019, he walks you through how to create the characters main body/ cape as well as it's spooky looking collar.
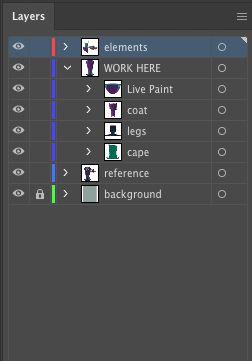
Download this file to work in and toggle on and off some extra layers which will help to complete your illustration.
You will find everything you need to complete your character in the layers panel which will be structured like this.
Using layers is essential to working professionally in Illustrator. They enable you to create complex work in a non destructive way, help you organise your composition, allow you to hide/show elements and generally have loads of handy uses!
It's great practise to get used to naming layers so the document is easy to navigate and you can select whatever you are working on quickly.
CC 2019 New Features
In this tutorial Martin uses loads of great tools and features including the Curvature Tool, Draw Inside Mode, Shape Builder etc. He also uses some awesome features introduced in CC 2019 you may not yet be familiar with. Let's take a look at these.
Global Edit
This is a little similar to working with symbols in Adobe Illustrator but a hell of a lot simpler!
When working it's pretty common to create multiple versions/instances of the same shape. This always helps to create a sense of consistency and saves time creating the same element 2, 3 or more times.
The global edit feature allows you to update all of the repeated shapes in a composition at once. If you make an alteration to one you will see if reflected in all of those repeated elements. So no faffing around editing each instance of the same object to ensure they all look the same!
Want to see an example?
This video will teach you everything you need to know about Global Edit!
Freeform Gradient
This new feature works in a similar way to the Gradient Mesh feature in Illustrator. Although it is a great technique for creating complex gradients it can be a bit fiddly to set up and work with, especially if you just want to try out a style but may not end up keeping the changes.
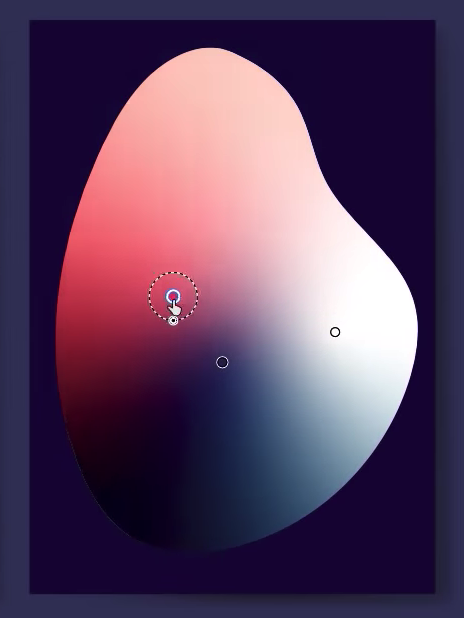
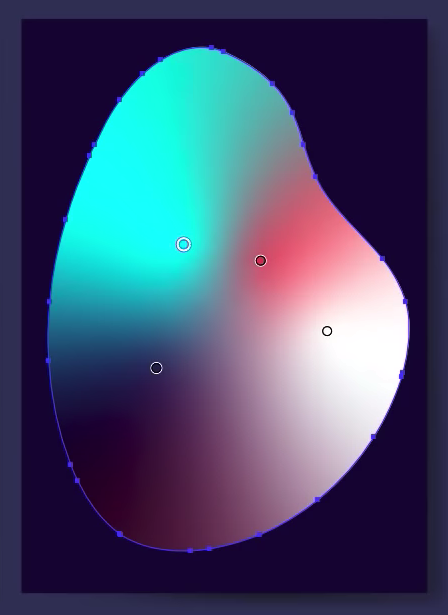
That's where the Freefrom Gradient could make your life a lot easier. It's found in the Gradient Panel (which you can find by going to 'Window' in Illustrator CC 2019) you will see this new option alongside the original linear and radial options.
Once you have applied a Freefrom Gradient to a shape you will see that Illustrator places down pins. You can change their position and colour with ease as well as add more to create a more complex effect!
Learn everything you need to know about Freeform Gradients in this short tutorial!
If you fancy watching these videos before the main tutorial above they will definitely help you create the best possible end result. Plus being comfortable with these features means you can use them in all sorts of projects from now on!
We hope you enjoy these tutorials! Have fun learning and if you want to discover even more about Character Design we have the perfect post/video!


