There are some amazing time saving features in Adobe InDesign CC 2019 & Data Merge is one of those features.
It allows you to batch create multiple versions of a business card design in one document. You can change the information i.e name used in the design so if you need different sets of information on 3 or 300 business cards you can use this tool! Typically it's perfect for generating business cards for multiple people or employees in a company.
Check out the video above for a step by step guide to using the Data Merge feature from initial design to final results. Or you can read on to discover the core steps Matin teaches in this process. The post will provide an overview of the process and what what you could learn and the video is the real deep dive into the tool!
Data Merge InDesign CC
This workflow starts in Adobe Illustrator CC where the design has been created & set up with printers marks, to learn more about this process check out this post. Then we import the artwork into InDesign which you can do by simply placing an Ai file into your ID document. Once the design is in InDesign you can use Data Merge.
1. Text File
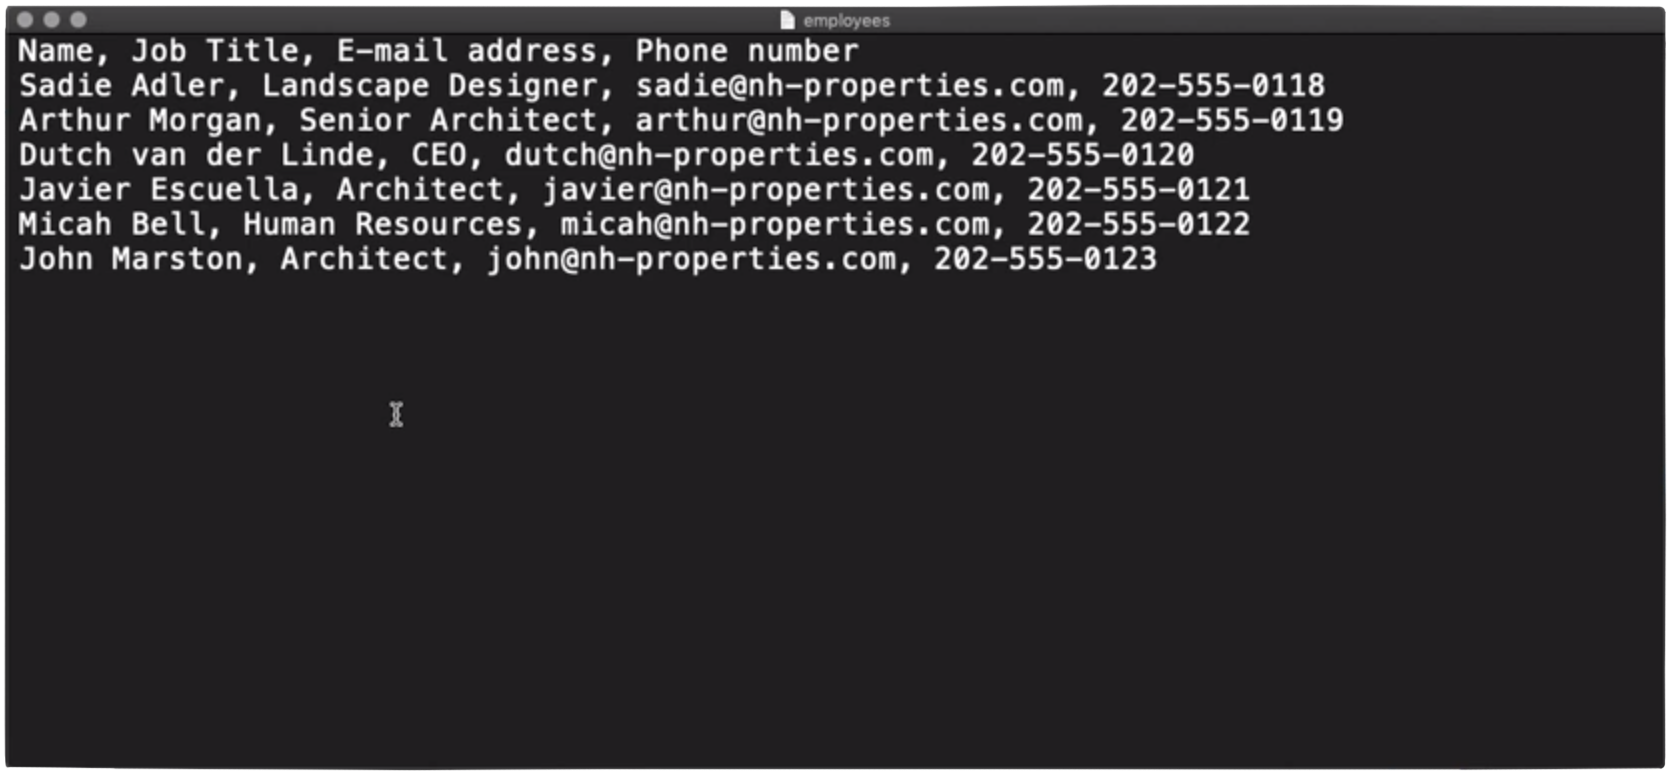
The idea is to have multiple versions of one design with different information displayed on each. So to start off you need the information you want to use. Set this up in a spreadsheet or Google Doc, it is important to have order for this feature to work. Follow the structure of the information you see below.
Once you have the spread sheet ready export it as either a TXT or CSV file. Data Merge can't use Rich Text formats. Have this somewhere to hand like on your desktop.
2. Data Merge Panel
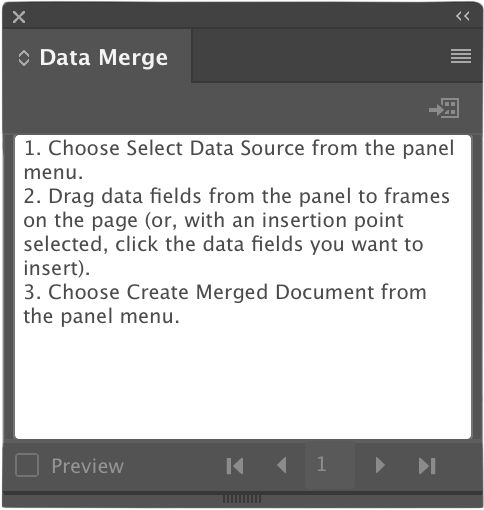
Once you have a design placed in InDesign and a text file with the information you want to use it's time to use the Data Merge Panel. It can be found in the Window Menu under Utilities.
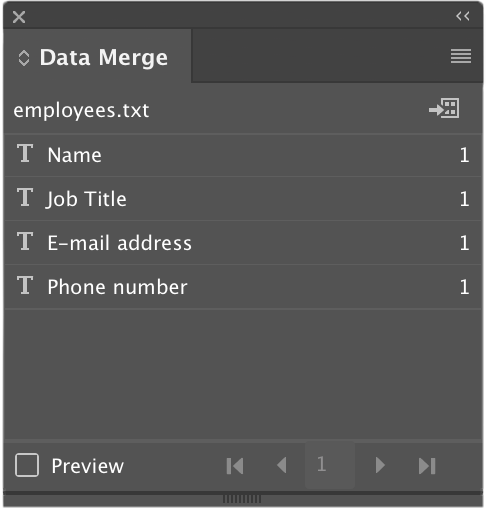
From this Panel head to the drop down menu and hit 'Select Data Source' now select the text file you exported. This will import all of the information from that file into InDesign ready for you to work with.
To see exactly how you can continue to work with this information watch the tutorial from 2:40 onwards.
2. Preview The Information
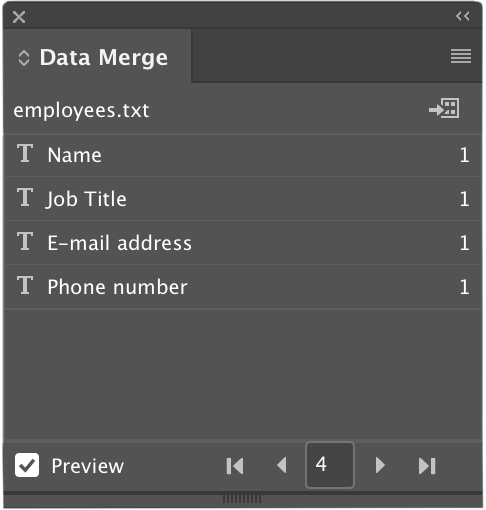
Once you have your Data imported you will not immediately be able to see all of the information just place holders ready to be filled. To preview the data you have imported check the Preview option at the bottom of the dialogue box. Below you can see how the preview option will effect a design.
Check out the video from 6:12 for a detailed demonstration.
3. Amend Design
Once you have the preview mode selected you can actually use it to view every set of information you imported from your spreadsheet. This is useful because some peoples names or numbers may be longer than others and you may need to edit the design slightly too accommodate for that.
4. Create Merged Document
Okay so you have checked all the data using preview and you are ready to create a document which displays all versions of the business card design.
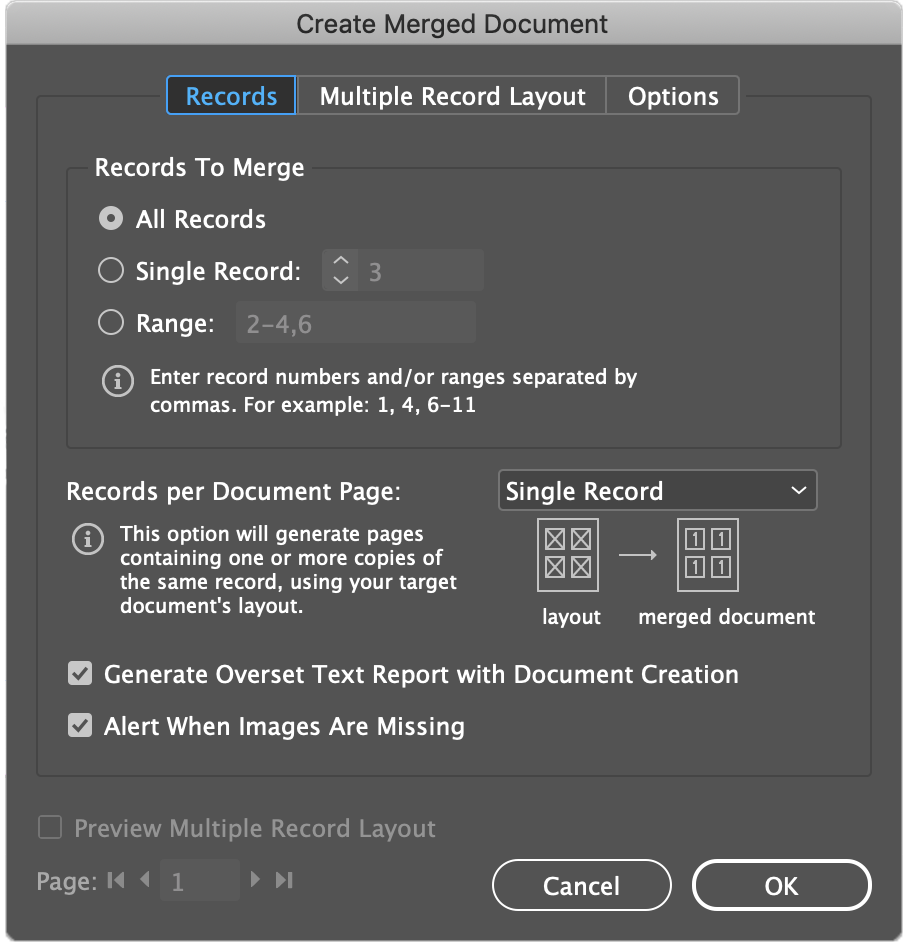
Make sure you save and turn off the preview option. Then head to the Data Merge Panel and select Create Merged Document in the upper right of the box. You can choose if you want to create versions of all the records or data you have imported or just specific sets. Once you are happy hit ok.
There's a few interesting options to play around with here which Martin Walks through in detail in the
video tutorial.
After you hit ok InDesign will generate a document with every version of your design each on separate pages. So if you entered info for 50 employees there will be 50 versions of the business card design with each persons details.
Pretty nifty and a big time saver! From here you can export the document as you usually would using File Export or Cmd/Ctrl + E.
Thanks for reading we hope you found this useful! To carry on learning design techniques, tips and tricks check this post out or head over to our YouTube Channel for more videos.

