Welcome to the ultimate guide to Smart Objects in Photoshop
You might be wondering what on earth is a 'Smart Object' OR you may be familiar with the term but need to brush up on why they are so dammed useful! Either way this guide will help you to work smarter not harder in Photoshop CC using Smart Objects!

Don't have time to read? Pin it for later!
Smart Objects may sound like some new artificial intelligence trend but don't worry it is nowhere near that complicated.
They are layers in Photoshop which contain and preserve data from images you have imported. They allow you to make non-destructive changes to an image.
So you are never at risk of ruining an images quality or making a permanent change that cannot be deleted.

Smart Objects - Beginners Guide
In Photoshop you are constantly moving, scaling and rotating the images/layers in your document. If you are using a regular layer each change you make will result in loss of quality, even if you are just rotating an image. The more transformations you make the worse the quality will become and this can lead to sloppy looking final results.
To avoid this stress convert your layers to Smart Objects so all of the quality is preserved when you scale and rotate them!


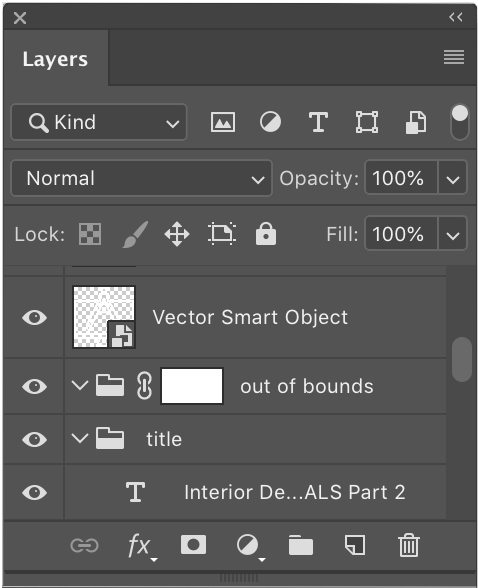
Layers which contain Smart Objects have a small icon in the bottom left of the thumbnail. It kind of looks like a piece of paper and is a quick and useful way to identify which of your layers are 'smart' or not!
Creating Smart Objects
Convert Existing Layers
Head to your Layers Panel > Select the Layer you wish to convert > Right-click (not on the thumbnail) > Select 'Convert to Smart Object' from the drop-down menu.
Import New Images
Head to File > Open As Smart Object > Select a file from your computer > click Open and it will import as a Smart Object.
Embedded VS Linked
Embedded Smart Objects.
Do not have a connection to the source file so cannot be updated or amended outside of Photoshop. To convert to a linked Smart Object:
Choose Layer > Smart Object > Convert To Linked.
Linked Smart Objects.
Are still attached to the source file on your computer and when that file is updated the Smart Object will update. Particularly useful for logos which may change and need updating.
Now you know how to create smart objects check out this tutorial for 5 Pro Tips from YES Founder Martin!
16:00 Minutes
Smart Object Share Attributes
If you make a copy/copies of any kind of Smart Object, Photoshop will use the original source file for all those copies. This means if you update one of the layers they will all update.
This is handy but can get in the way! Here is how you can create a new copy which is not linked to your original source file:
Right click the layer you would like to create a copy of > select 'New Smart Object Via Copy' and this will create a detached version of the same layer.
For more info see the tutorial above.
Adjustments as Smart Filters
You can apply non-destructive adjustments to your Smart Objects. These are known as Smart Filters and mean that any changes you make, for example to the hue/saturation, can always be amended or removed if need be.
For more info see the tutorial above.
Advanced Techniques
Now you have covered our main guide to Smart Objects its time to step it up a gear!
14:00 Minutes
Watch this tutorial to see how they can be used in a full workflow to help re model a room. This technique relies on the link between copies of Smart Objects and demonstrates why this is so useful!
This workflow was chosen as an example to teach the technique but could be applied to all sorts of projects. It ties together a lot of the information you have already learnt in this post and will help solidify your new found skills moving forwards.
This is the second part of an Interior Design Series if you enjoy this video check out the first instalment here.
2 in 1
1:00 Minute
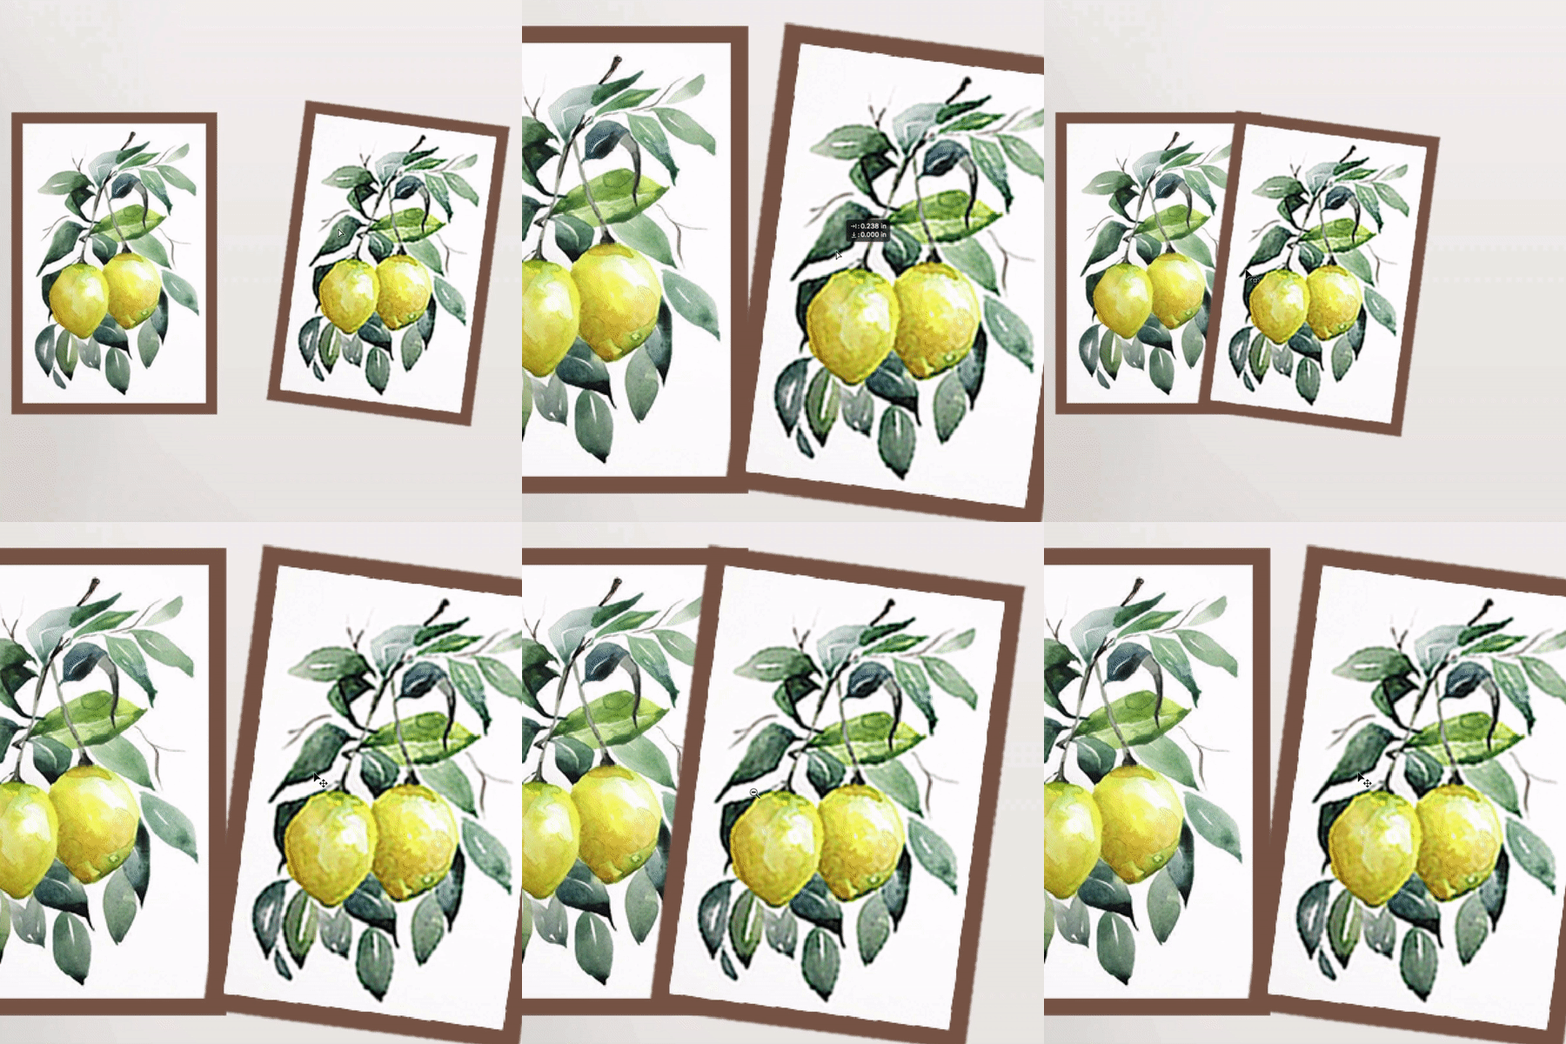
Learn how you can add multiple images inside one Smart Object. This can come in handy if you are testing out multiple versions of a design for a client.
Linked Smart Objects
1:00 Minute
Finally check out this tutorial to discover how Smart Objects can even be used and simultaneously updated across different Photoshop documents!
We hope this post has done a good job of introducing you to Smart Objects and you are feeling excited to start using them in Photoshop.
If you know any awesome techniques we have missed out let us know in the comments!

UP NEXT
Compare two ways to create Gradients in Adobe Illustrator. So you can pick the right method for the right project!


