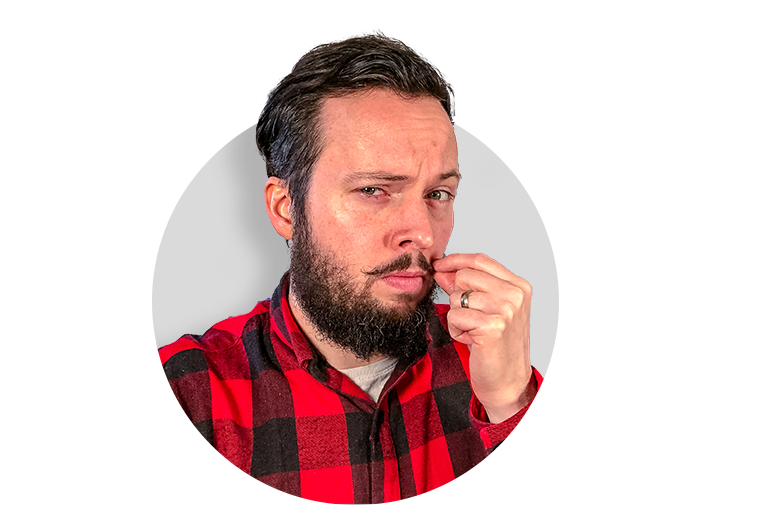
One of the essential skills all Graphic Designers need to learn, and master is Masking. If you are wondering what the hell is Masking, and how do I create them? Then you are in the right place. There are many Masking techniques to learn across Photoshop, Illustrator and InDesign. Today we will focus on Masking in Photoshop.
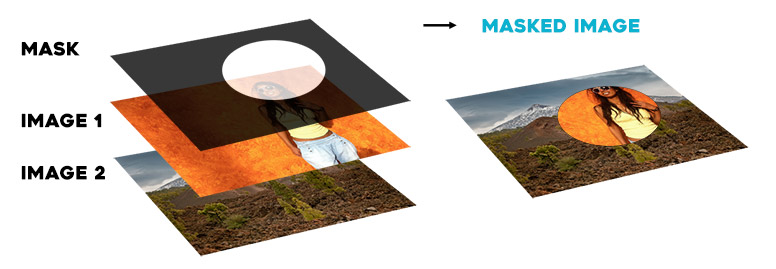
Essentially Masking allows you to show or hide details in an image, to understand Masking think of a black paper. If you cut a hole in the paper and place it on top of an image you will only see the part of the image, which was under the hole.


Let's look at the same example but now with two images on top of each other. We are going to mask the one on top. Again think of a black paper with a white hole in it. You can only see through the white hole, while the black paper will hide the other parts of the masked image (image 1) and reveal image 2.
Masking in Photoshop
Masking is a massive part of working in Photoshop. To begin with, it can feel a little intimidating, but once you understand some core principles and tools, you will start to love working with masks!
We will take a look at three core Masking techniques in Photoshop.
- Pixel Layer Masks
- Vector Layer Mask
- Clipping Mask
1.Pixel Layer Masks
Adding a Pixel Layer Mask in Photoshop allows you to control the transparency of details on that particular layer.
A lot of creative professionals use them to Mask out people, products, cars or even landmarks.
Pixel Layer Mask work in the same way light works. Details are revealed when something is well lit or in bright surroundings, but when we are in dark surroundings, we can no longer see those details, even though they are still there.
Before Masking, we need to understand how selection works. There are many ways to create selections in Photoshop. For this example, we will take a look at the Select Subject option.
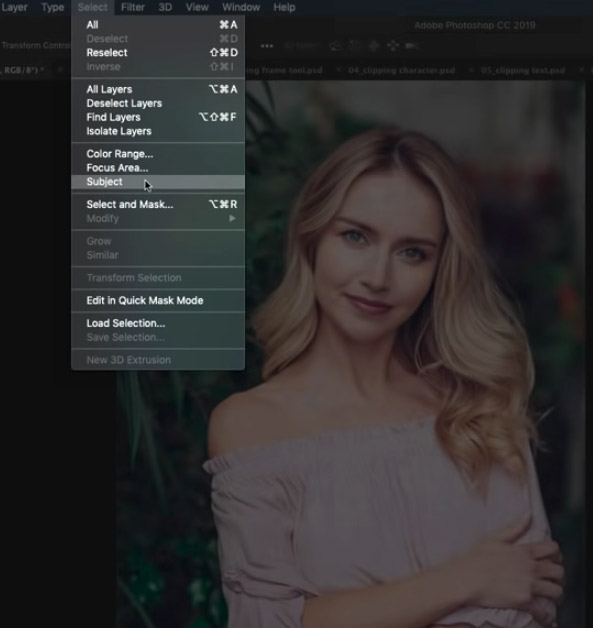
Image 1

Image 2
Let's Mask out this lady from Image 1. Firstly go to the Select Menu and use Select Subject which will automatically try to guess the subject. Once the selection has been made you will see a dash-line across the selection (image 2) .
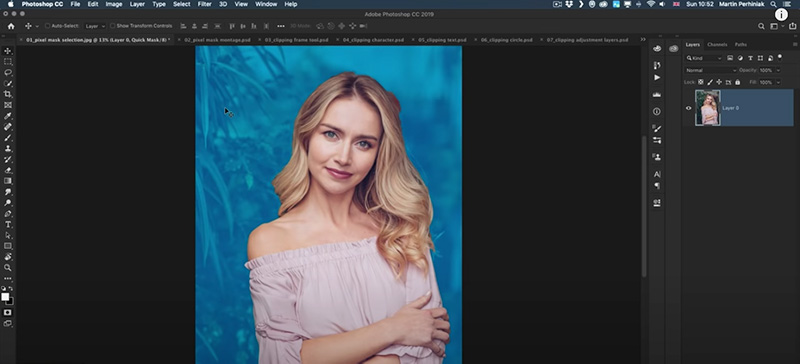
Press Q on the keyboard to switch to the Quick Mask selection view! (this view shows what is going to be visible and hidden once the selection is turned into a Mask). The default colour is Red for Quick Mask but here we have customised Blue colour.
Once on the Quick Mask selection view, you can also use the brush tool to refine your selection. Paint with Black brushes to hide details, while painting with a White brush shows details. Once your selection is refined and you are ready to apply the Mask, make sure to Press Q to go back to standard view.

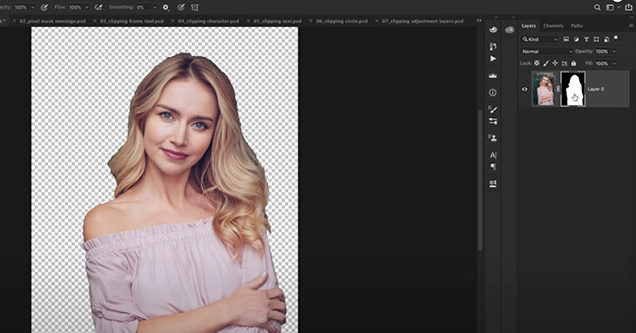
Create Mask using the 'Japanese style' icon, and there you have it, you have created a Pixel Layer Mask. You can refine the Masks further if you need to but make sure to select the Mask layer and not the image.
Please note: Photoshop will use Pixels on the Mask, meaning if you resize the Mask, you will lose quality. Turn your image layer to a Smart Object to preserve the high-quality image.
To get a full understanding of layer Mask, Selections tools and Smart Objects, watch the full tutorial below.
2. Clipping Masks
Clipping Mask is a great design technique for combining images in creative and exciting ways.
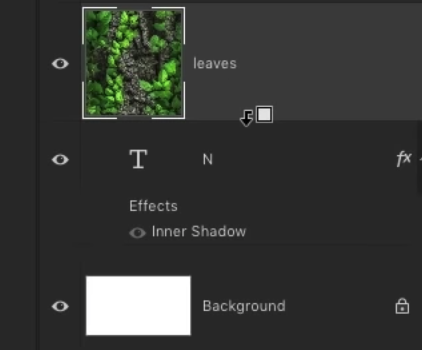
The idea is to clip the top layer into the layer directly beneath it in the layers panel. You can create Clipping Masks from all sorts of layers, including text layers.
Here is a summary of how to quickly create a Clipping Mask!
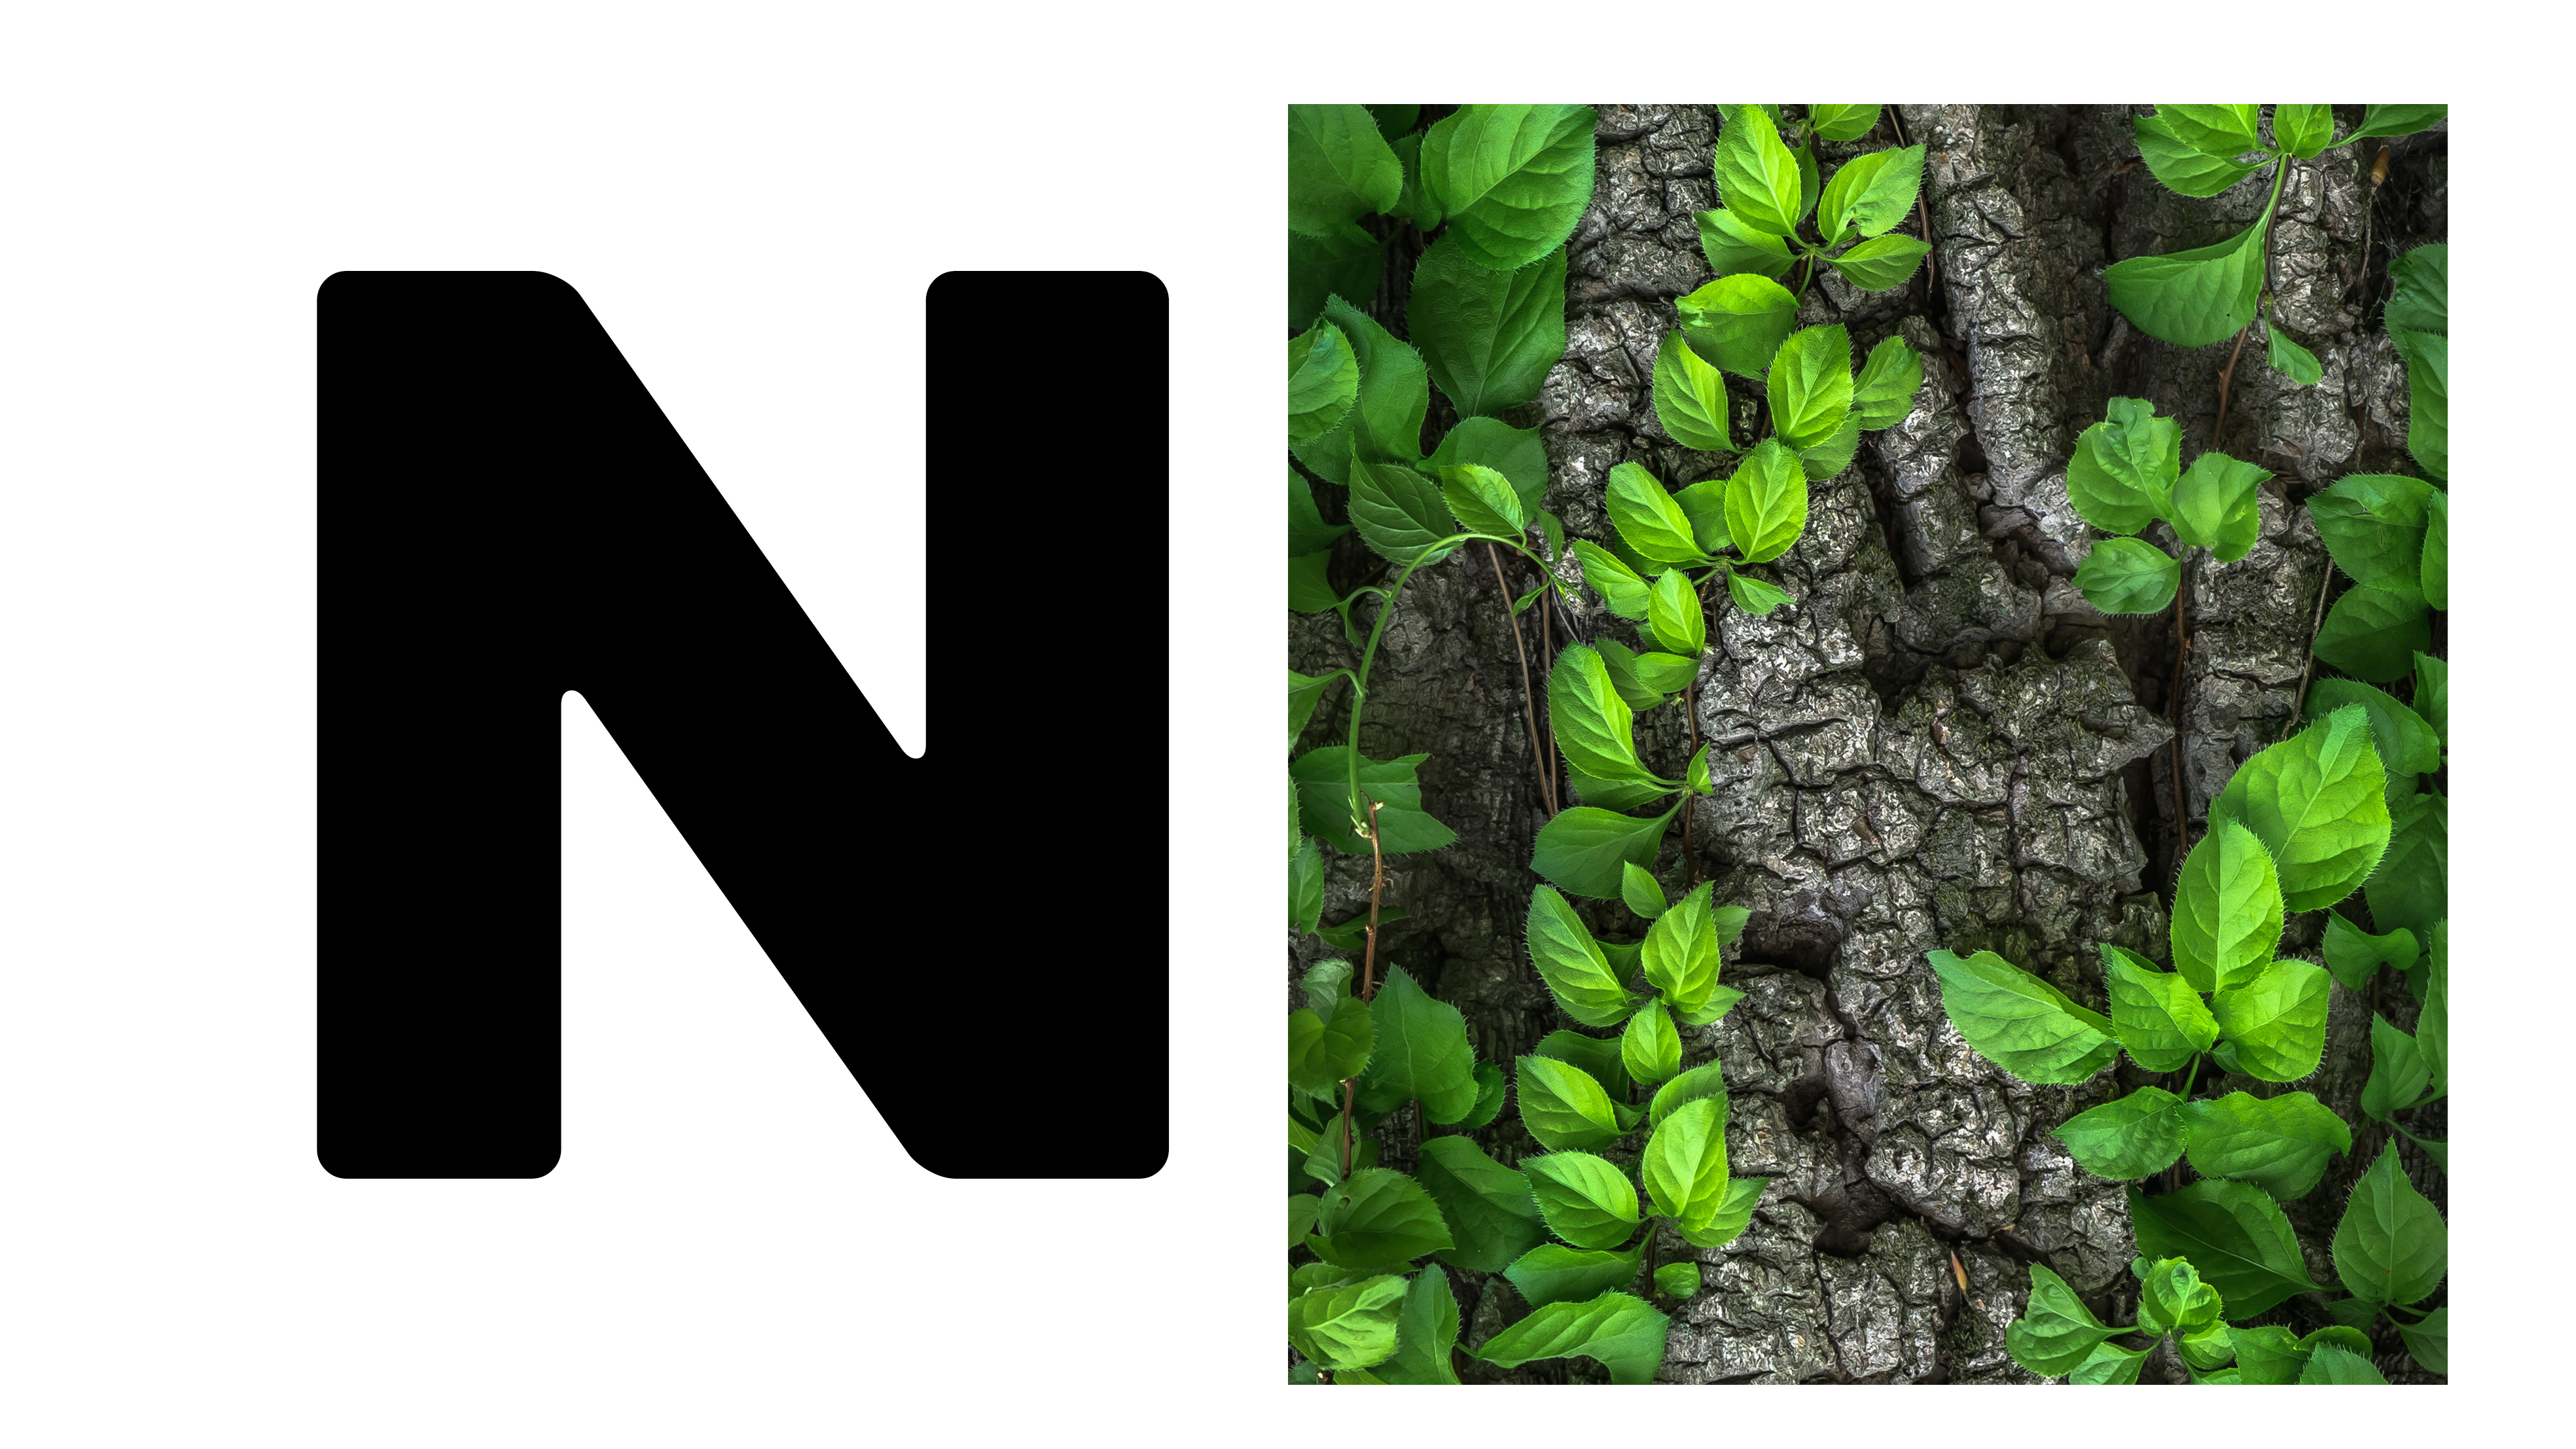
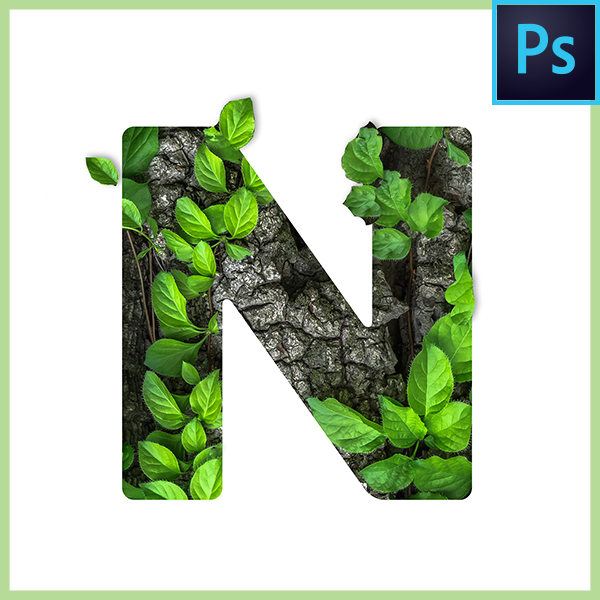
1: Write any text or word; in this example, we will use the letter N.
2. Place any image you want to clip on the top; for this example, we used nature/leaves image.
3. Go to the Layers panel, Alt-click in between the layers to Create the clipping Mask. Or select the layers and use the keyboard shortcut Cmd/Ctrl+Opt/Alt+G to create the Clipping Mask.
3.Vector Layer Mask
There are a lot of different ways of making selections in Photoshop, but none of them can be as precise and useful as using paths and vector masks. We highly recommend for you to use Vector mask on objects that have hard edges!
Watch our full tutorial below on Vector Masks! you will learn about
- Path Mode
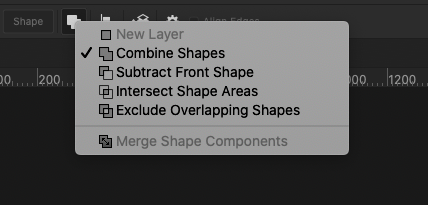
- Path Operations,
- Selections Tools
- and so much more!

This is an over view of the Three main Masking methods in Photoshop. Learning all these techniques will open up endless creative opportunities!
UP NEXT
Masking is one of the more complex techniques to learn in the Adobe Illustrator but it is essential to creating professional work.
LEARN ADOBE APPLICATIONS
from Adobe Certified Instructors and industry professionals


