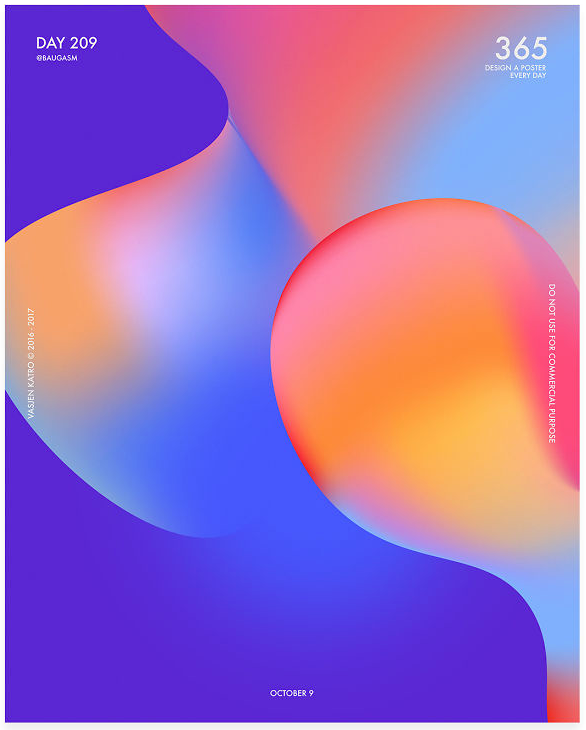
Today we will compare two ways of creating amazing Gradients in Adobe Illustrator. They both have their strengths and understanding how each process works will help you to pick the right method for the right project!
Gradients have made a come back in a big way and it looks like they are hear to stay, at least for a little while and we think it's a great idea to get your head around how to make them. Then you can start using gradients in your own creative work!
Check out the video for the full tutorial where YES Founder Martin walks through these techniques step by step.
Or read on for a brief overview of the processes and to see some cool examples of other designers using gradients in their creative work!
Freeform Gradient Tool
Step One
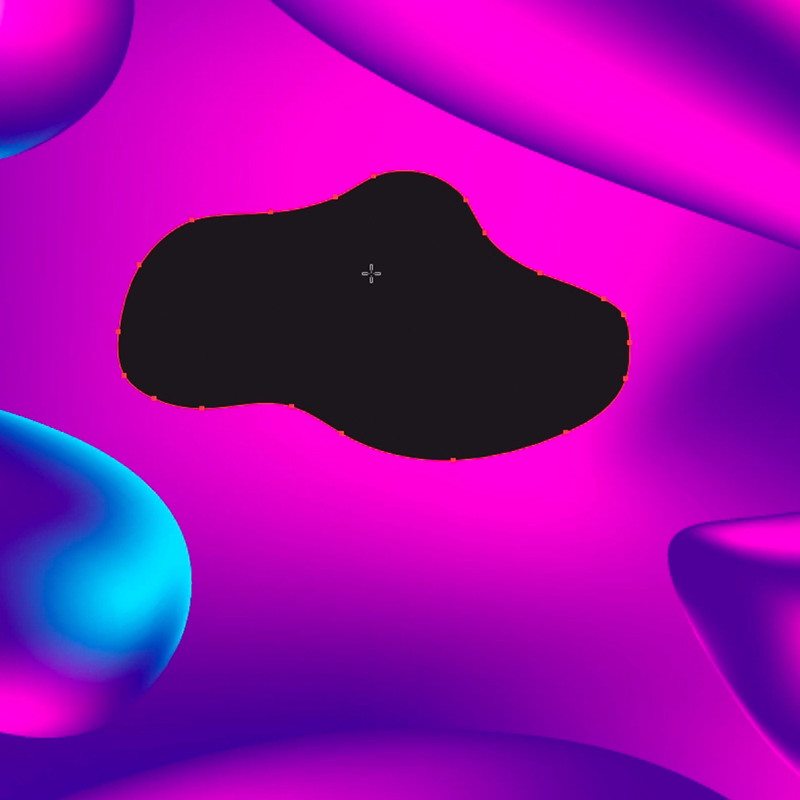
You need a simple shape, this could be drawn with the Pencil Tool Pen Tool or just be a regular shape i.e circle or square.
It's important to mention that the Freefrom Gradient option can only be applied to the fill area of the object and not the stroke.
Step Two
Hit G to apply a Gradient to your selected object.
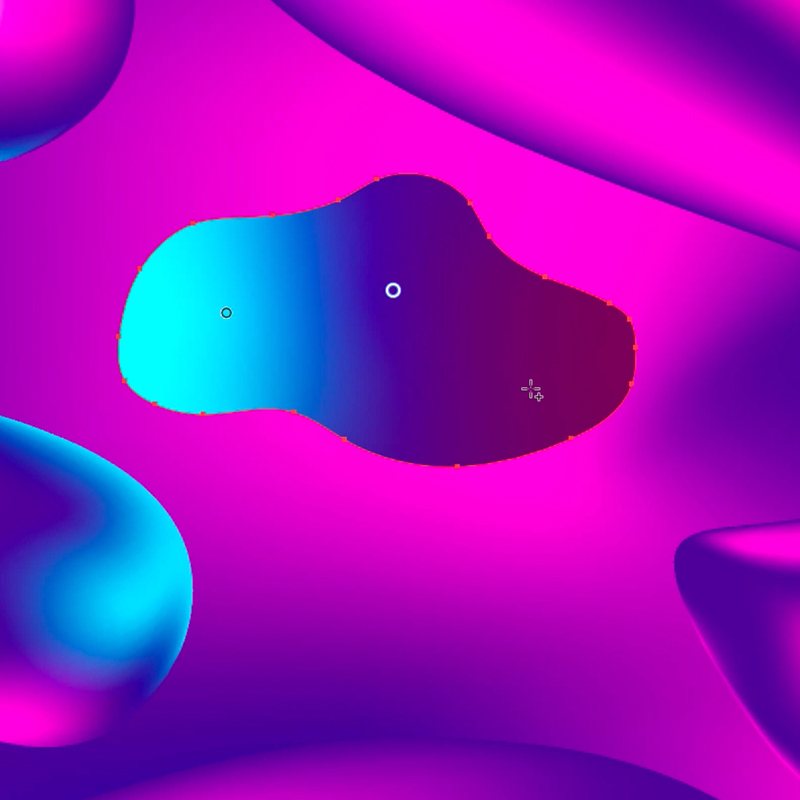
Then you will see the 3 different Gradient options either in the Properties Panel or along the top of your window. You need to choose the third option. Now to start with it won't look that interesting but hold on...
Step Three
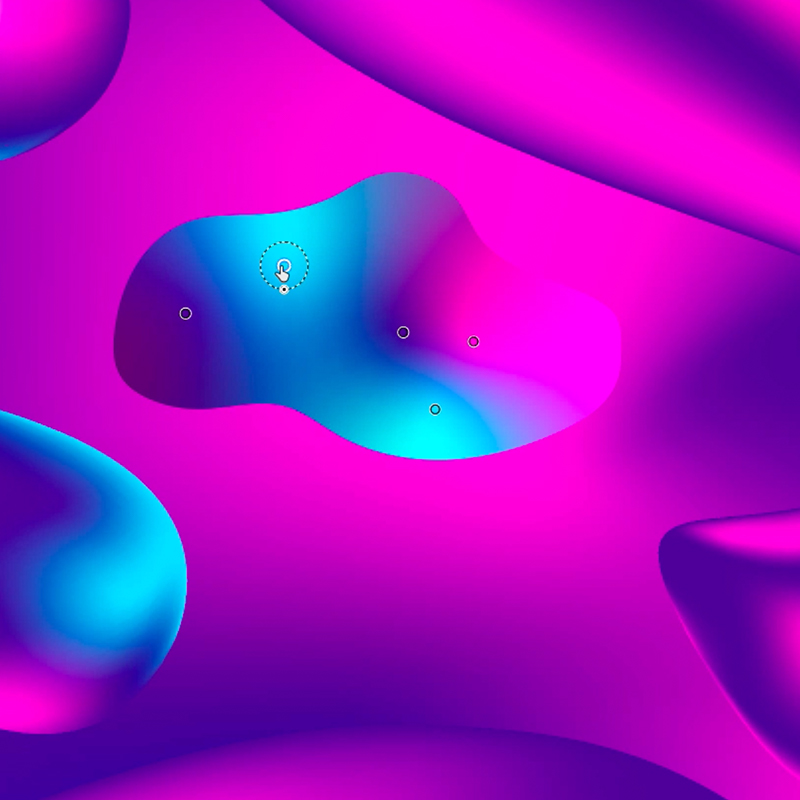
You will start with maybe two 'points' in your gradient, these can be changed in color and you can add new points to create a more complex effect or to add more colors.
Martin walks through this process in detail in the full video.
Main Benefits
- You can add as many color points as you like and move them freely around the shape with ease. This makes the effect easy to experiment with and hard to mess up to much.
- The colors are easy to change which again means it's easy for you to play and experiment.
- You can add lines instead of points. This is probably the coolest feature and it allows you to draw straight or curved lines to use in your gradient which provides you with more control over how the colors spread out!
Applying a Gradient Mesh
This feature has been around for much longer in Adobe Illustrator and can actually offer even more control over the gradient you create but takes a little longer to set up and experiment with!
Step One
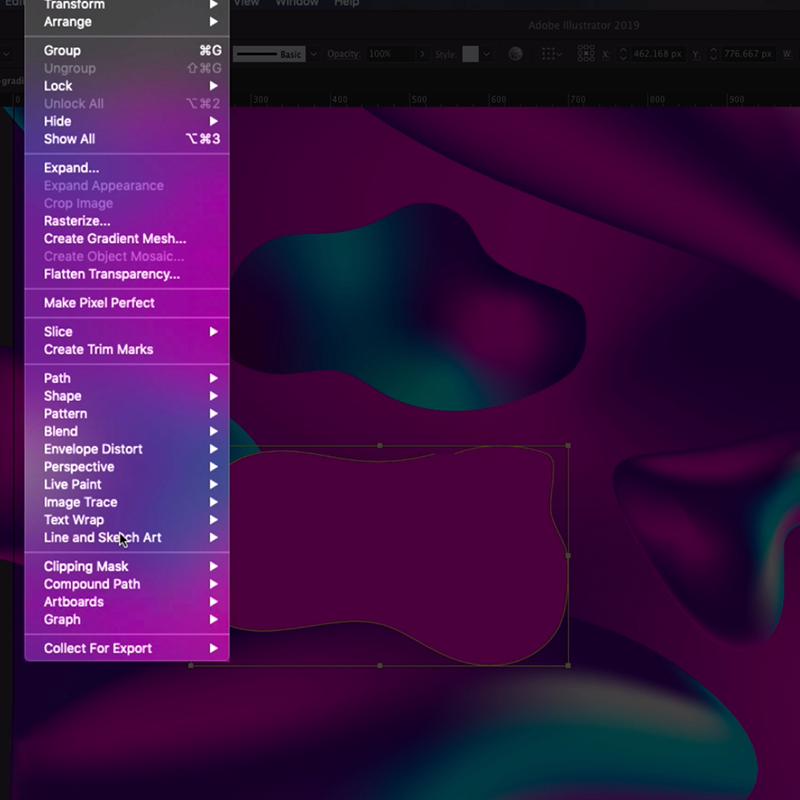
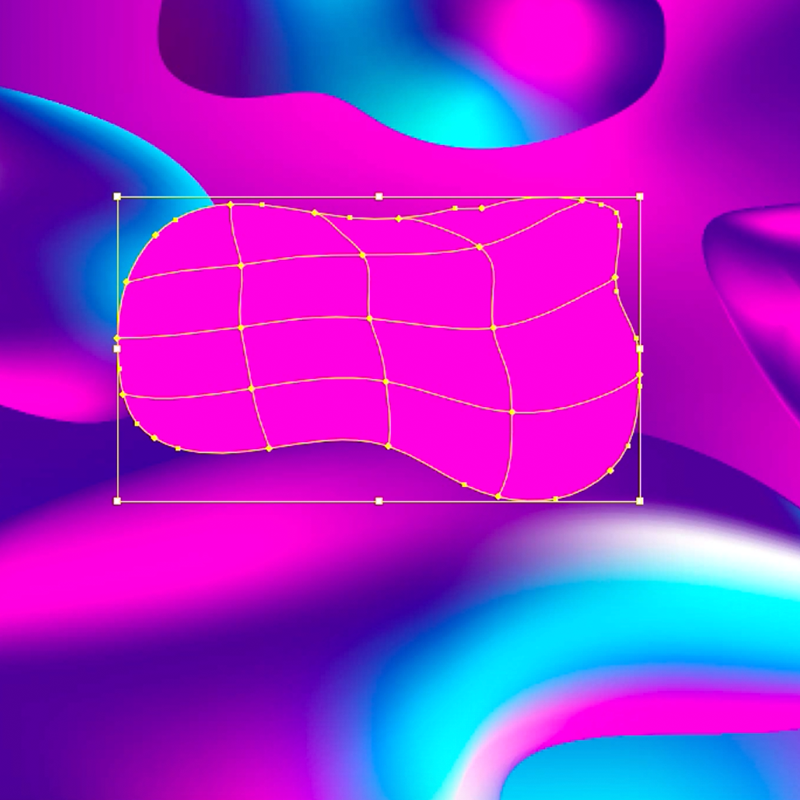
Head to the 'Object Menu' and select 'Create Gradient Mesh'. Once you hit this option you will be asked to decide how many columns and rows you want to include in your mesh.
There is no wrong choice perhaps start with 4x4 and see how you get on. You can always amend this later.
Check out the full tutorial to see how.
Step Two
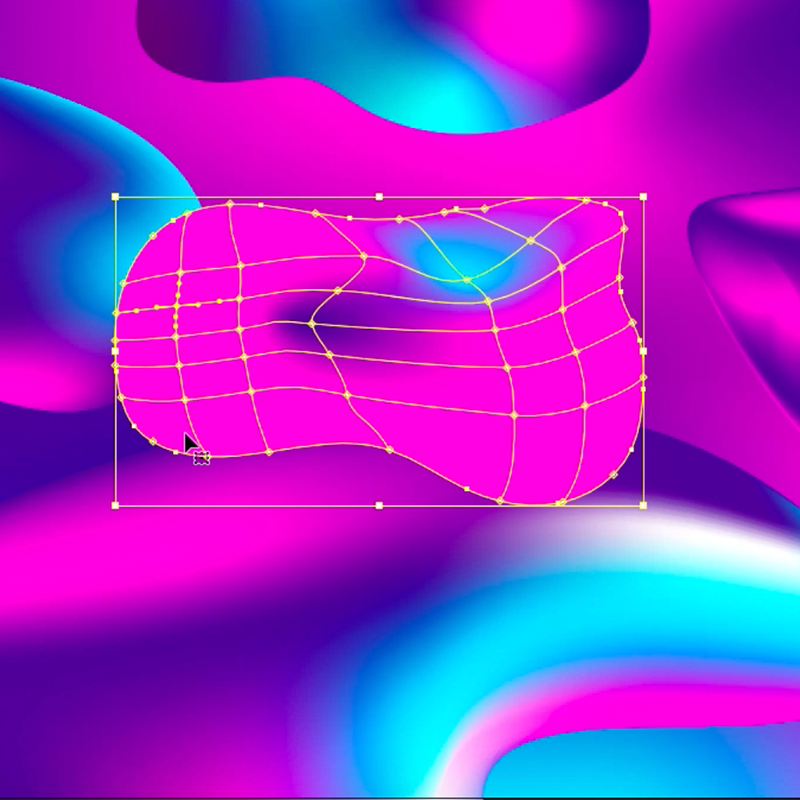
Now you have created the mesh you will see it applied to the object. You can select each point and change the color applied there. As you start to add color you will see how it looks similar to the Freeform Gradient Tool.
You can also use the Direct Selection Tool to select and move the points in the mesh around. Just be carful the points do not start to over lap one another as this will mess up the effect.
Main Benefits
- You have ultimate control over the way color acts in your mesh. Each point has 4 handles which you can play with. Find out how to use these in the full video tutorial.
- You can continue to add as many rows and columns into your mesh as you want. This means you can create a very complex effect!
Creating Gradients - Design Examples
Check out a couple of designs we found over on Pinterest and there is loads more great work ready for you to discover.
Created by Vasjen Katro and, a Graphic and Web Designer from Albania. He created a poster everyday for a year check out the project on Instagram!
We love this created by Graphic Artist & Designer
Victor Moatti. Follow the link to see more of his awesome creative work and more Gradients!
Thanks for reading guys, we hope you found this useful and had the chance to watch the full YouTube tutorial. If you fancy some more creative reading check this out.

