When you think of masking InDesign might not immediately come to mind...but there are some useful techniques which every user will find handy! Ready to discover them?
Image Frames
When you work with Image Frames in InDesign it could technically be viewed as a Masking technique. You are using the Frame to show/hide information when you resize the frame around the image.
This is Masking at it's very most basic but there are some more advanced techniques to discover when it comes to working with Image Frames.
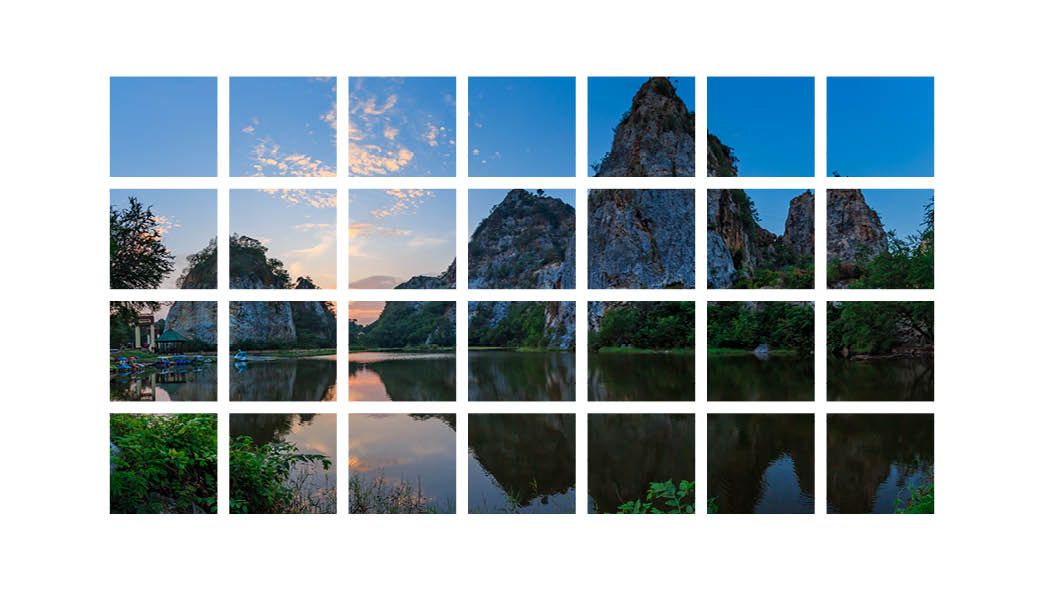
This effect was created with a feature called Gridfify in InDesign CC. To find out exactly how you can create it watch the tutorial from 3:40. You will discover how to quickly make a grid of image frames, turn those into a compound path and then insert the image so you end up with the result displayed above.
Pen Tool
Usually in InDesign you might not find yourself reaching for the Pen Tool however you can use it to create custom frames like this one below.
To discover the step by step workflow & how you can use the Pencil & Smooth tools for a similar effect watch the full tutorial from 7:17.
The Pen Tool can be used to loosely trace around a subject or shape within an in the image by setting down anchor points around the shape. Once the path is closed it creates a separate custom frame that the image can then be copied and pasted into.
Typography
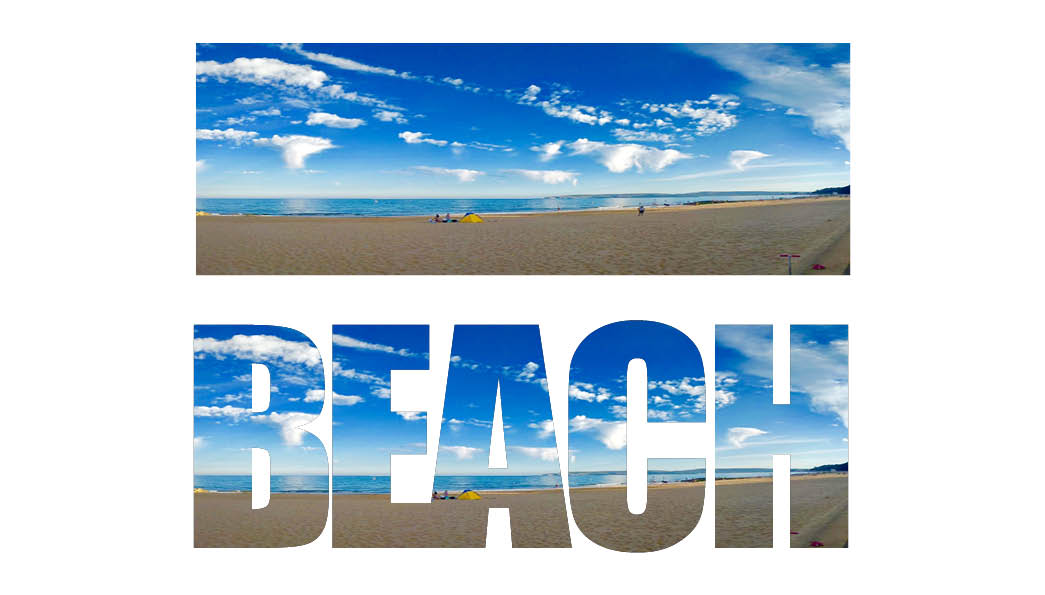
You can also use Type as an image frame in InDesign CC. This is quite similar to a Clipping Mask in Photoshop however for this technique you have to Create Outlines for the type, which means the text is no longer editable and will act like a frame.
To create this effect you start with a Text Frame and type a word or phrase you want to place the image in. Make sure you adjust the Kerning before moving forward as it will be harder to change later. Next you need to select the Text Frame and head to Create Outlines through the Type menu
(Cmd/Ctrl + Shift + O.)
This will turn the type into a compound path so it is not longer editable text however now just like the pervious examples you can copy and paste an image into the path you just created.
Feathering
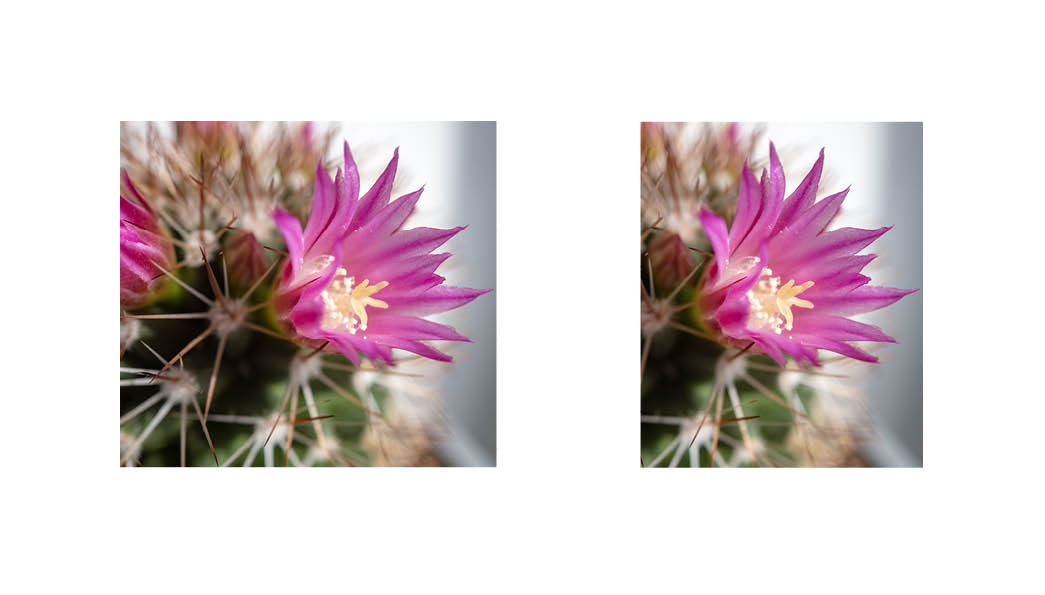
First up lets look at the Gradient Feather Tool in Adobe InDesign which can be used to fade out sections of your image say from left to right or top to bottom or even diagonally.
In the example there is quite an abrupt fade effect however this is adjustable so you can make the transition more subtle.
You can also set up Feathering using the Effects Panel here you can edit a Gradient Feather which has already been set up or create a Directional Feather (left image) or Basic Feather (right image.)
These effects are perfect for images you want to use in the background of a design so they can't be too prominent. Use Feathering in combination with Opacity to ghost out an image, this will mean it's very easy to work with in layouts.
Detect Edges
We love this feature in InDesign. Sometimes you place a JPG image into InDesign which has a white boarder and this can be restrictive. This feature works to detect where the actual subject of that image starts and ends. It then creates a selection based on that. Quite similar to a Vector Mask in Photoshop but not quite as advanced.
Head to the Object Menu > Clipping Path and when the dialogue box pops up select Detect Edges from the drop down menu at the top.
There are plenty of ways to customise and improve the selection check out the video from 14:22 to discover the best practises when it comes to working with this feature.
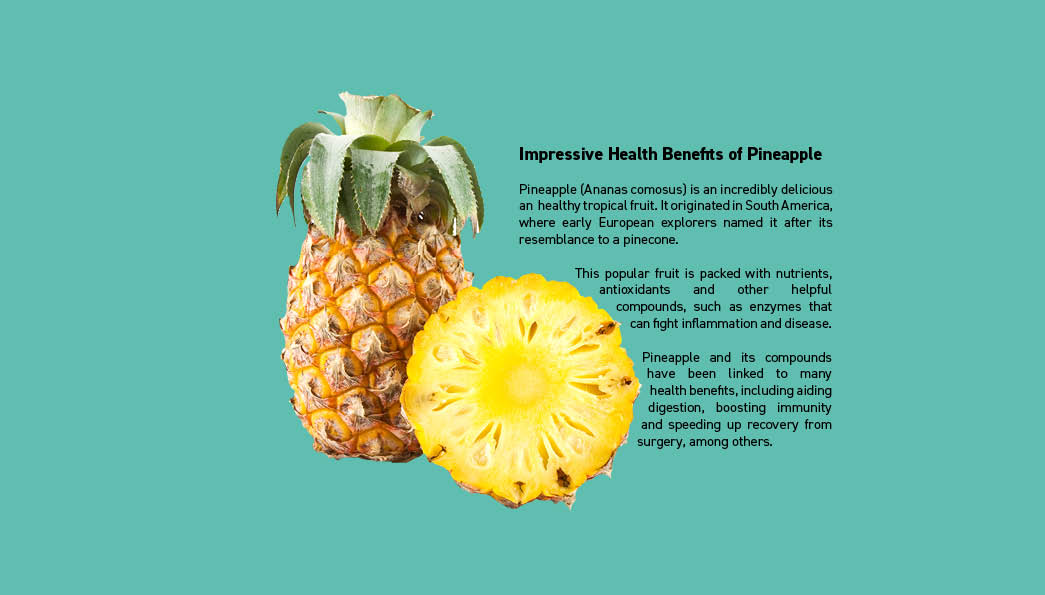
Here you can see the image of a pineapple before and after the technique has been applied. InDesign is quite accurate at detecting the edges of this subject. Have a go with your own, it's a pretty handy trick to know!
The Detect Edges feature can also be used in combination with Text Wrap to create dynamic layouts and relationships between your image and text elements.
Alpha Channel/ Photoshop Path
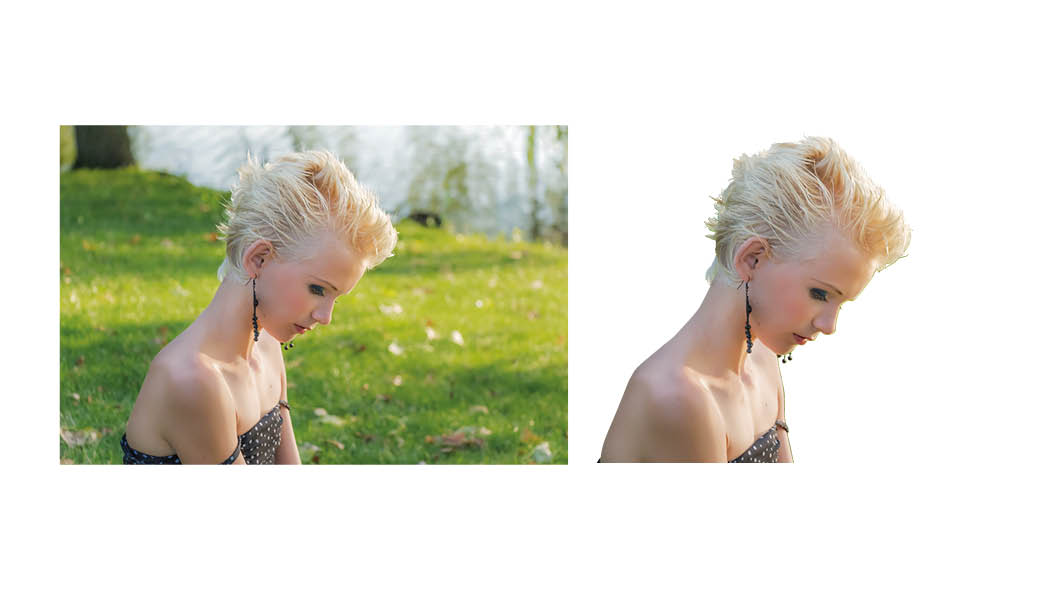
InDesign & Photoshop can also be used in combination to help you mask out details of an image and thats where Alpha Channels and Photoshop Paths come in.
This creates a similar result to Detect Edges however the selection is made using a Pixel Mask in Photoshop which allows you to have much more control over the details you select.
The mask is saved in Photoshop and activated in InDesign under Object > Clipping Path Options.
You can see that because the selection is made in Photoshop it's very accurate, something InDesign would not be able to create.
For a step by step guide to this process and working with Alpha Channels and Paths in Photoshop check out the tutorial from 18:31.
Out of Bounds Effect
The final example in the video tutorial is a little bit of bonus content which demonstrates another Photoshop > InDesign workflow. This one if a little bit more complex and involves using both vector and pixel masks in Photoshop. Then activating these masks in InDesign using Object Layer Options.
Thanks for reading we hope you enjoyed this post and found it useful and inspiring! We would love to hear what you think in the comment below.
This post id part or a Masking series so if you want to learn more techniques check out Masking in Illustrator - The Ultimate Guide.
LEARN ADOBE APPLICATIONS
from Adobe Certified Instructors and industry professionals

